How to Split a 3D Model to Fit Your Printer

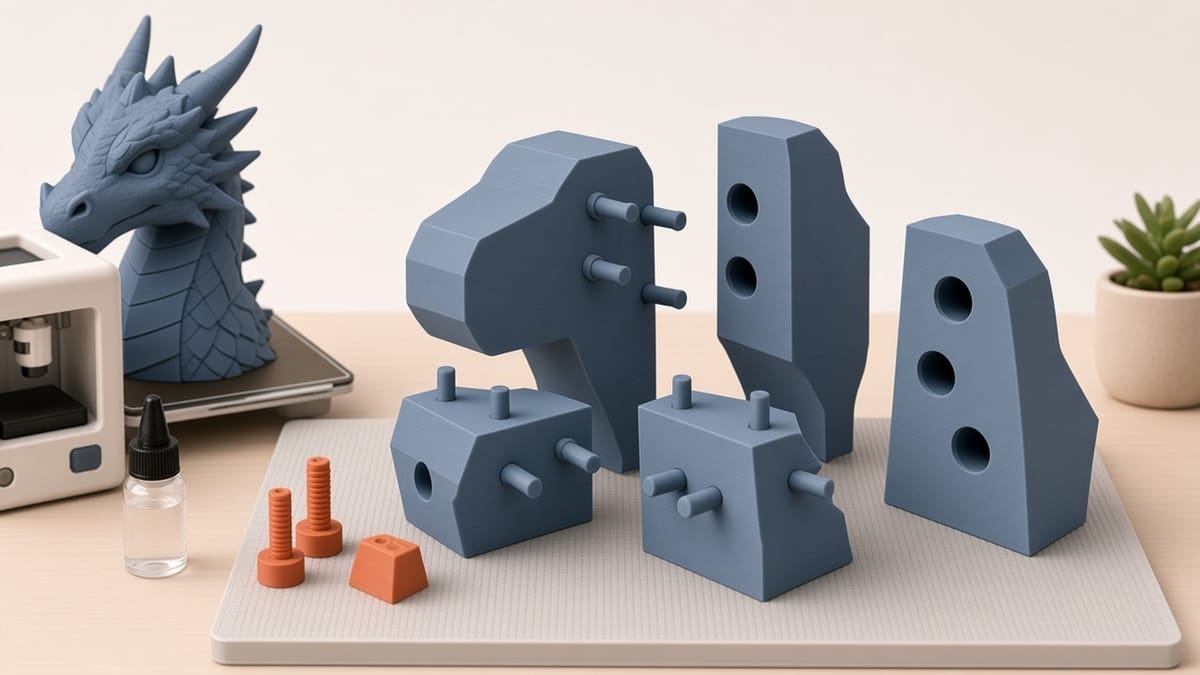
A 40 cm bust on a 256 mm bed has two honest options: scale it down until the pose no longer matters, or cut it into parts that glue back into the original size. Splitting is the right call when the parts meet exactly where you planned. A flat cut with no alignment turns into a sanding project.
The PrintPal 3D Model Splitter cuts an STL, OBJ, 3MF, GLB, GLTF, or PLY in the browser, adds pegs, dowels, or a dovetail, and exports every piece. The mesh never leaves your computer. Splitting and previewing are free. Downloading the parts asks you to sign in with a free PrintPal account.
The short version
- Open the 3D Model Splitter and drop in the file, or click try the sample model.
- Pick the printer under Print bed. Presets cover Bambu Lab A1 mini, A1, P1S, X1C, and H2D, Prusa MK4, MINI, and XL, Creality Ender 3 and K1, Elegoo Neptune, Anycubic Kobra, and others. Or type X, Y, and Z yourself.
- Click Auto-place cuts to fit the bed. That adds the fewest planes that make every part fit. You can also Add Plane and drag it, or use the position slider. Tilt & peg side angles a cut and chooses which half gets the pegs.
- Leave Pegs on, or switch to Dowels, Dovetail, or None.
- Drag the exploded-view slider and check that every connector sits on the cut face, not in thin air.
- Export an STL ZIP (one file per part, plus dowel pins), a 3MF project with every part laid on the plate, or a single STL of the parts assembled. Leave Lay each part flat on its cut face on.
A cut needs a closed mesh. If the tool says the model is not watertight, fix it in Mesh Repair first.
Which joint to use
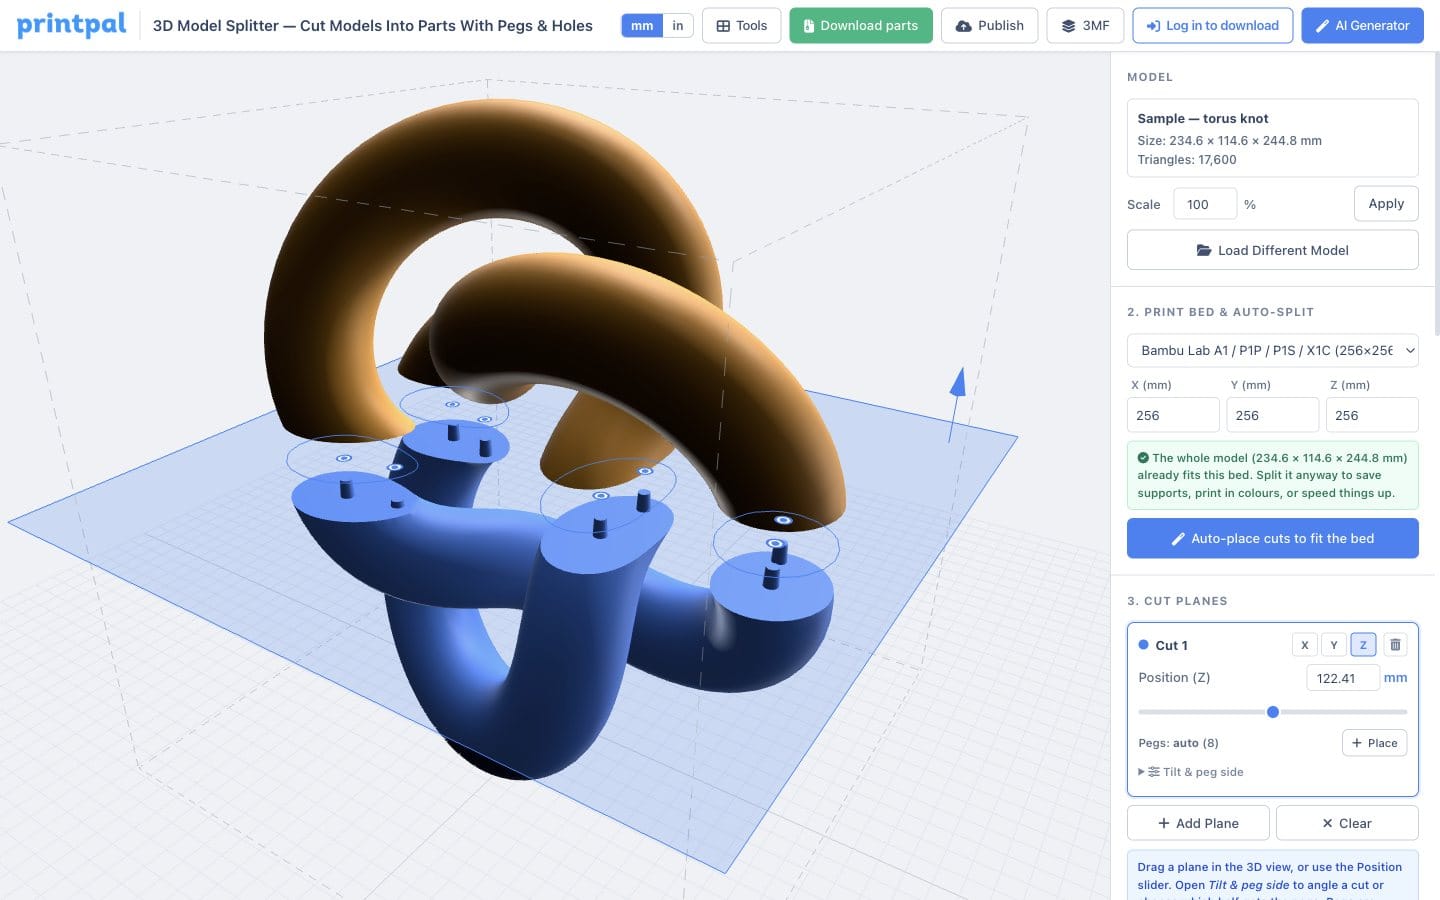
Pegs are the default. Round, square, or hex pins are added to one half and matching holes are cut into the other. The starting size is 6 mm across, 8 mm deep on each side, 0.2 mm clearance, and a 3° taper so the pin starts easily. Two pegs stop a part from spinning. On a large face the automatic layout adds more, which is why the sample knot shows eight. Drag any peg dot to move it. Place, then click the cut face, adds one. Right-click removes one. Auto puts them back on the automatic layout.
Dowels put a hole in both halves and export the pins as their own parts. Nothing sticks out of the cut, so each piece can sit flat on the bed. The pin is a solid object, which is stronger than a peg printed sideways out of a shell. Print the pins in a contrasting color, or replace them with 3 mm or 5 mm rod.
Dovetail is a tapered rail that slides in from the side. It locks in two axes and comes apart again, which suits terrain tiles, display bases, and props you want to store in pieces. Defaults are an 8 mm neck, 6 mm height, 10° flare, and 0.2 mm clearance. Rotate tail 90° on the plane card changes the slide direction. Steeper than about 15° locks harder and needs more clearance.
None is a plain plane. Use it when you will add magnets yourself, or when the only goal is to print two colors and glue on a seam you can hide.
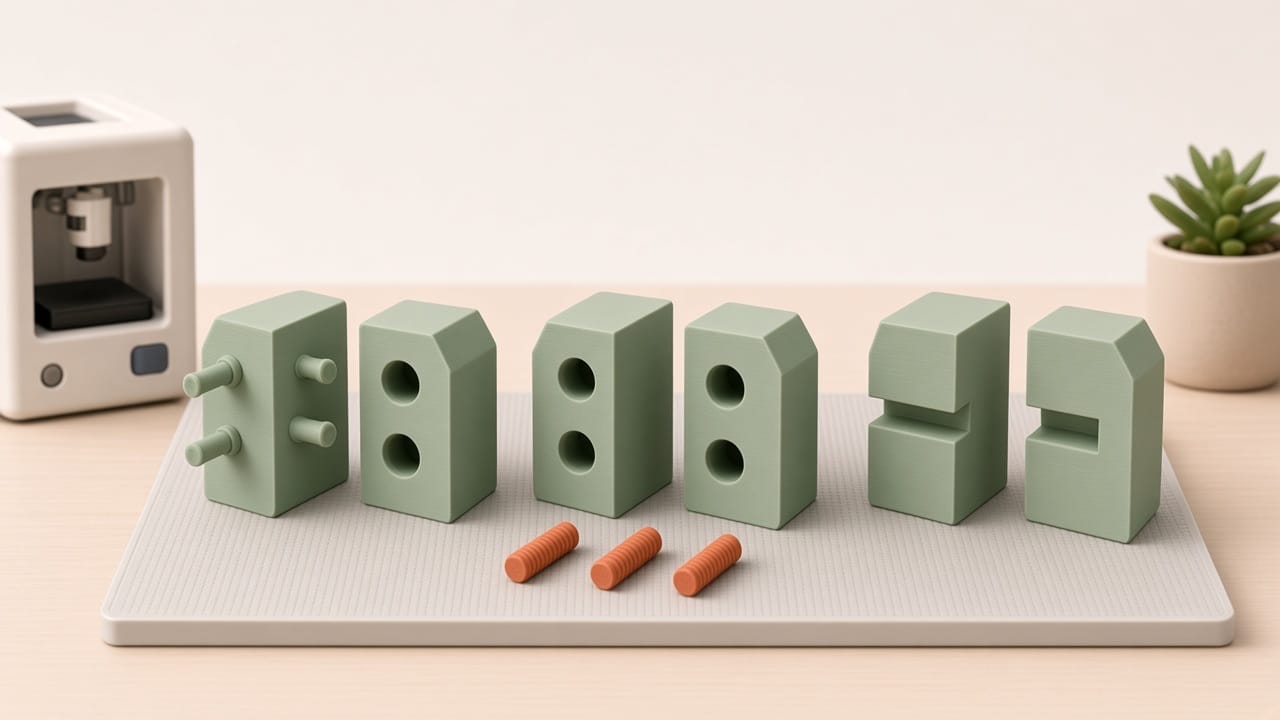
If a dry fit is tight, re-export with about 0.05 mm more clearance. Sanding a peg makes the next copy just as tight.
Where to put the cut
Auto-place solves "it does not fit." It does not know where a seam will look good. After it drops the planes, drag each one onto a collar, a belt line, a hairline, or the back of a prop. A cut through the middle of a face is the one you will see.
Tilt a plane when the natural break is not square to the world. An angled cut also gives the glue more area.
Splitting is useful even when the model already fits the bed. A cut at the start of an overhang lets you print the cut face down and skip supports. Separate parts can be different filaments without an AMS. A 30-hour print that fails at hour 28 is three 10-hour prints if you planned the seams.
Print with the cut face on the bed. The seam is flatter, and the glue joint is on the strongest layers. PLA and PETG take CA glue or epoxy. ABS and ASA can be solvent-welded. On a painted prop, fill the seam with spot putty or filler primer before color.
What you download
The ZIP is one STL per part. Dowel mode also includes the pins. The 3MF is separate objects arranged on your plate, and it opens in Bambu Studio, OrcaSlicer, PrusaSlicer, and Cura. Use the ZIP if a slicer mishandles 3MF. The assembled STL is the parts back together, which is the file to check in a viewer before you commit to a long print.
Bambu Studio, OrcaSlicer, and PrusaSlicer each have a cut tool with connectors. Those cuts live inside one slicer project. The browser splitter writes ordinary STL and 3MF, so the same parts open on another computer without that project file.
Open the 3D Model Splitter, load the sample, and drag the exploded slider once. The pegs and the bed-fit line are easier to trust after you have seen them on a model you do not care about.