5 ESP32-C6 Projects You Can 3D Print and Flash From a Browser

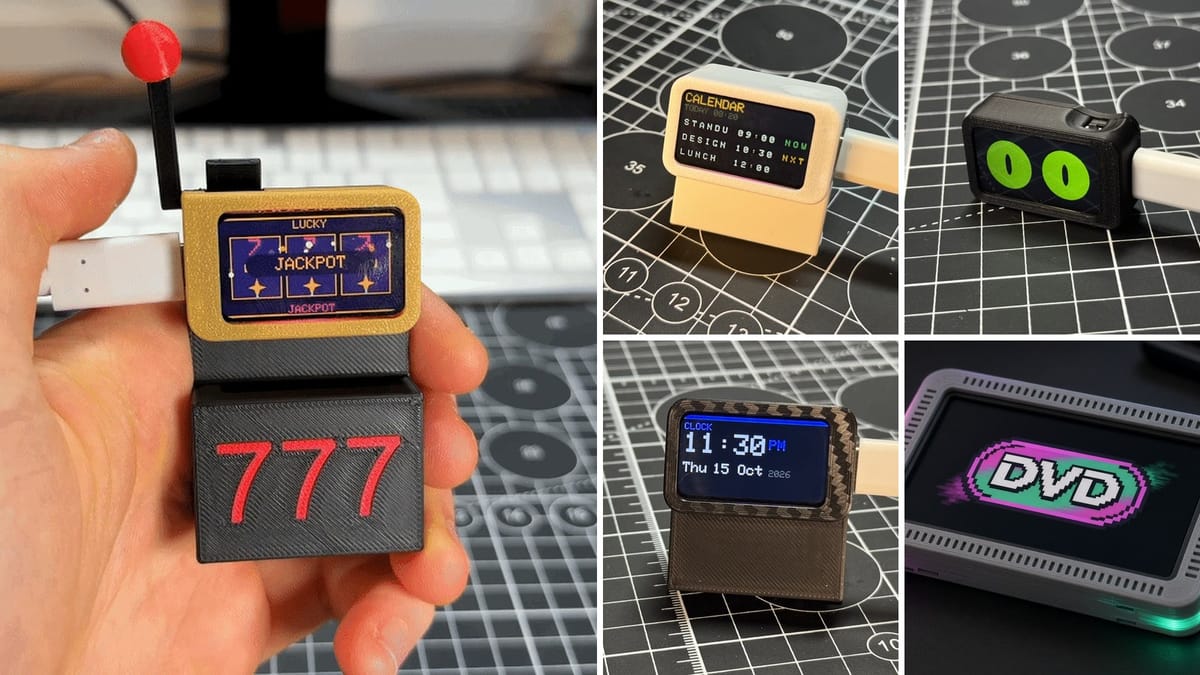
The ESP32-C6 is the cheapest way to get Wi-Fi 6, a RISC-V core and Arduino support into a desk gadget. On a board with a built-in 1.47 inch colour screen, you need no breadboard, no soldering iron and no jumper wires. Just a 3D printer, a USB-C cable and about 45 minutes.
These five ESP32-C6 projects are live in the PrintPal projects library. Each has a printable case, Arduino source, a bill of materials and a Flash to board button that works from Chrome or Edge.
The one board every project uses
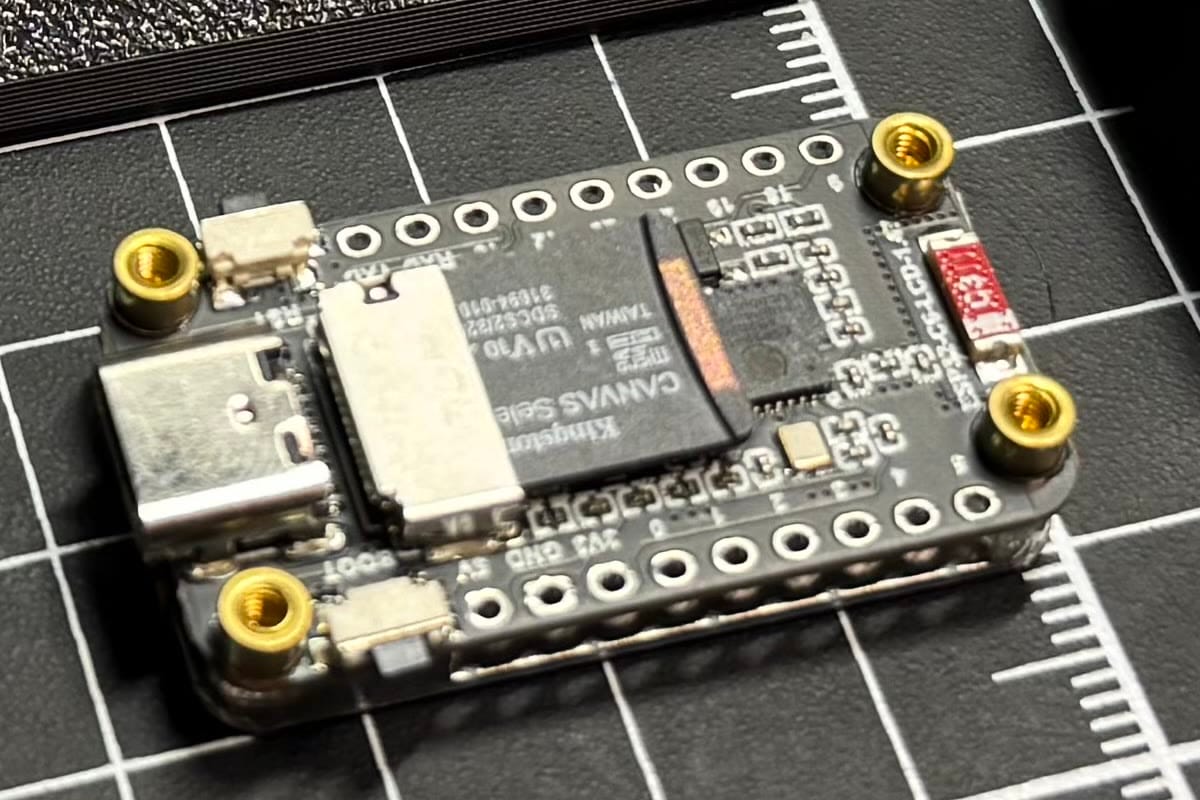
Every build runs on the Waveshare ESP32-C6-LCD-1.47 (Amazon B0DK5J6LX3):
- ESP32-C6: 160 MHz RISC-V, 2.4 GHz Wi-Fi 6, Bluetooth 5 LE, Zigbee and Thread
- 172 × 320 ST7789 LCD, already wired up
- A WS2812 RGB LED, a TF card slot, a BOOT button and USB-C
- Arduino IDE support (board: ESP32C6 Dev Module, ESP32 core 3.x) and PlatformIO
Screen, radio and button are on one board, so the printed case is the build. In every project a short press of BOOT does the main action and a hold of about 0.7 seconds rotates the screen or changes a theme.
1. Split-flap departure board
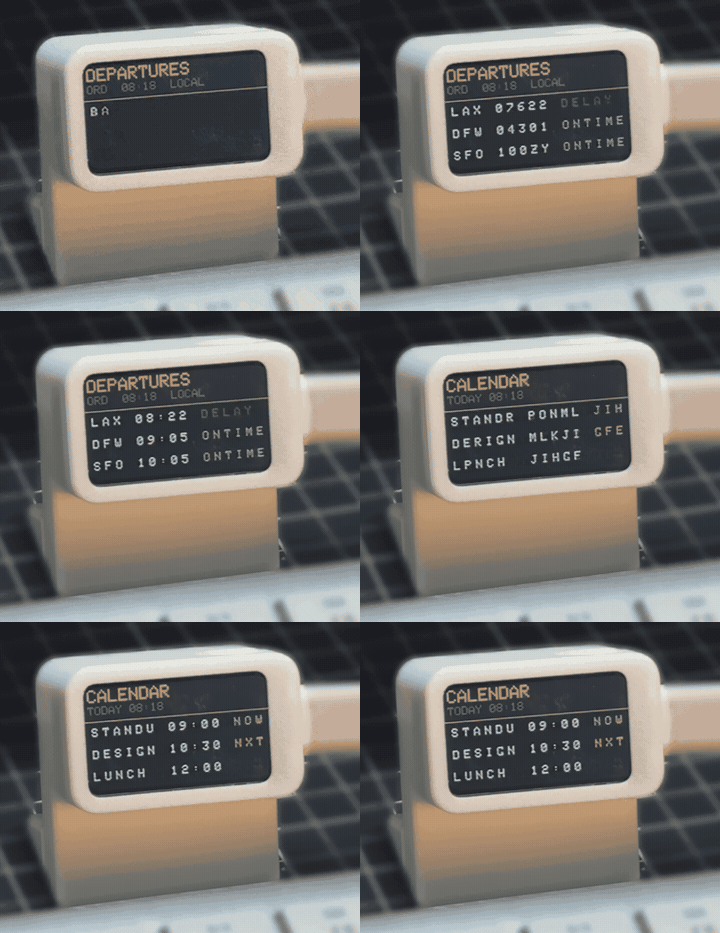
A tiny airport departures board that flips each letter in, like a real terminal, until a row reads LAX 08:15 ONTIME. A built-in Chicago schedule means it works the second you plug it in, no Wi-Fi needed. On-time rows are green, delays red, and the LED matches.
- Beginner, 45 min, about $20. Three printed parts (frame, stand, foot), 25 g PLA.
- Short press flips Departures and Calendar. Hold rotates: 5 rows portrait, 3 landscape.
- Level up: point
SCHEDULE_URLat a JSON file for real flights. - You learn: a screen is a table, tap vs hold, a word picks a colour, JSON.
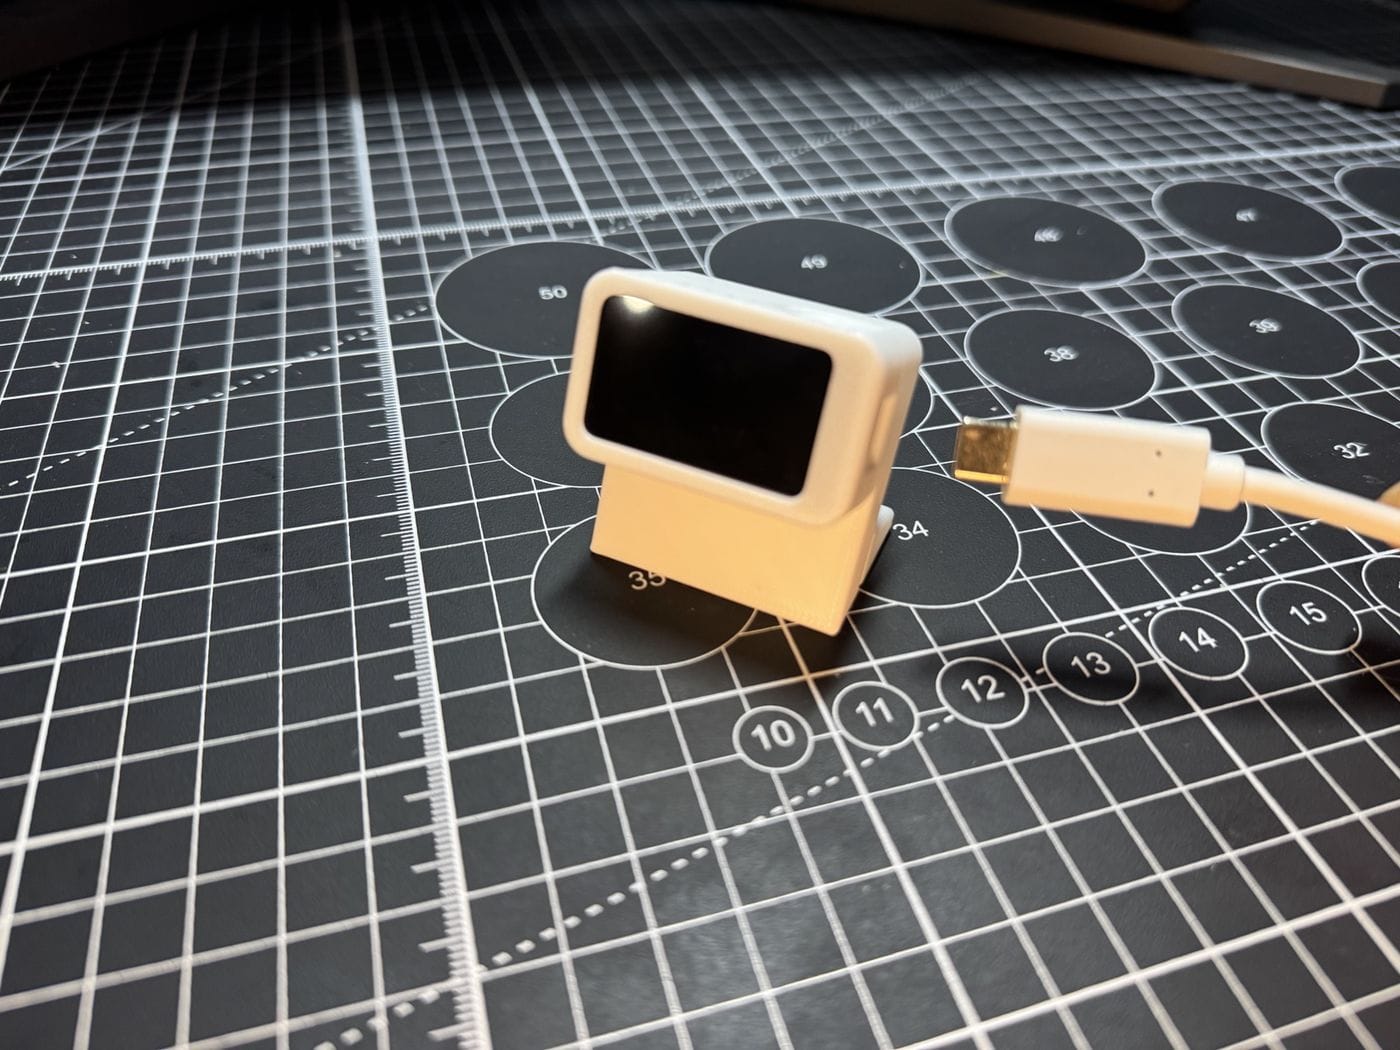
Build the split-flap departure slab →
2. Slab eyes
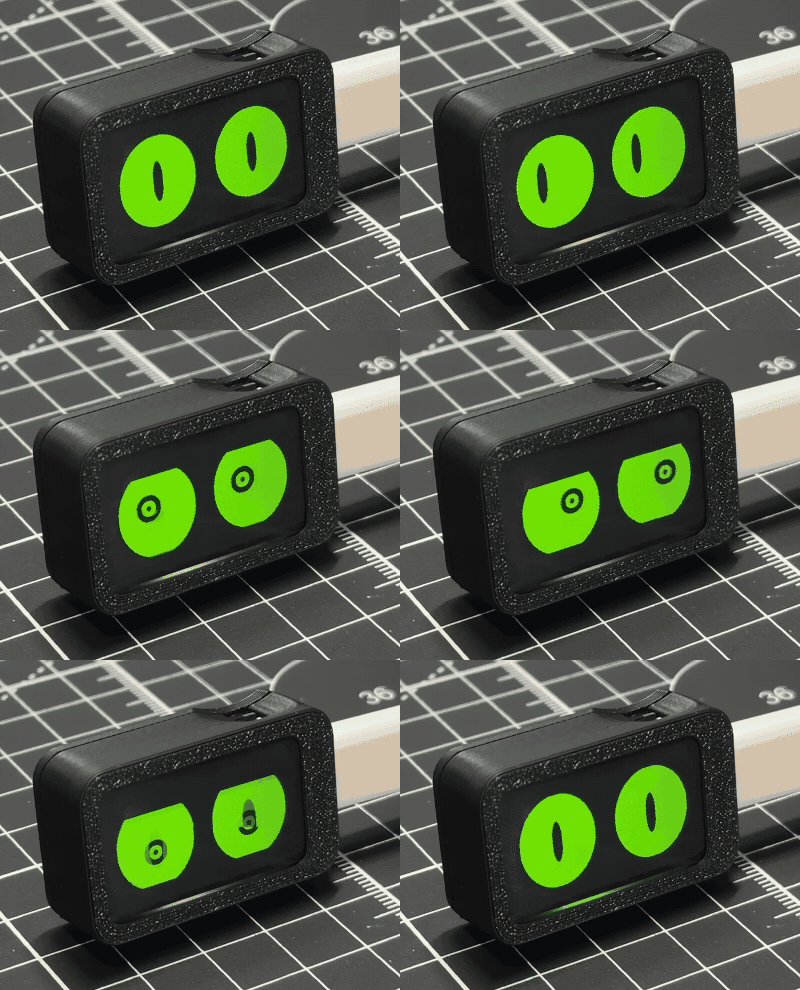
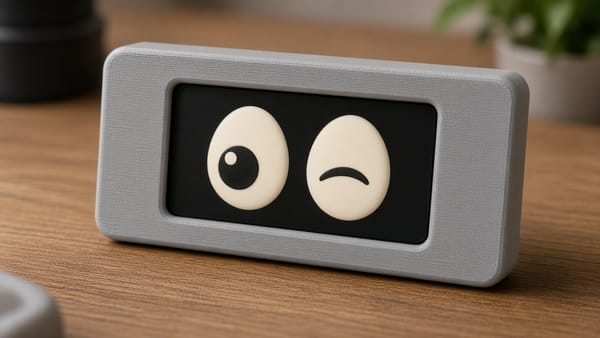
Cartoon eyes that look around, blink, wink, get curious and doze off when ignored. No camera, no sensor: the "life" is random timers and two ellipses redrawn many times a second. It is the best first animation project on this chip.
- Beginner, 45 min, about $18. Two printed parts (frame, back lid), 10 g PLA. Black makes the eyes glow.
- Short press pokes them. Hold cycles nine looks, from glowstick green to ghost.
- You learn: loops, screen coordinates, moods as numbers, and why the C6 prefers whole numbers (no floating-point unit).
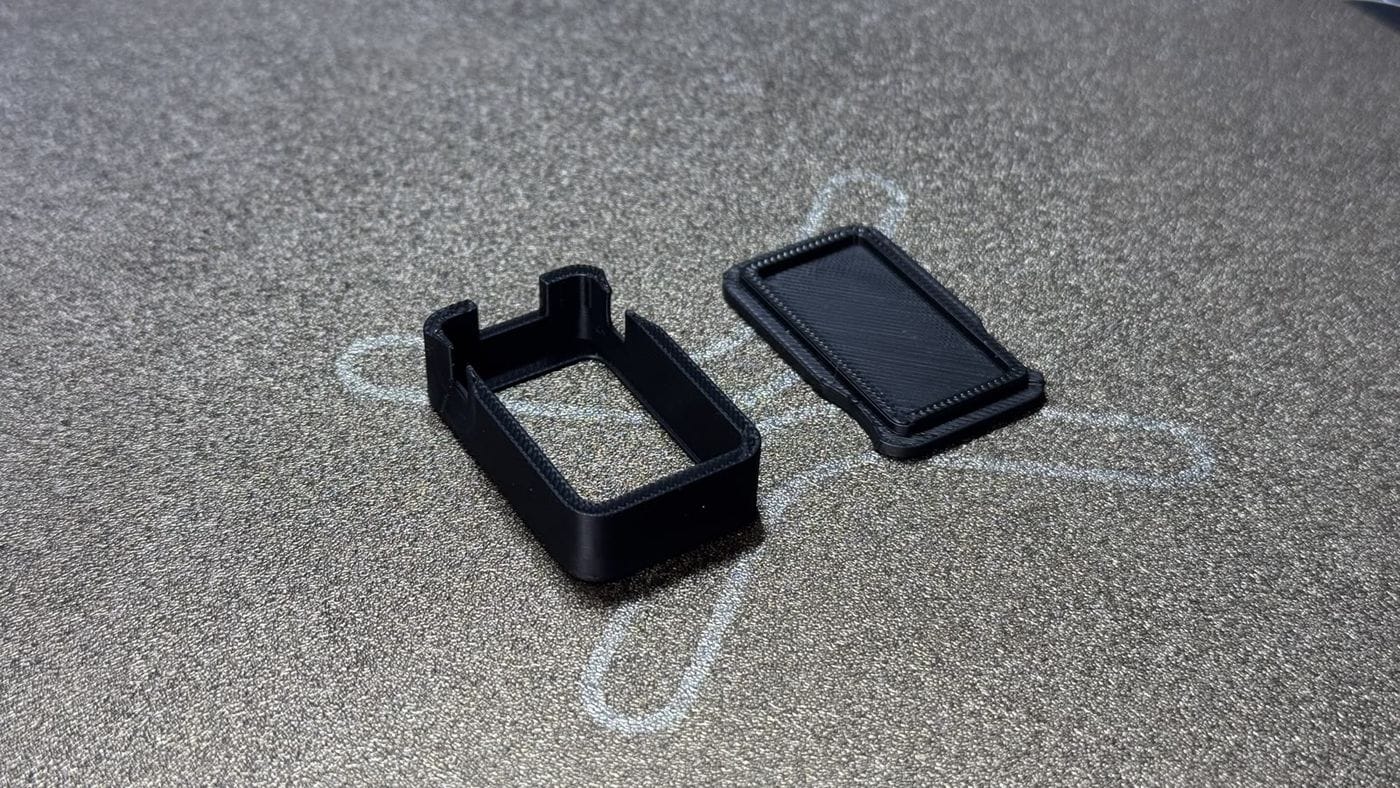
3. Lucky slab slot machine
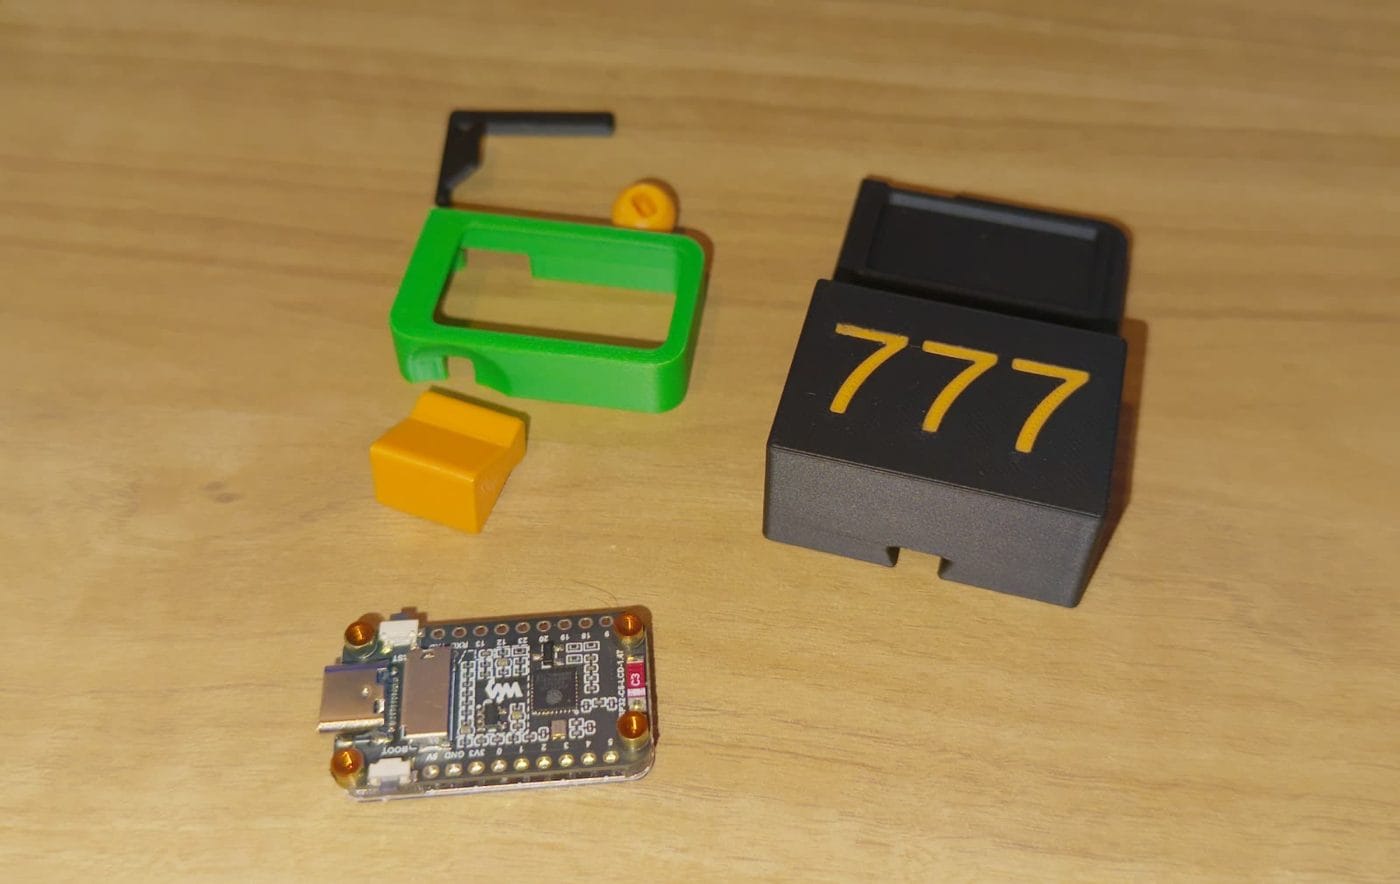
Pull the lever, three neon reels spin, and 7-7-7 rains coins down the screen.
A palm-sized slot machine with a printed lever that presses BOOT for you. The credits are just a number the chip remembers, which is what lets you open it up and see how "luck" works.
- Beginner, 45 min, about $18. Five printed parts (cabinet, bezel, lever, ball, wedge foot) in three colours.
- Short pull spins. Hold switches the Vegas, Diner and Cyber cabinets.
- 7 symbols, 24 starting credits. A pair pays 3, three of a kind 24, three 7s 77.
- You learn:
random(), a pay table,if / else, and a program with moods.
4. Pixel-art GIF player
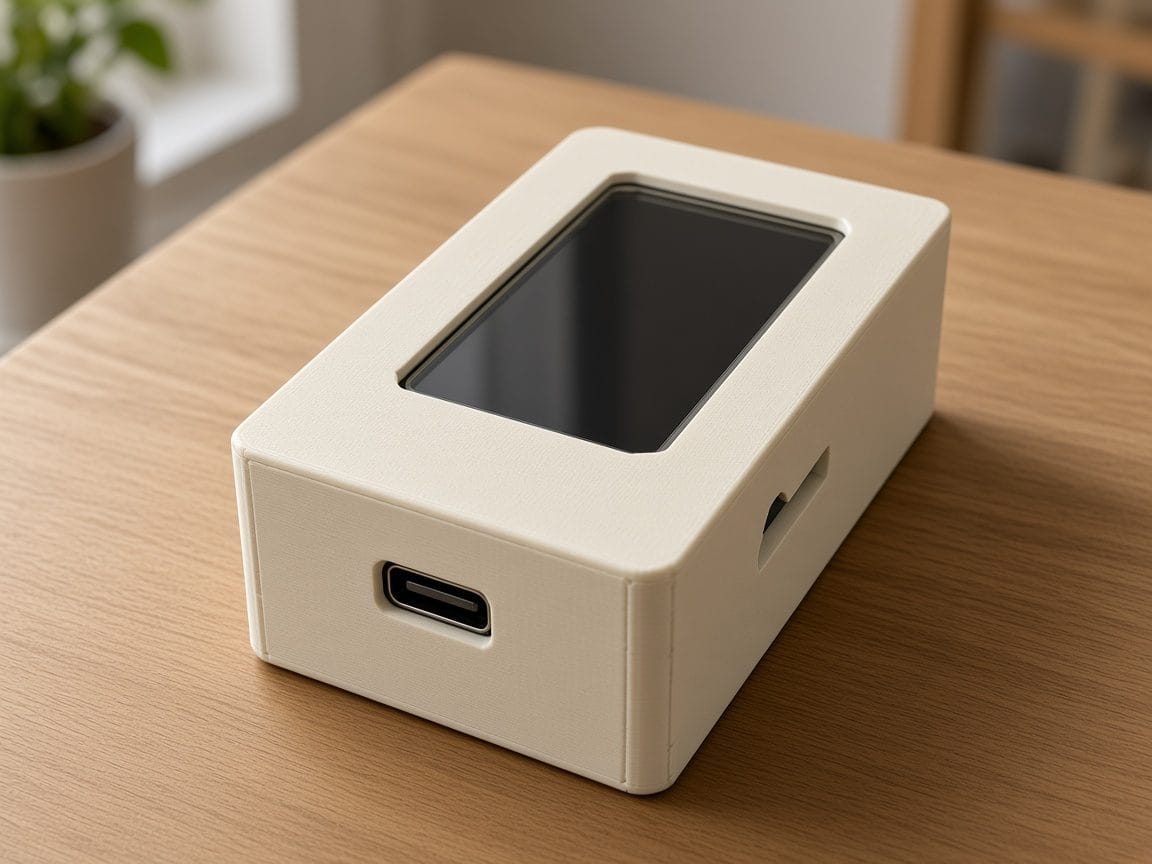
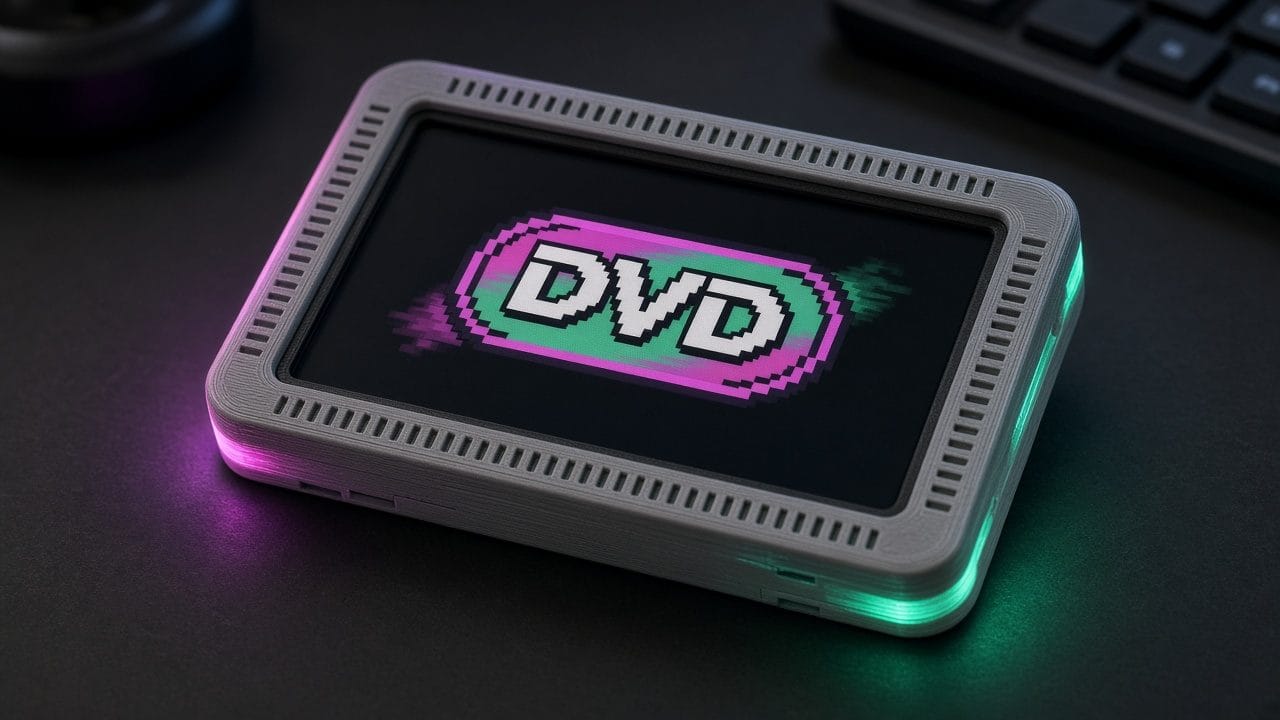
A pixel-art TV for your desk. DVD-BOUNCE, DINO-RUN and INVADER are built in and need no card. Drop your own .gif files into /gifs on a FAT-formatted TF card and it plays up to 48 of them.
- Beginner, 45 min, about $20. One snap-fit housing (OpenSCAD source included), 12 to 20 g PLA or PETG.
- Short press skips to the next loop. Hold rotates. The RGB LED pulses with the animation.
- You learn: animation is a flipbook, what a framebuffer is, why drawing straight to the panel tears.
5. Desk command slab (clock, weather, messages)
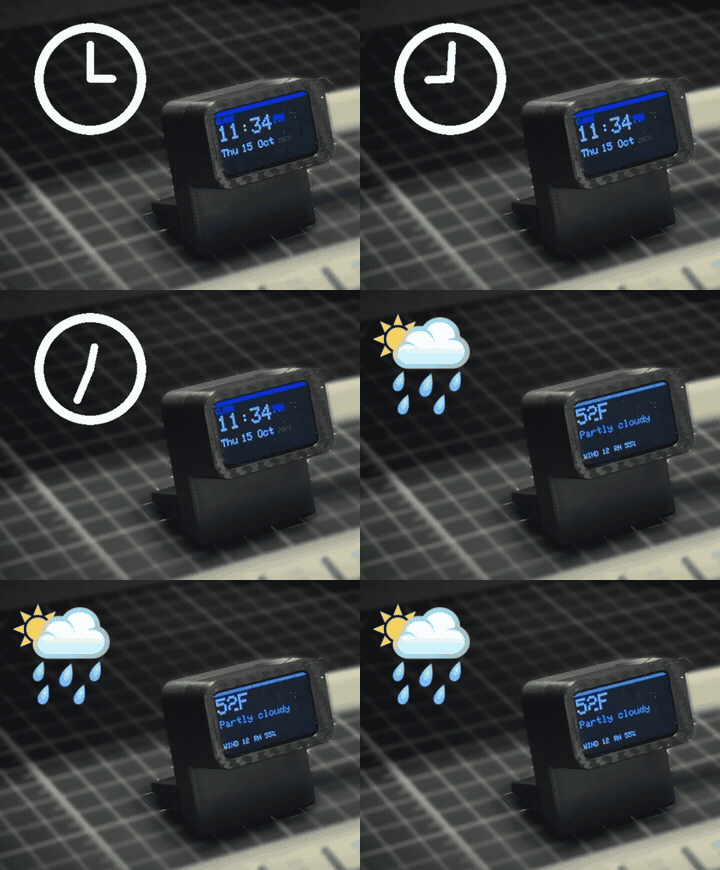
The Wi-Fi project. Page one is a clock set from the internet, page two is today's weather, page three is a message you type on your phone. Leave Wi-Fi blank and the slab becomes its own hotspot, DeskCommand, so the message page works anywhere.
- Intermediate, 1 h 10 min, about $20. Three printed parts (head, wedge base, kickstand foot), 25 g PLA.
- Time from pool.ntp.org, weather from Open-Meteo with no API key, messages via
POST /msg. 2.4 GHz only. - You learn: joining Wi-Fi vs being the Wi-Fi, a first web server, GET and POST, reading an API as JSON, NTP.
Which ESP32-C6 project first?
| If you want… | Start with |
|---|---|
| The fastest win, no Wi-Fi | Split-flap board |
| Something that feels alive | Slab eyes |
| A toy with a moving part | Lucky slab |
| Your own pixel art on a screen | GIF player |
| Wi-Fi, APIs and a web server | Desk command slab |
Printing and flashing
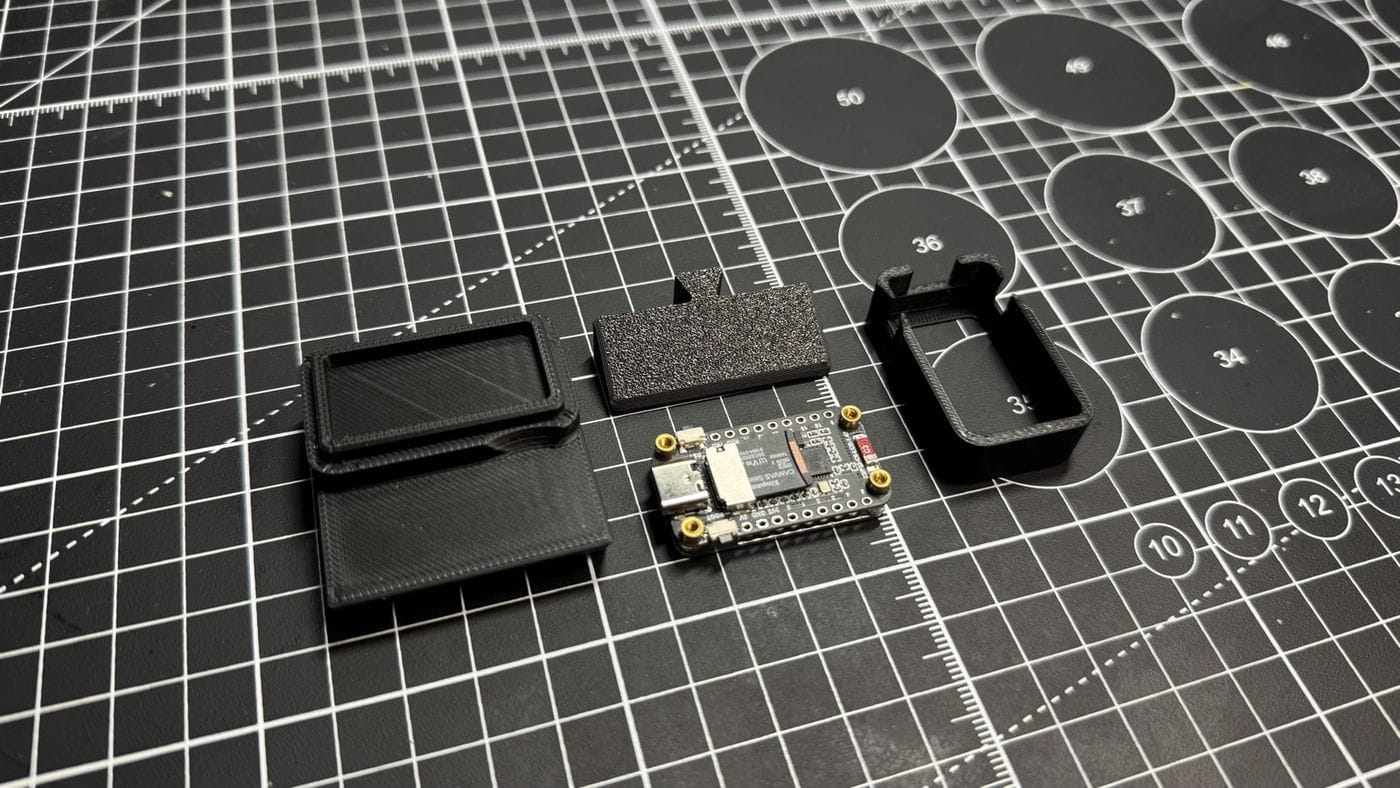
Print every case in PLA or PETG at 0.2 mm, no supports. The cavities are keyed to this exact board, with cutouts for USB-C, the TF slot and both buttons, so try the fit before you sand anything. To flash, open the project page in Chrome or Edge, plug in a data USB-C cable and press Flash to board. No port? Hold BOOT, tap RESET, release BOOT.
FAQ
Can I program the ESP32-C6 with the Arduino IDE? Yes. Install the ESP32 board package (3.x or newer), pick ESP32C6 Dev Module, enable USB CDC On Boot, serial at 115200. Every project also ships a PlatformIO folder.
Do these ESP32-C6 projects need soldering? No. Screen, LED, button and card slot are on the board. The only wire is a USB-C cable.
Does the ESP32-C6 support 5 GHz Wi-Fi? No. It is Wi-Fi 6 on 2.4 GHz only.
Pick one, print it tonight, flash it in the morning. All five ESP32-C6 projects, with files, BOMs and step photos, are in the PrintPal projects library. Made your own case or sketch for the C6 slab? Publish it as a build guide.