How to Make a 3D Printing Timelapse Without a Camera

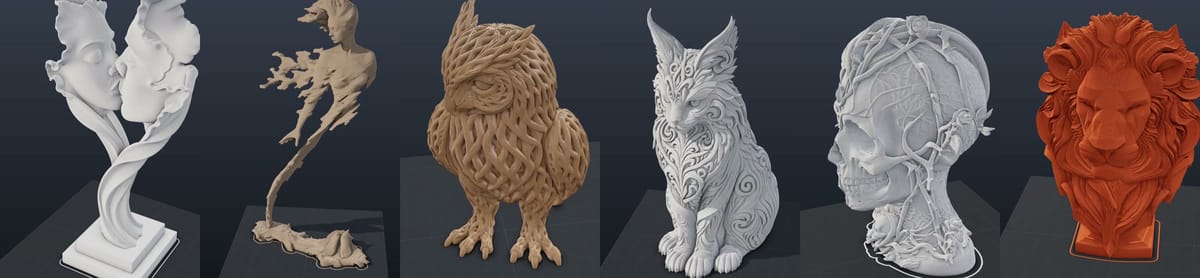
A good 3D printing timelapse is the most watched kind of 3D printing content online. A model rises out of the build plate in a few seconds and people stop scrolling. Getting one the normal way is a chore, though. You need a camera mounted in the enclosure, Octolapse or your printer's timelapse setting configured, decent lighting, and a print that does not fail at hour nine.
The PrintPal 3D Print Animator skips all of that. Drop in an STL, OBJ, 3MF or G-code file and it renders a photoreal 3D print timelapse in your browser: real extrusion beads, a moving print head, studio lighting and a clean build plate. Every video in this post came straight out of the tool.
Why render a timelapse instead of filming one
- No camera or printer needed. You can make a 3D printer timelapse of a model you have not printed yet, which is handy for product listings and pre-launch posts.
- Perfect every time. No spaghetti, no blurry webcam, no nozzle blocking the shot, no glare on the enclosure door.
- You pick the shot. Camera angle, orbit, backdrop, filament color and finish are all settings, not a reshoot.
- Private. Slicing, rendering and video encoding all happen on your computer. Your files are never uploaded.
It is the same idea as a Blender G-code render, without installing Blender or learning a render engine.
How to make a 3D printing timelapse in 5 steps
1. Load your model or G-code
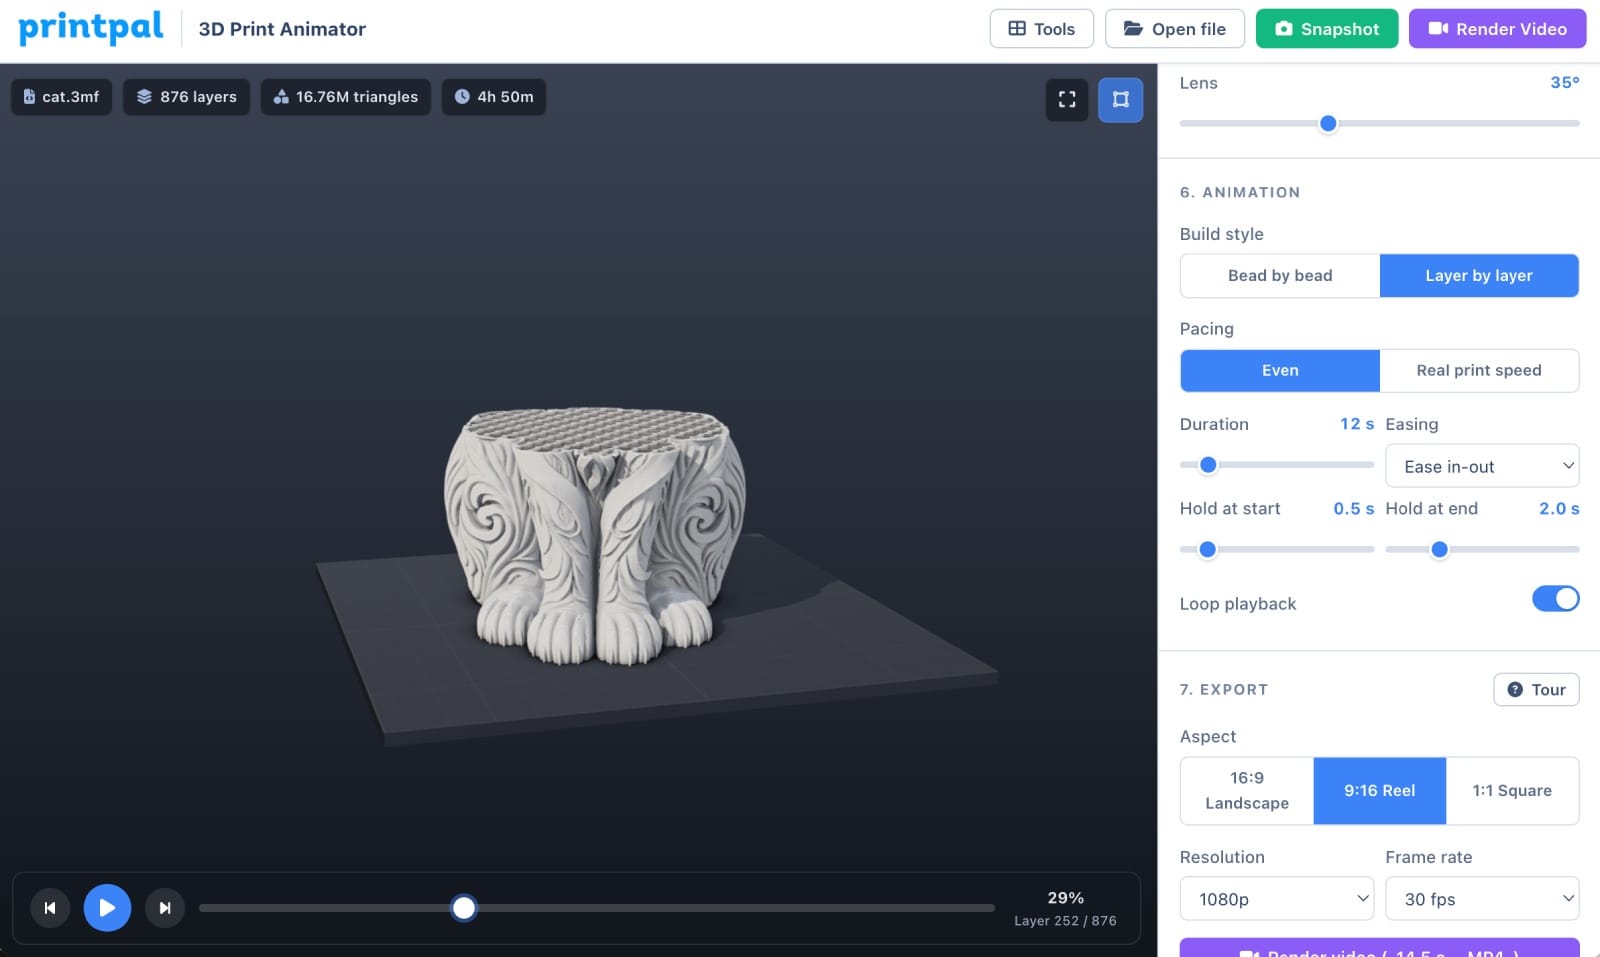
Open the 3D Print Animator and drag in a file, or click Try a sample print to play first.
- STL, OBJ or 3MF: the tool slices the model in your browser with real walls, top and bottom layers, infill and a skirt. This is the fastest way to turn an STL into a video.
- G-code: drop a file from Bambu Studio, OrcaSlicer, PrusaSlicer, SuperSlicer or Cura (sliced
.gcode.3mfplate exports work too) and you get the exact toolpaths your printer will run, including supports, seams and AMS color changes.
2. Set the slicing and filament
For models, pick a layer height, wall count and infill. Grid infill looks great on camera because you can see the pattern fill each layer before the top closes over it. Then pick a filament color and a finish: Matte, Satin, Glossy or Silk. You can also add a color change at any height for a two-tone print.
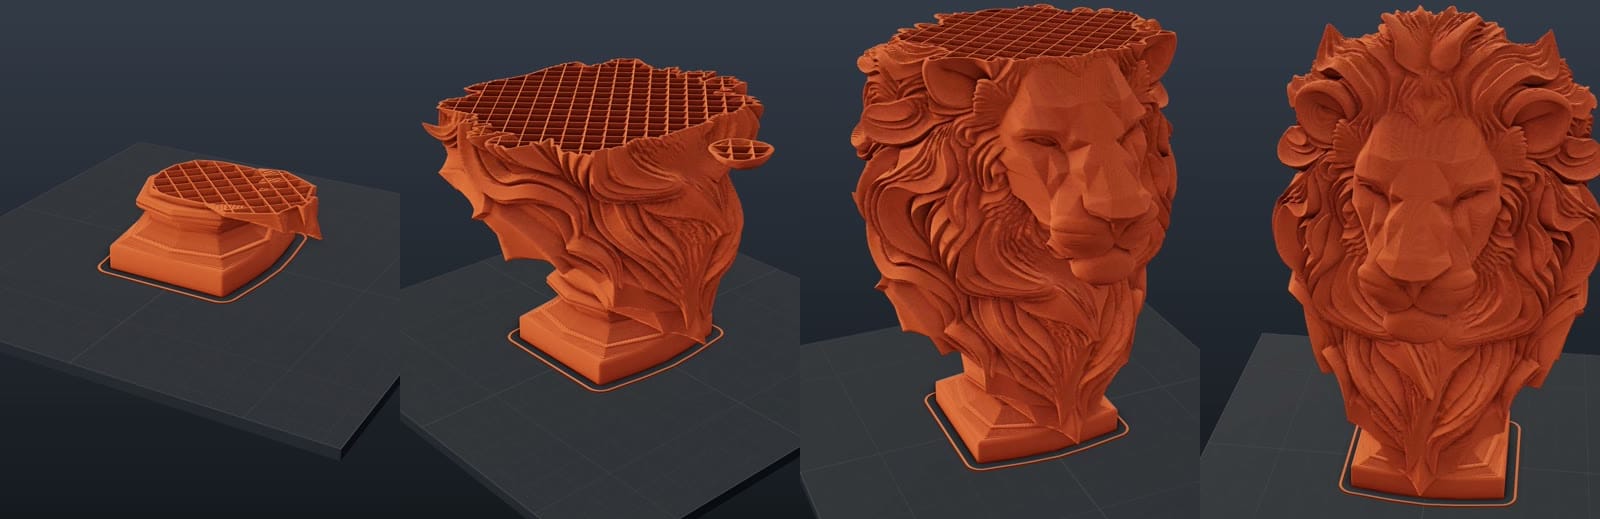
The lion at roughly 20%, 45%, 70% and 100%. Grid infill and the skirt line are visible as the camera orbits.
3. Dress the scene
Choose a backdrop (Studio dark is the look used in every example here), a build plate such as Textured PEI or Glass, and a lighting mood. Keep Print head follows the nozzle path on for that real printer feel, and Soft shadows on for depth.
4. Frame the camera and pacing
Pick a camera preset, or drag in the viewport to frame the exact shot you want. The first frame of the video is exactly what you see. Two settings make the biggest difference:
- Slow orbit while playing spins the camera around the model as it builds.
- Camera rises with the print keeps tall models in frame.
Under Animation, choose Bead by bead to watch the nozzle draw every line, or Layer by layer for a classic printer timelapse. Around 12 seconds with a 2 second hold at the end is a good length for social video.
5. Export your video
Pick an aspect ratio: 9:16 Reel for TikTok, Instagram Reels and YouTube Shorts, 1:1 Square for feeds and Etsy, or 16:9 for YouTube. Choose 30 or 60 fps and click Render video. The tool renders frame by frame, so the MP4 comes out smooth even on a laptop. You can also save transparent PNG stills for thumbnails.
Where to use your 3D print timelapse
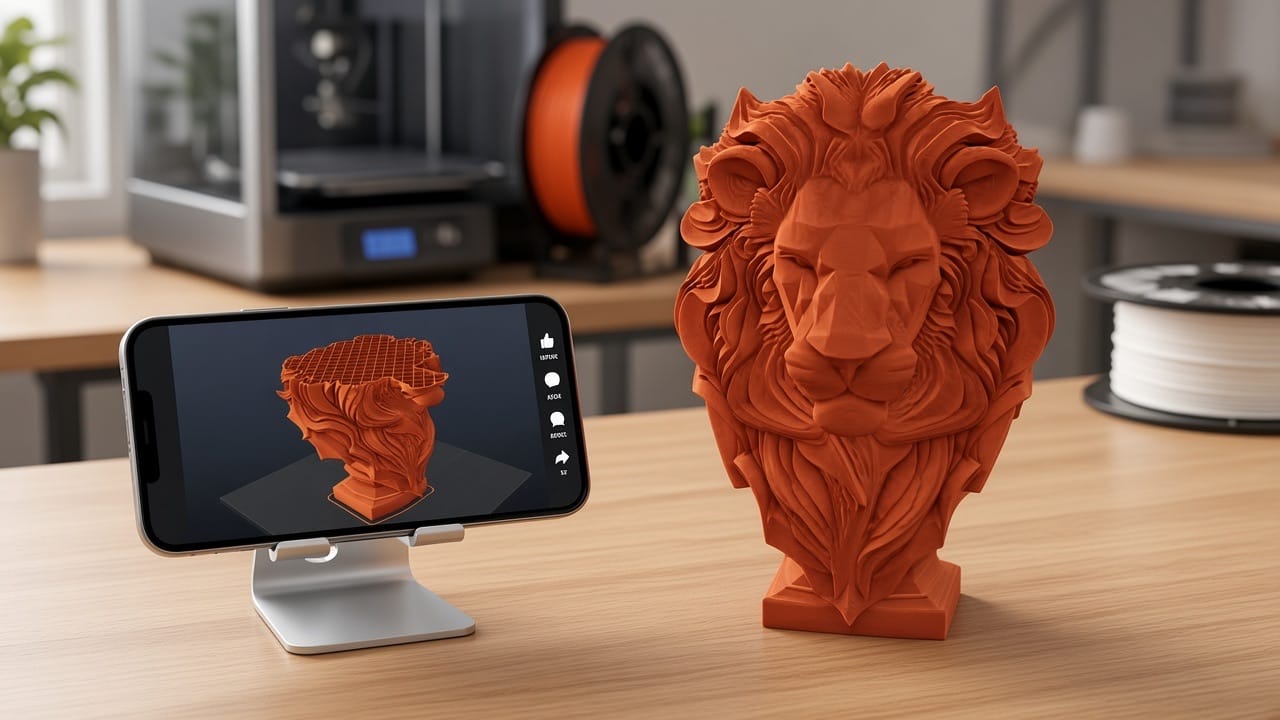
- TikTok, Reels and Shorts. A 9:16 timelapse with a satisfying finish is perfect short-form content.
- Etsy and shop listings. Listing videos help a product stand out, and you can make one before the first unit is printed.
- Model marketplaces. Designers can show how a file prints, supports included, before anyone downloads it.
- Checking a print before you start. Animating real G-code makes odd toolpaths, missing supports and surprise purge lines obvious.
Quick answers
Do I need a 3D printer to make a 3D printing timelapse? No. The tool simulates the print from your file, so you can make a timelapse of any model.
Does it work with Bambu Lab, Prusa and Creality G-code? Yes. Bambu Studio, OrcaSlicer, PrusaSlicer, SuperSlicer and Cura are read in detail, and other Marlin, Klipper and RepRap G-code works too.
Can it show multi-color prints? Yes. AMS tool changes in G-code, painted 3MF files and colored OBJ files all keep their filament colors.
Is it an Octolapse alternative? For content, yes. Octolapse films a real print with a real camera. The animator renders one from the file, so you get a clean result without the hardware.
Ready to make yours? Open the 3D Print Animator, drop in your favorite STL and hit render. If the model needs fixing first, run it through Mesh Repair.