How to Export a 3D Printable Map From the PrintPal Map Builder


A few weeks ago I wanted a little island for a tabletop game night. Nothing fancy, just a chunk of land with a beach, a hill, and a couple of trees. The problem was that every path to get there ran through CAD software I did not want to learn at 9pm on a Tuesday.
That is the exact moment the PrintPal Map Builder was made for. You sculpt the land, paint it, drop in some props, and export a watertight, full color model that your slicer understands. It all happens in the browser, and the part most people get stuck on, the export, is genuinely the easy part once you know what the three formats do.
This guide walks you through it.
Build First, Export Second
Before you can export anything, you need something on the table. The Map Builder makes this quick.
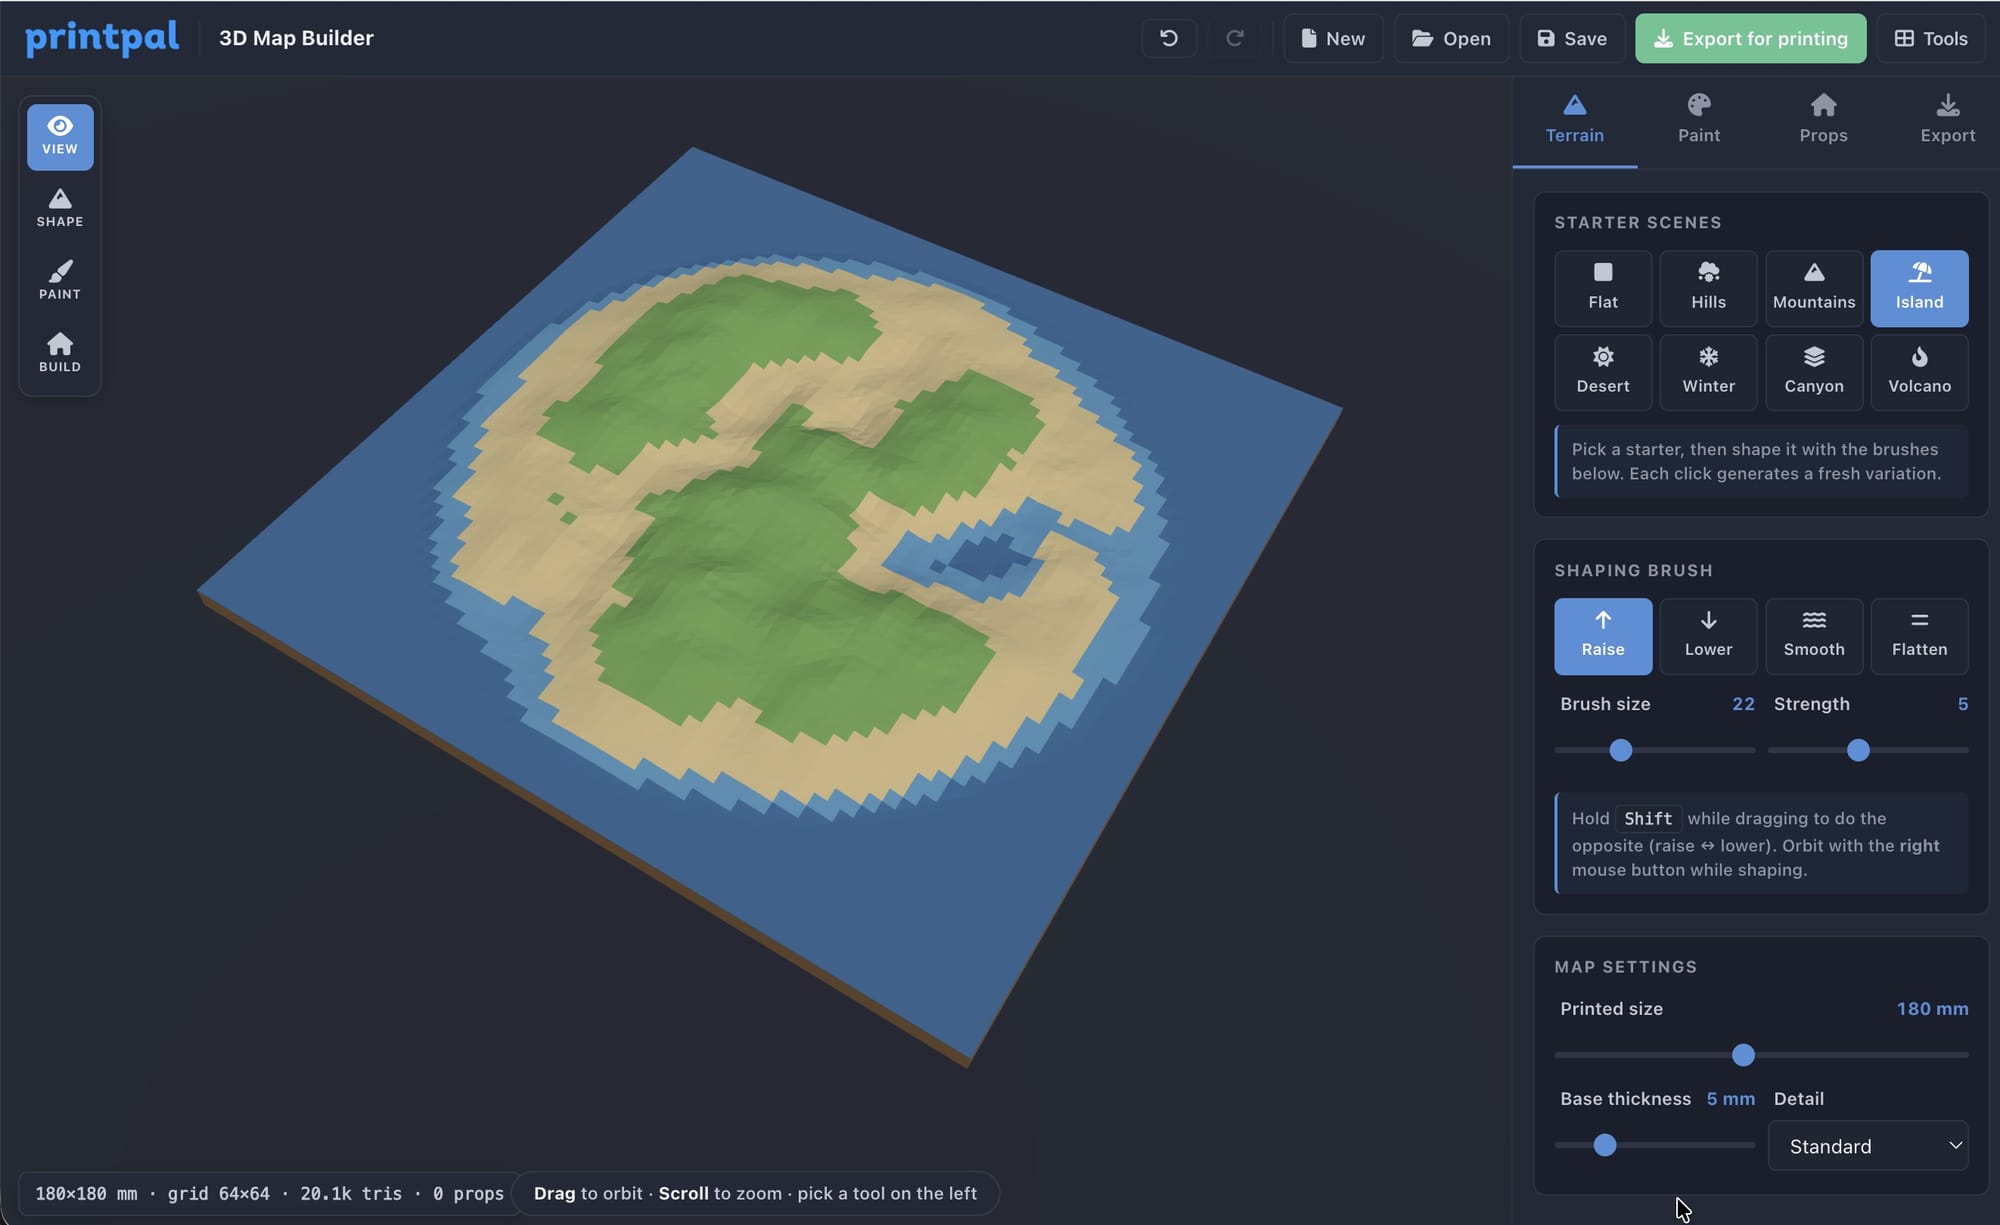
- Open the Map Builder and pick a starter scene like Hills, Island, or Mountains.
- Use the sculpt brushes to raise, lower, smooth, or flatten the terrain until it feels right.
- Paint the surface with grass, sand, rock, water, or snow.
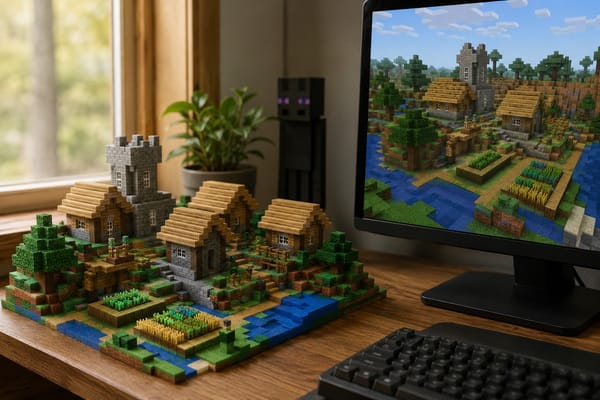
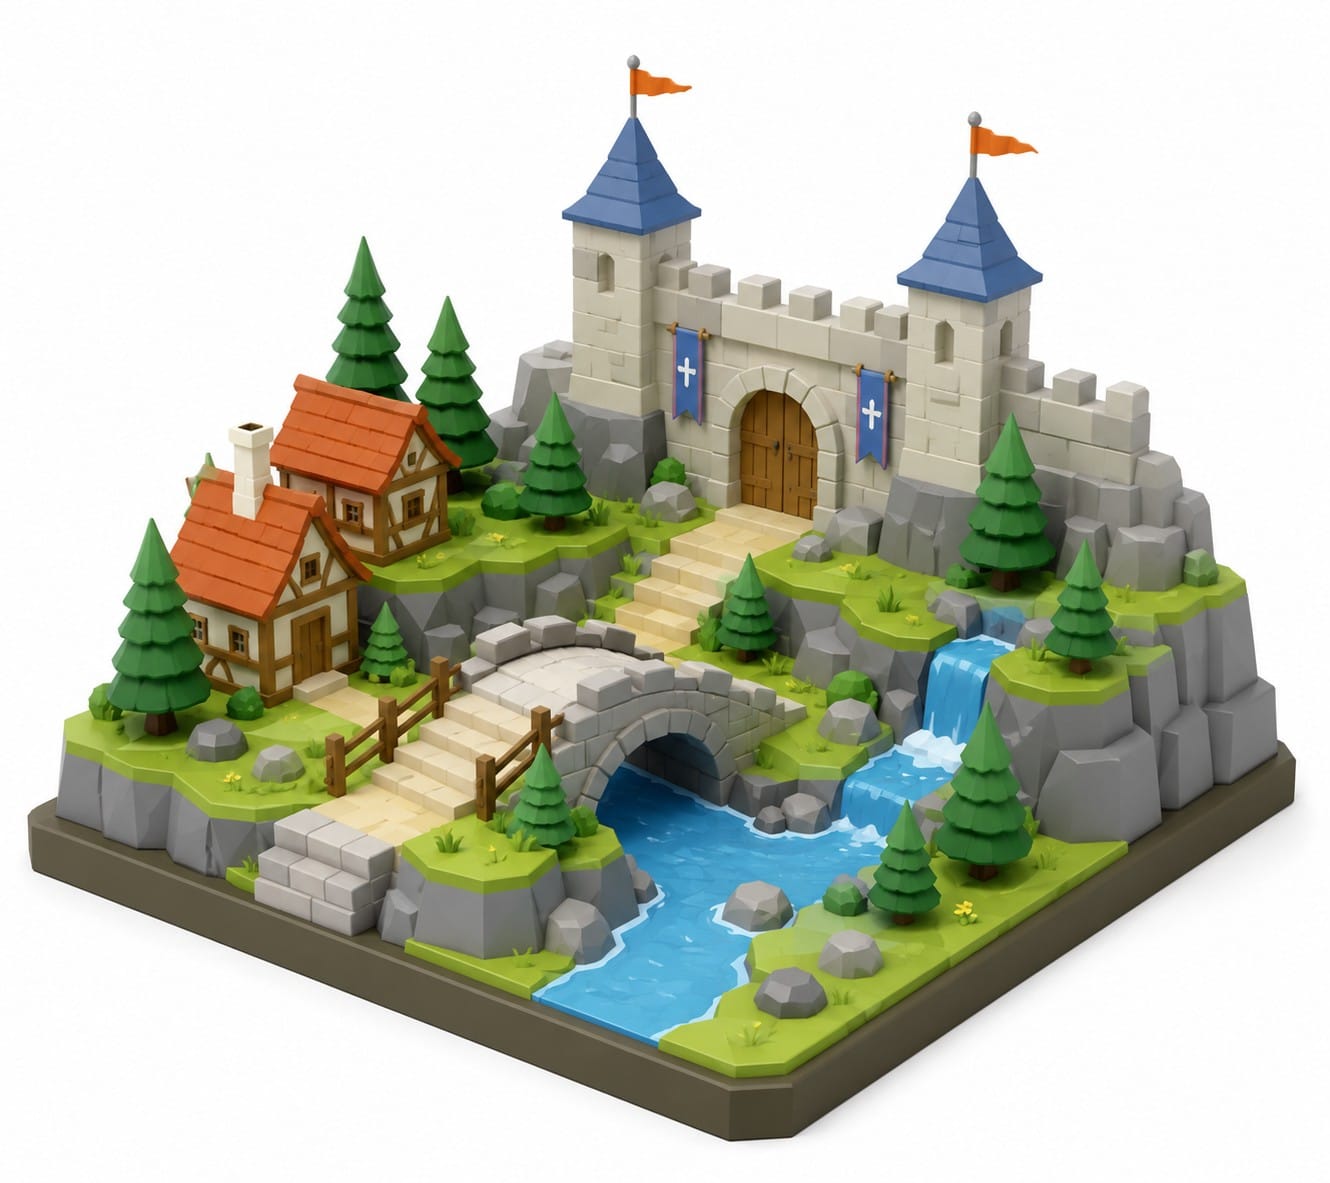
- Place props from the library, things like houses, walls, bridges, and trees, and snap the linear pieces together end to end.
That is the whole creative loop. When the map looks good, you head to the Export tab, and this is where the real decisions happen.
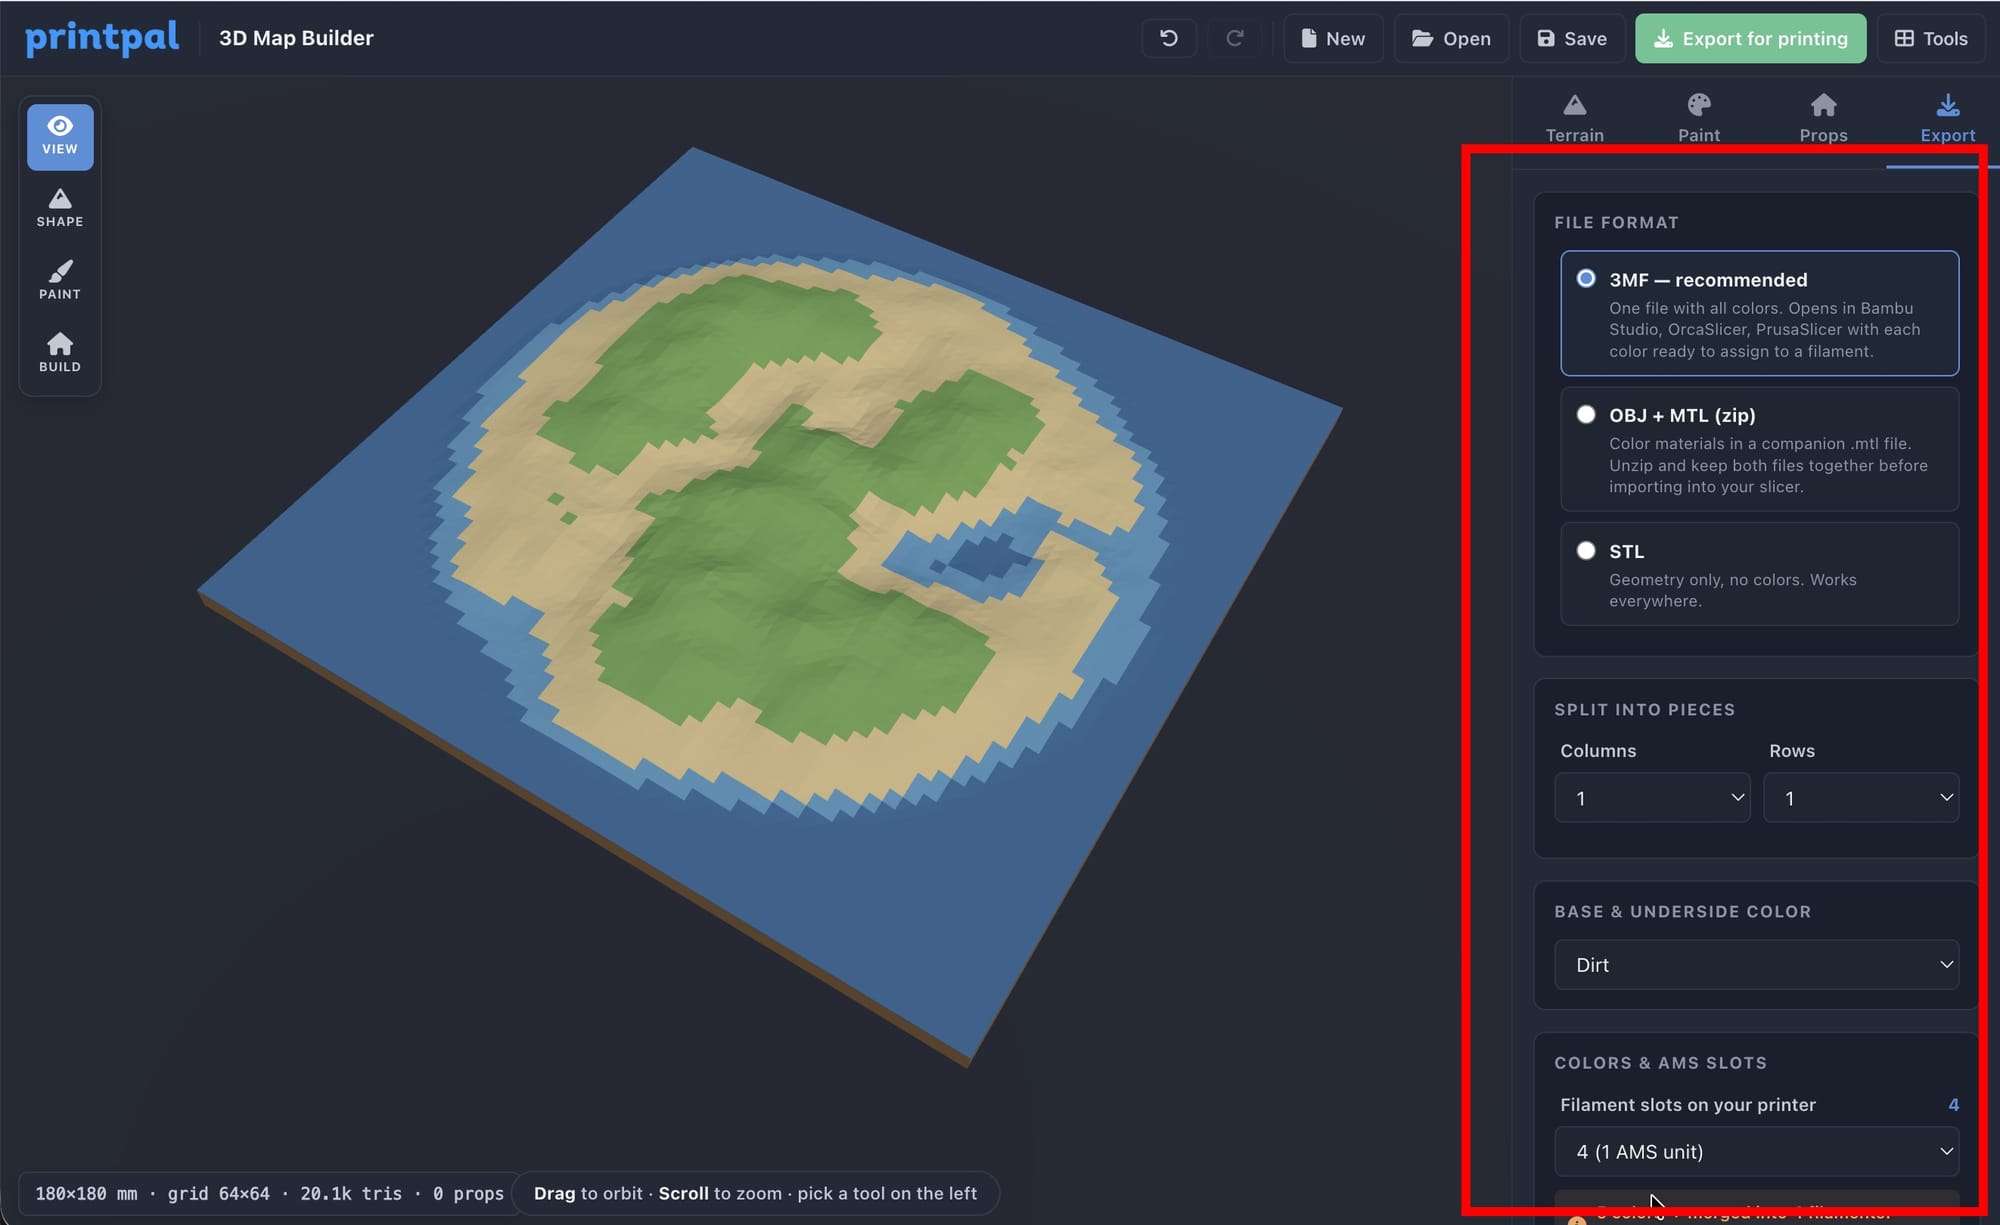
Choosing Your Export Format
The Export tab gives you three formats, and the right one depends entirely on whether you care about color.
- 3MF. This is the one to use for color. The file carries your paint and prop colors inside it, so when you open it in Bambu Studio or OrcaSlicer, each color is already separated and ready to assign to a filament. If you have an AMS, this is the format you want.
- OBJ. Also keeps color, packaged with a materials file inside a zip. Good for color workflows in slicers and software that prefer OBJ over 3MF.
- STL. No color at all. STL is a single solid shape, perfect when you plan to print in one filament or paint the model by hand afterward.
My rule of thumb: if you spent time painting the map, export 3MF. If you just want the shape, export STL.
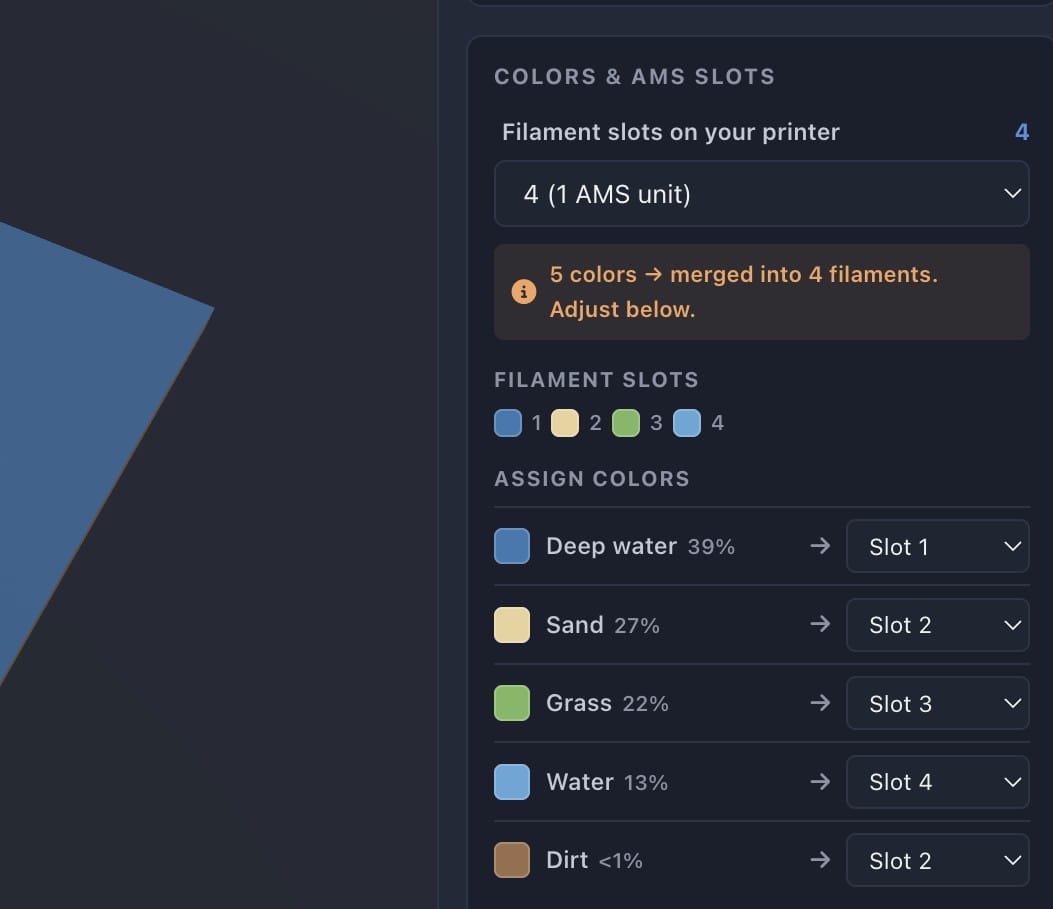
Getting Your Colors Into the AMS
This is the question I get most often, so let me be clear about it. When you export a 3MF and open it in your slicer, the colors are not baked onto the surface like a sticker. They come in as separate color groups, and you tell the slicer which filament to load for each one.
If your map uses more colors than you have AMS slots, the Map Builder lets you map them down before you export. You pick how many slots you have, four for a single AMS unit for example, and similar colors get merged into the closest match. You can also keep every color if you would rather sort it out in the slicer yourself.
Once it is in Bambu Studio or OrcaSlicer, assign a filament to each color, slice, and you are printing a full color map.
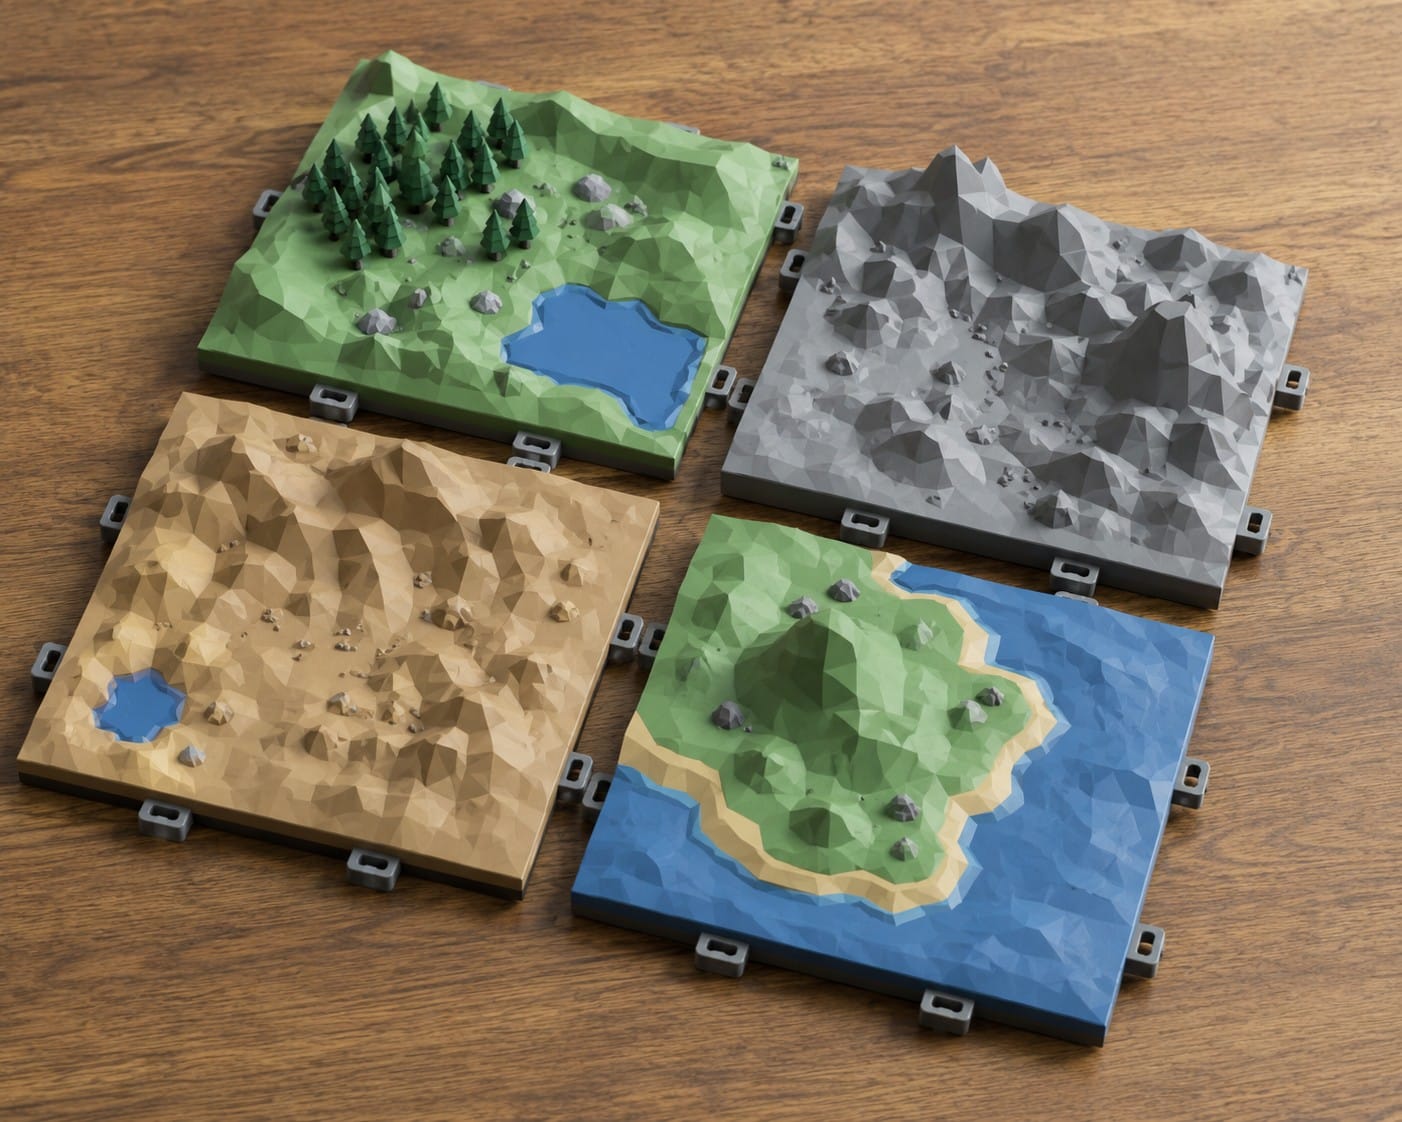
One Piece or Snap Together Tiles
If your map is bigger than your print bed, you do not have to shrink it. In the Export tab you can split the map into a grid of tiles, and the tool adds little connector clips so the printed pieces lock together cleanly afterward.
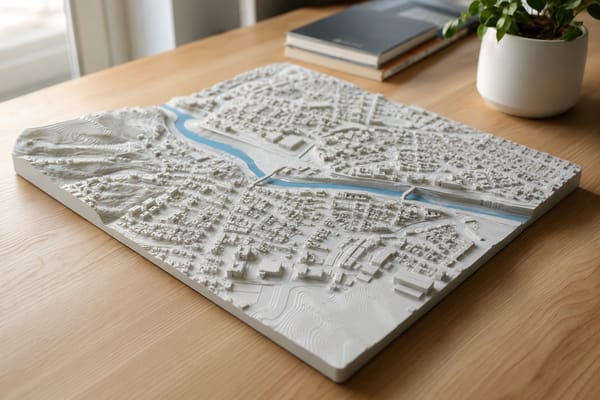
This is the difference between a map that fits your printer and a map that fits your table. Print the tiles over a few days, snap them together, and you have a large diorama with no glue and no visible seams ruining the look.
A Quick Print Settings Cheat Sheet
The Map Builder already sizes everything to be printable, so the geometry is watertight and the small features are thick enough to survive an FDM nozzle. These settings work well for most maps:
| Setting | Value |
|---|---|
| Material | PLA |
| Layer height | 0.20 mm |
| Infill | 10 to 15 percent |
| Walls | 2 to 3 perimeters |
| Supports | Usually not needed for terrain |
| Orientation | Flat on the bed |
What You Need to Export
Building a map is free for everyone. Exporting the print ready file requires you to be signed in with an active Pro, Studio, or CAD Agent plan. You can sculpt, paint, and arrange your whole scene first, then upgrade when you are ready to download and print.
No Idea Where to Start?
If a blank map feels intimidating, do not overthink it. Load a starter scene, hit the paint by elevation button so the terrain colors itself, and drop a few props on top. You will have something worth printing in about two minutes, and you can keep tweaking from there.
When you are happy, export a 3MF, load it into your slicer, and watch your little world come together one color at a time.
Summary
| Goal | What to Do |
|---|---|
| Build a map from scratch | Open the Map Builder |
| Keep your colors for the AMS | Export as 3MF |
| Print bigger than your bed | Split into snap together tiles before export |
| Print in one color or hand paint | Export as STL |
| Explore other free 3D tools | Browse all tools |
The whole workflow runs in your browser. Sculpt, paint, place, export, print.
3D assets in the Map Builder are by Kenney, released under CC0. If you enjoy them, consider donating to support their work.