Build a Split-Flap Airport Board on an ESP32-C6

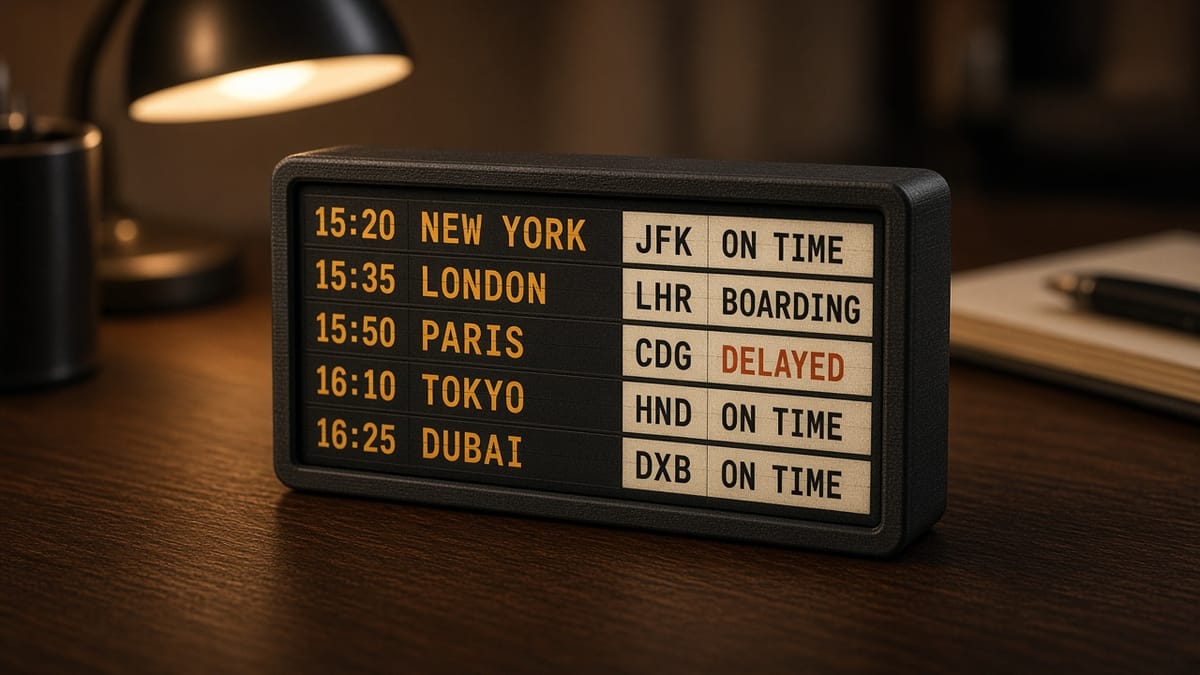
Airports used to flip metal cards to show the next flight. Each card was cut in half, so the letter seemed to tumble into place. This project paints that look on a small screen: a DIY airport departure board you can print a case for and flash in the browser.
The board is the Waveshare ESP32-C6-LCD-1.47 (Amazon B0DK5J6LX3). The panel is 172×320, driven by an ST7789. There is no touch and no motion sensor. You change pages with the BOOT button on GPIO9. A single onboard WS2812 LED sits on GPIO8. Keep the backlight at 50% or below. Waveshare warns this panel can heat-spot at full brightness. The case, schedule file, and flash button are on the split-flap departure slab.
A screen is often just a table
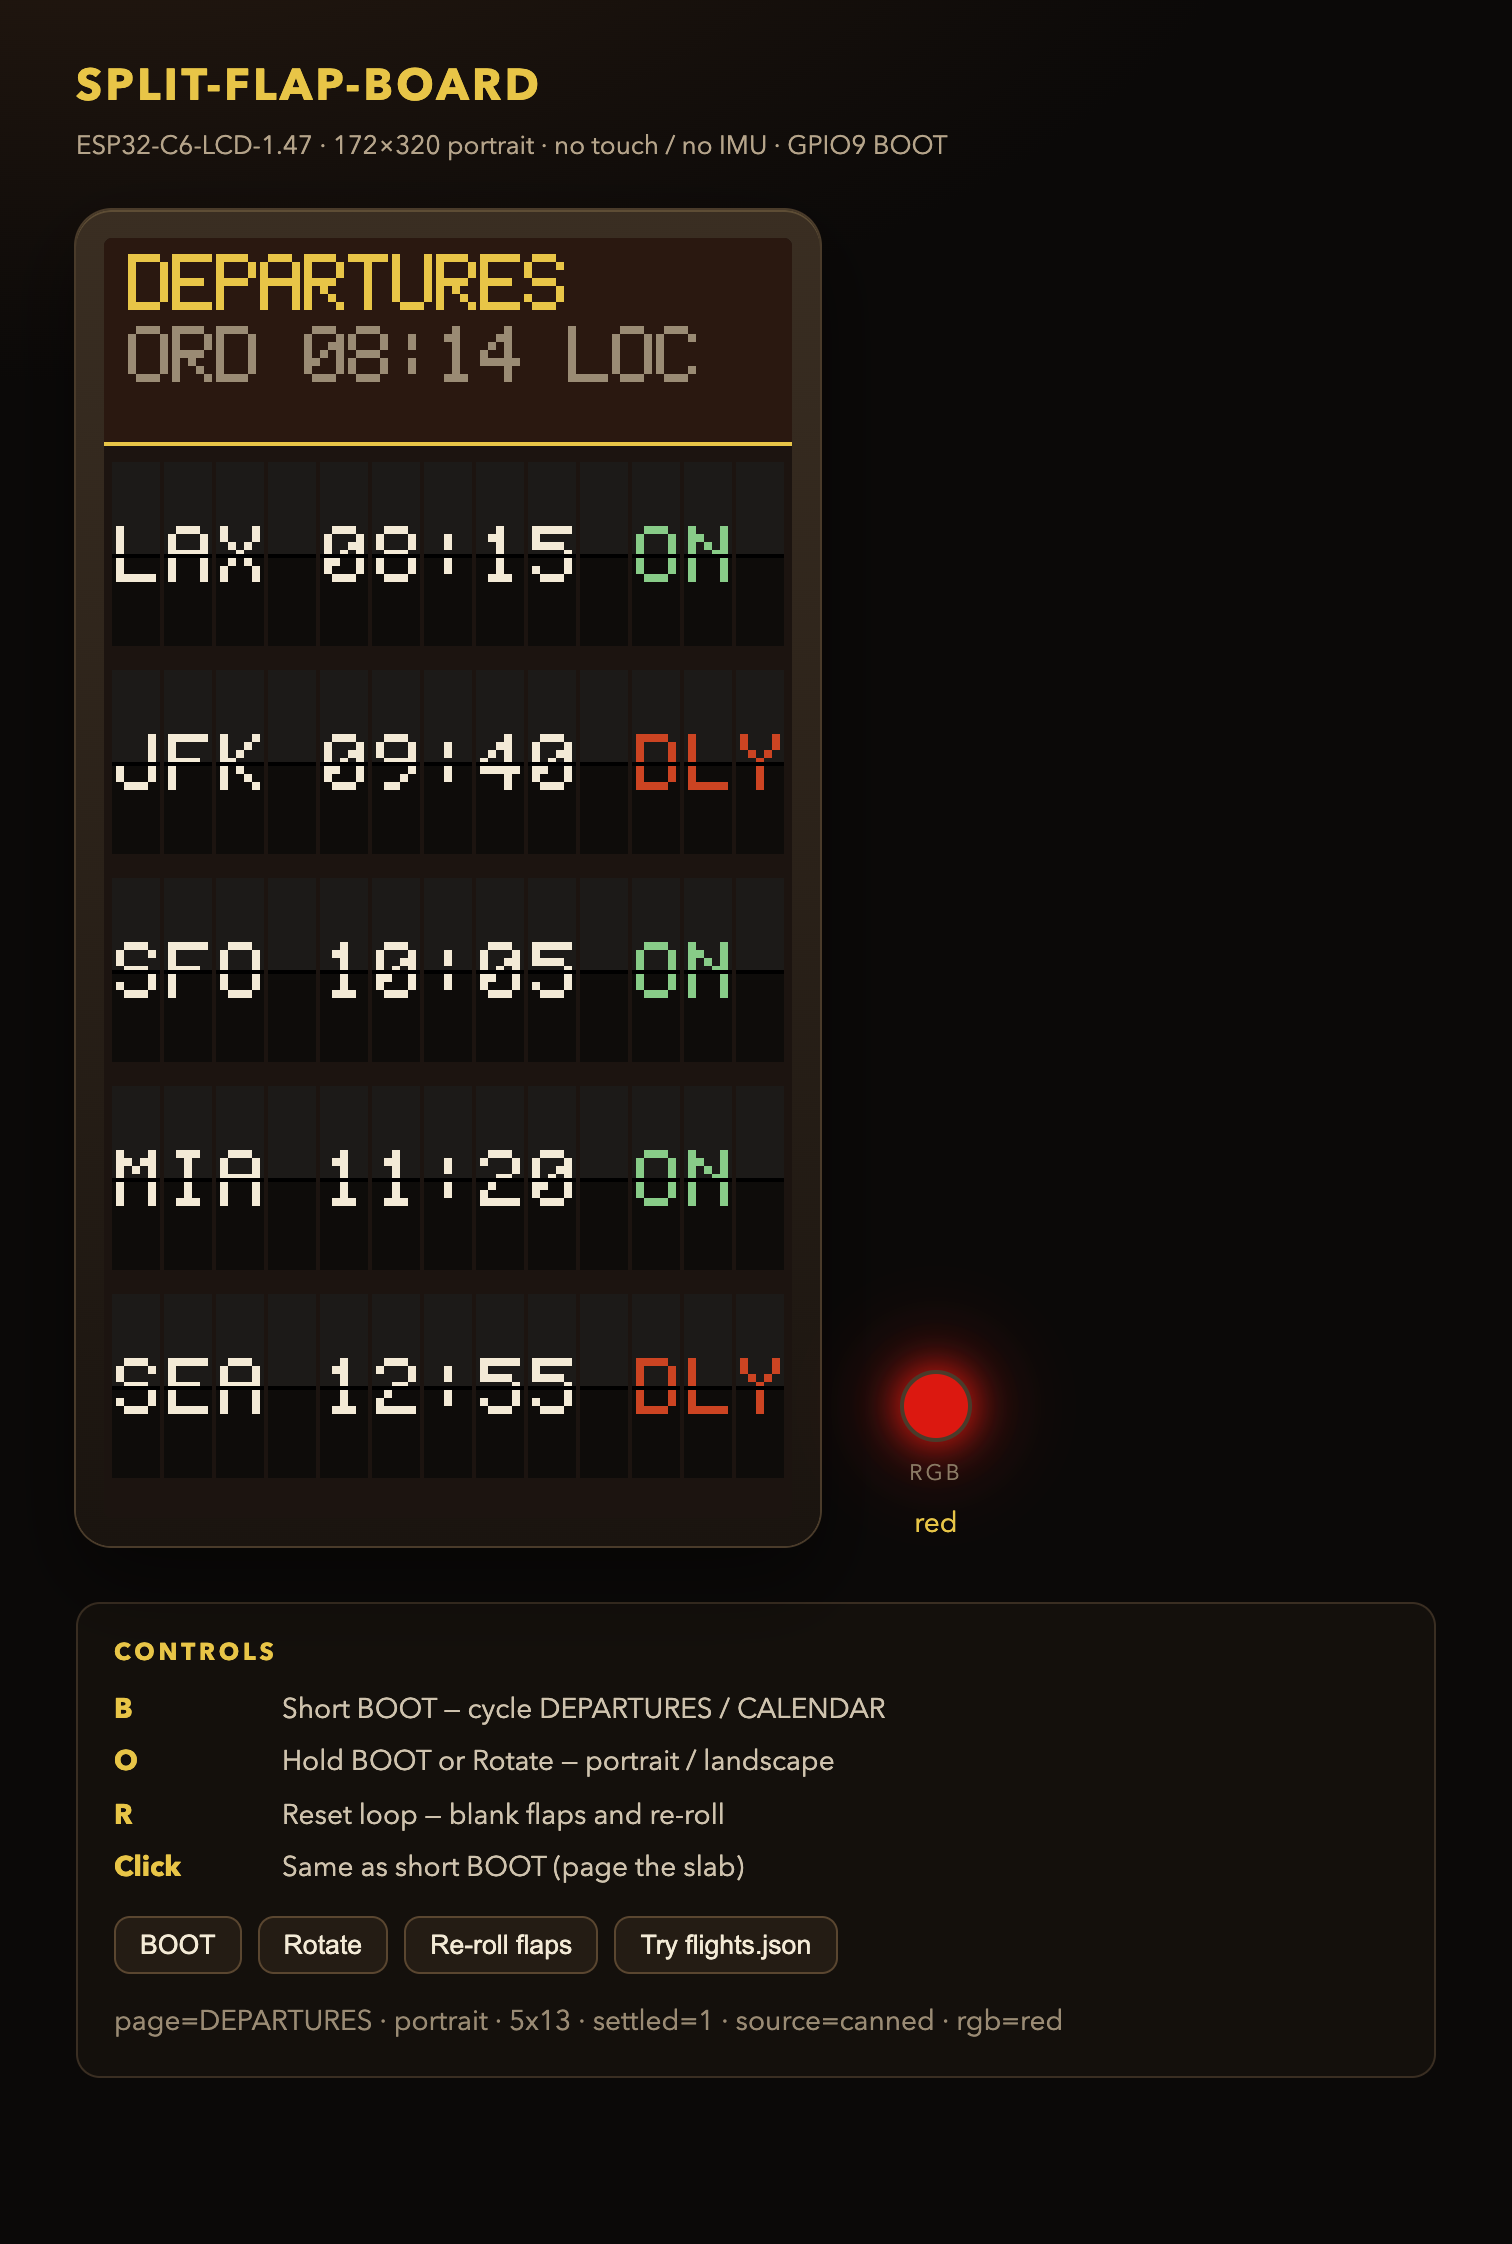
A departure board is a table drawn with big type. Each row needs a destination, a time, and a status word. The status word picks a color. On time is green. Delayed is red. The little RGB LED follows the same idea: amber while the board is idle, green for on time, red for delayed.
The sketch ships with a canned schedule so it works with no Wi-Fi. The default airport code is ORD. You can point it at your own list later. If you set SCHEDULE_URL, the board GETs a small JSON file. One flight looks like this:
{"dest":"LAX","time":"08:15","status":"ONTIME"}
Allowed status words are ONTIME, DELAY, and GATE. Same shape in the browser simulator and on the chip. If you leave Wi-Fi blank, nothing tries to join a network.
One button, two meanings
This slab has one user button. A short press flips Departures and Calendar. A hold of about 0.7 seconds rotates the screen. Portrait (172×320) fits 5 big rows. Landscape (320×172) fits 3 big rows. The program remembers which way you left it.
That is a useful pattern on any one-button gadget. Time is part of the message. A tap and a hold are two different events, even though they are the same pin going low.
Flash it
Use Chrome or Edge on a computer, and a USB-C cable that carries data. Open the project page and choose Flash to board. If no port shows up, hold BOOT, tap RESET, and release BOOT.
To edit the schedule yourself, open the .ino and change the canned flights, or fill in WIFI_SSID, WIFI_PASSWORD, and SCHEDULE_URL. Those published strings stay empty on purpose. Arduino IDE board is ESP32C6 Dev Module, USB CDC On Boot, serial 115200. Commands: help, status, page, flip, rotate.
Print the bezel in PLA or PETG at 0.2 mm. The cavity is keyed to the slab outline, with cutouts for USB-C, the TF card, and the BOOT and RESET buttons. Seat the board once. Do not sand the opening until you have tried the snap.
You end up with a pocket airport board: a table of flights, a button that means two things, and a color that tells you whether the row is fine.