10 Bambu Studio Tips for Better Quality 3D Prints

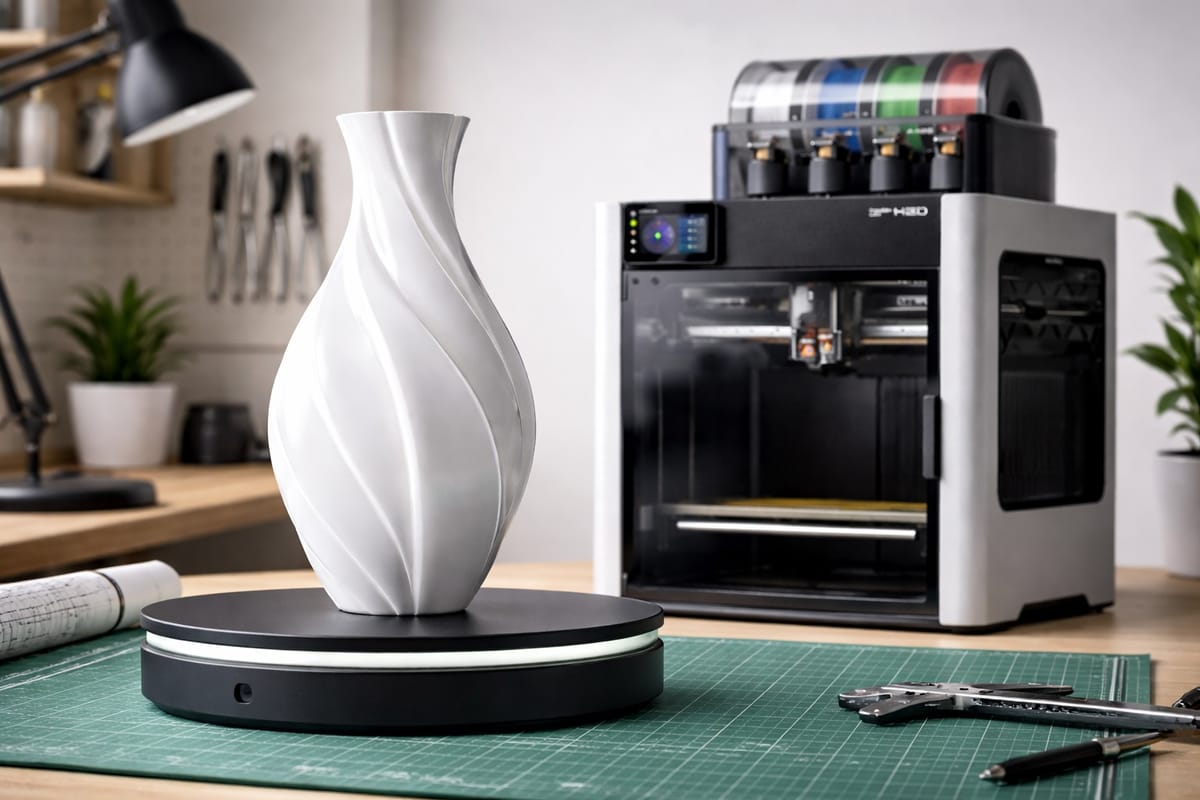
Bambu Lab printers already produce some of the cleanest prints out of any consumer machine. But the default Bambu Studio profile is tuned for speed and reliability, not maximum surface quality. A handful of settings unlock noticeably sharper detail, smoother curves, and near-invisible seams without slowing your print down much. Here are 10 that make the biggest visible difference, written for beginners and anyone tired of layer lines.
These tips work on every Bambu Lab printer including the A1, A1 Mini, P1P, P1S, X1 Carbon, X2D, and H2D.
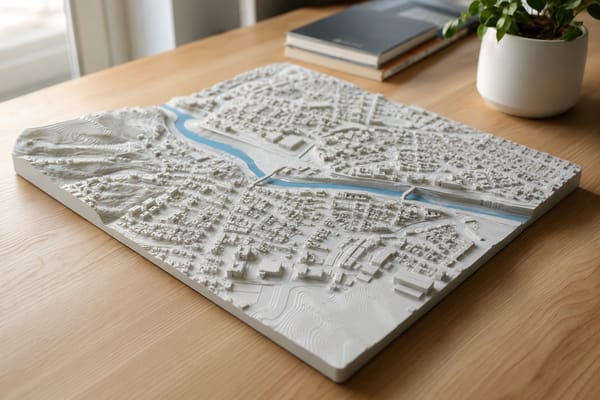
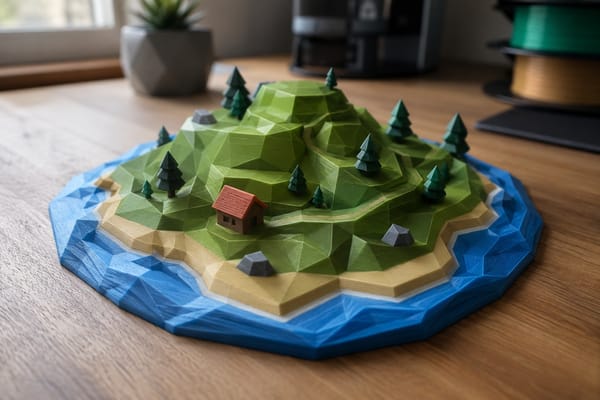
If you want something nice to test these settings on, free browser tools like PrintPal can generate clean parametric designs, name plates, keychains, and AI-made 3D models as print-ready STLs in under a minute. It is a fast way to get a detail-rich test piece without opening CAD software.
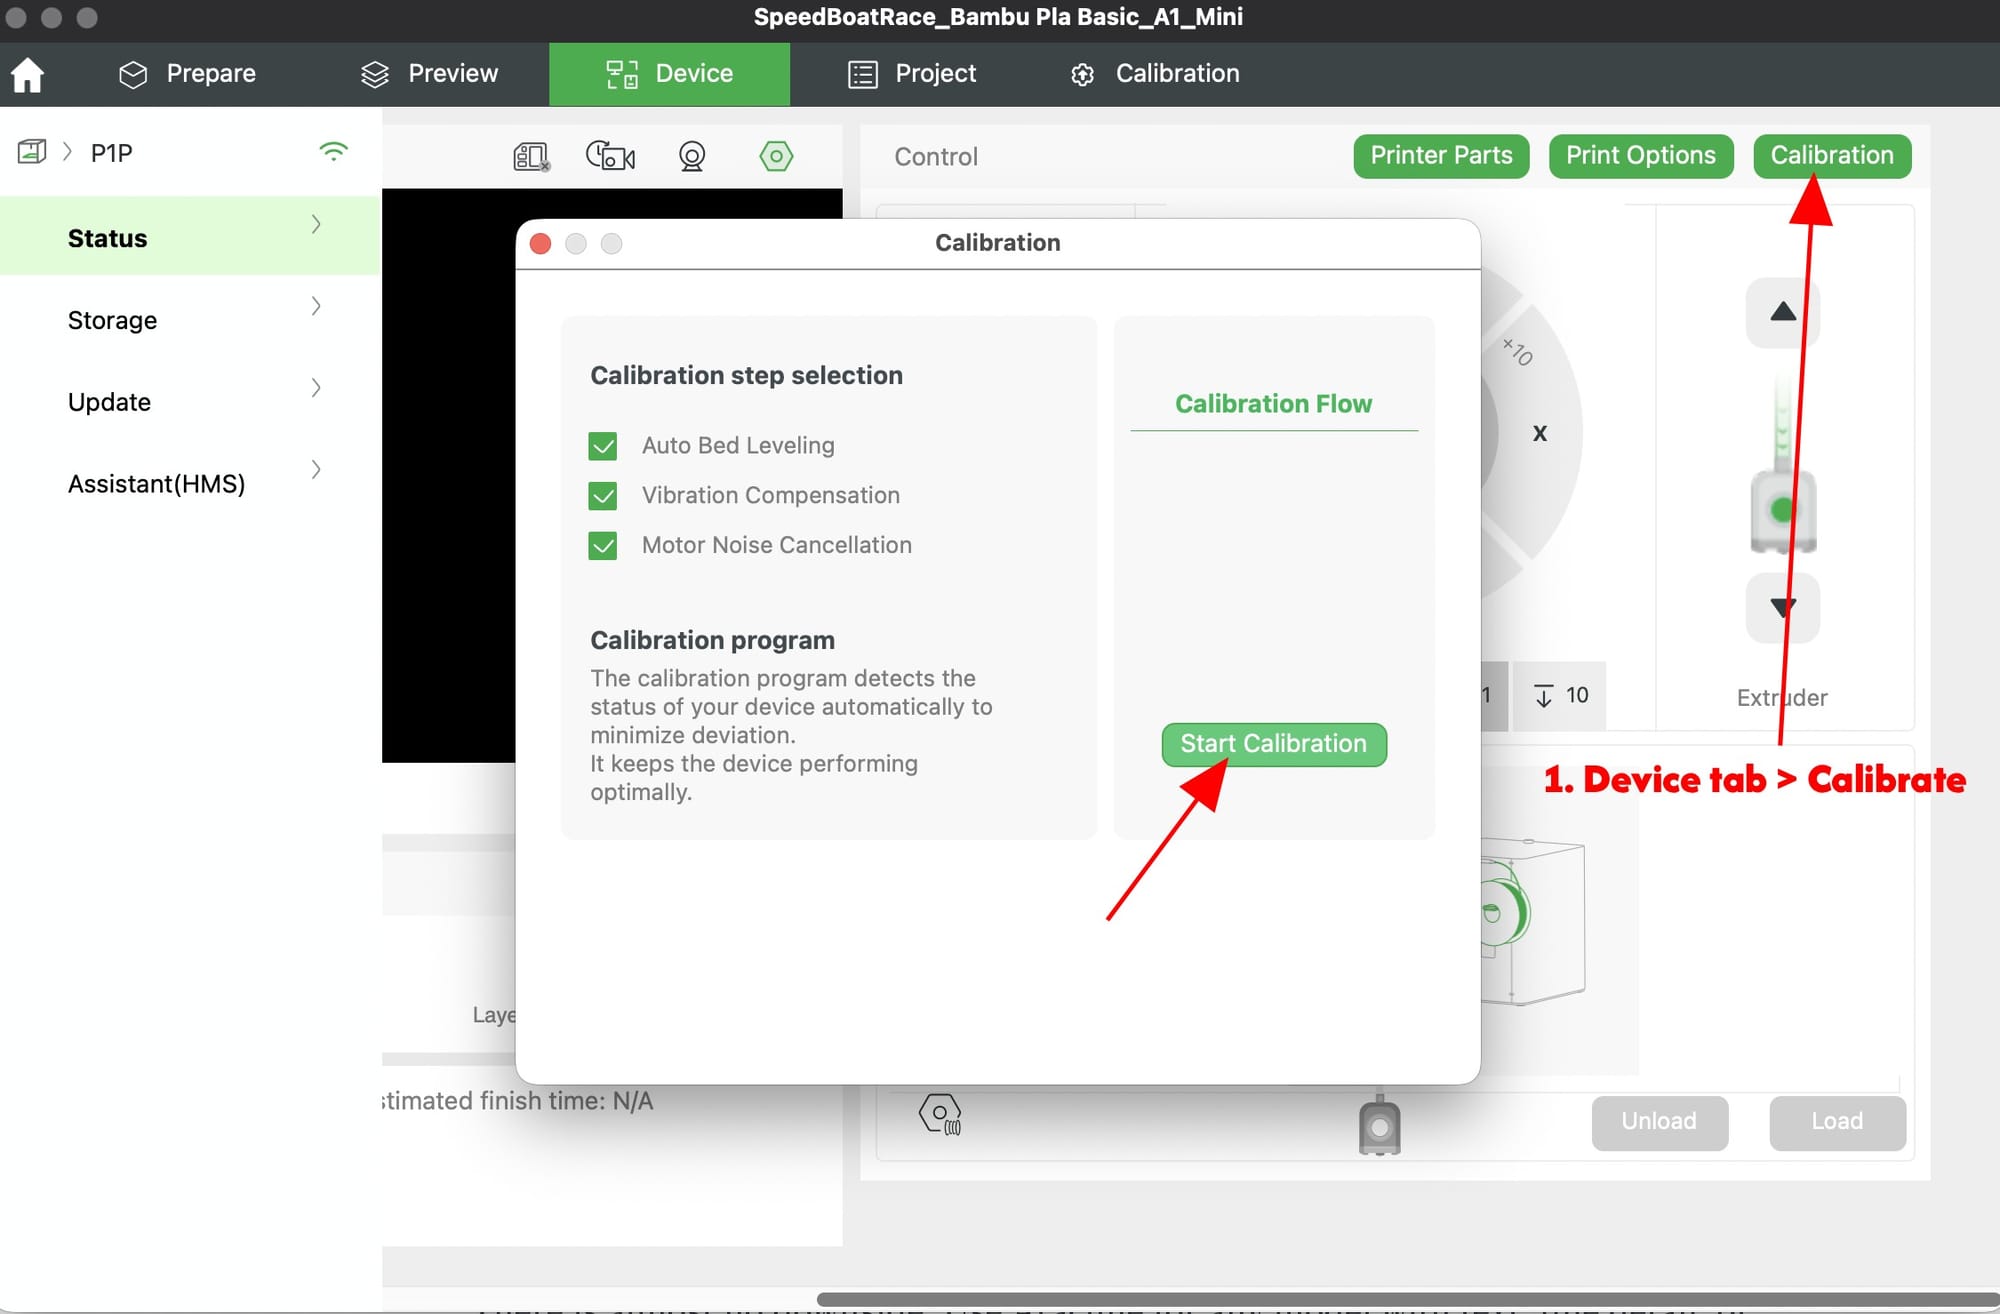
1. Run Flow Dynamics and Flow Rate Calibration on Every New Filament
This is the single highest-impact quality tip and almost nobody does it. Even two spools of the same PLA from the same brand behave differently. Before a quality print, open Device > Calibration on your X1, A1, or H2D and run:
- Flow Dynamics Calibration (pressure advance): kills bulging corners and blobs at line ends
- Flow Rate Calibration: fixes over-extrusion streaks and under-extrusion gaps
It takes around 15 minutes total and the results transfer to every print you slice with that filament. P1 series users can run the same calibration manually through the slicer's Calibration menu.
2. Switch the Wall Generator to Arachne
In the Quality tab under Advanced, change Wall generator from Classic to Arachne. Classic uses fixed-width lines and leaves tiny gaps on thin features and complex walls. Arachne varies the line width dynamically so walls print fully solid, thin details stay crisp, and the outside surface looks cleaner.
There is almost no downside. Use Arachne for any model with text, fine detail, or walls that are not a clean multiple of nozzle width.

3. Turn On Precise Wall
Also in the Quality tab, enable Precise wall. This forces the slicer to keep outer walls at exactly one nozzle width, even when the model geometry does not divide evenly. The result is sharper external dimensions, cleaner corners, and parts that fit together more reliably.
This used to cause small gaps between outer and inner walls. Newer Bambu Studio versions fix that automatically. Leave it on for anything dimensional.
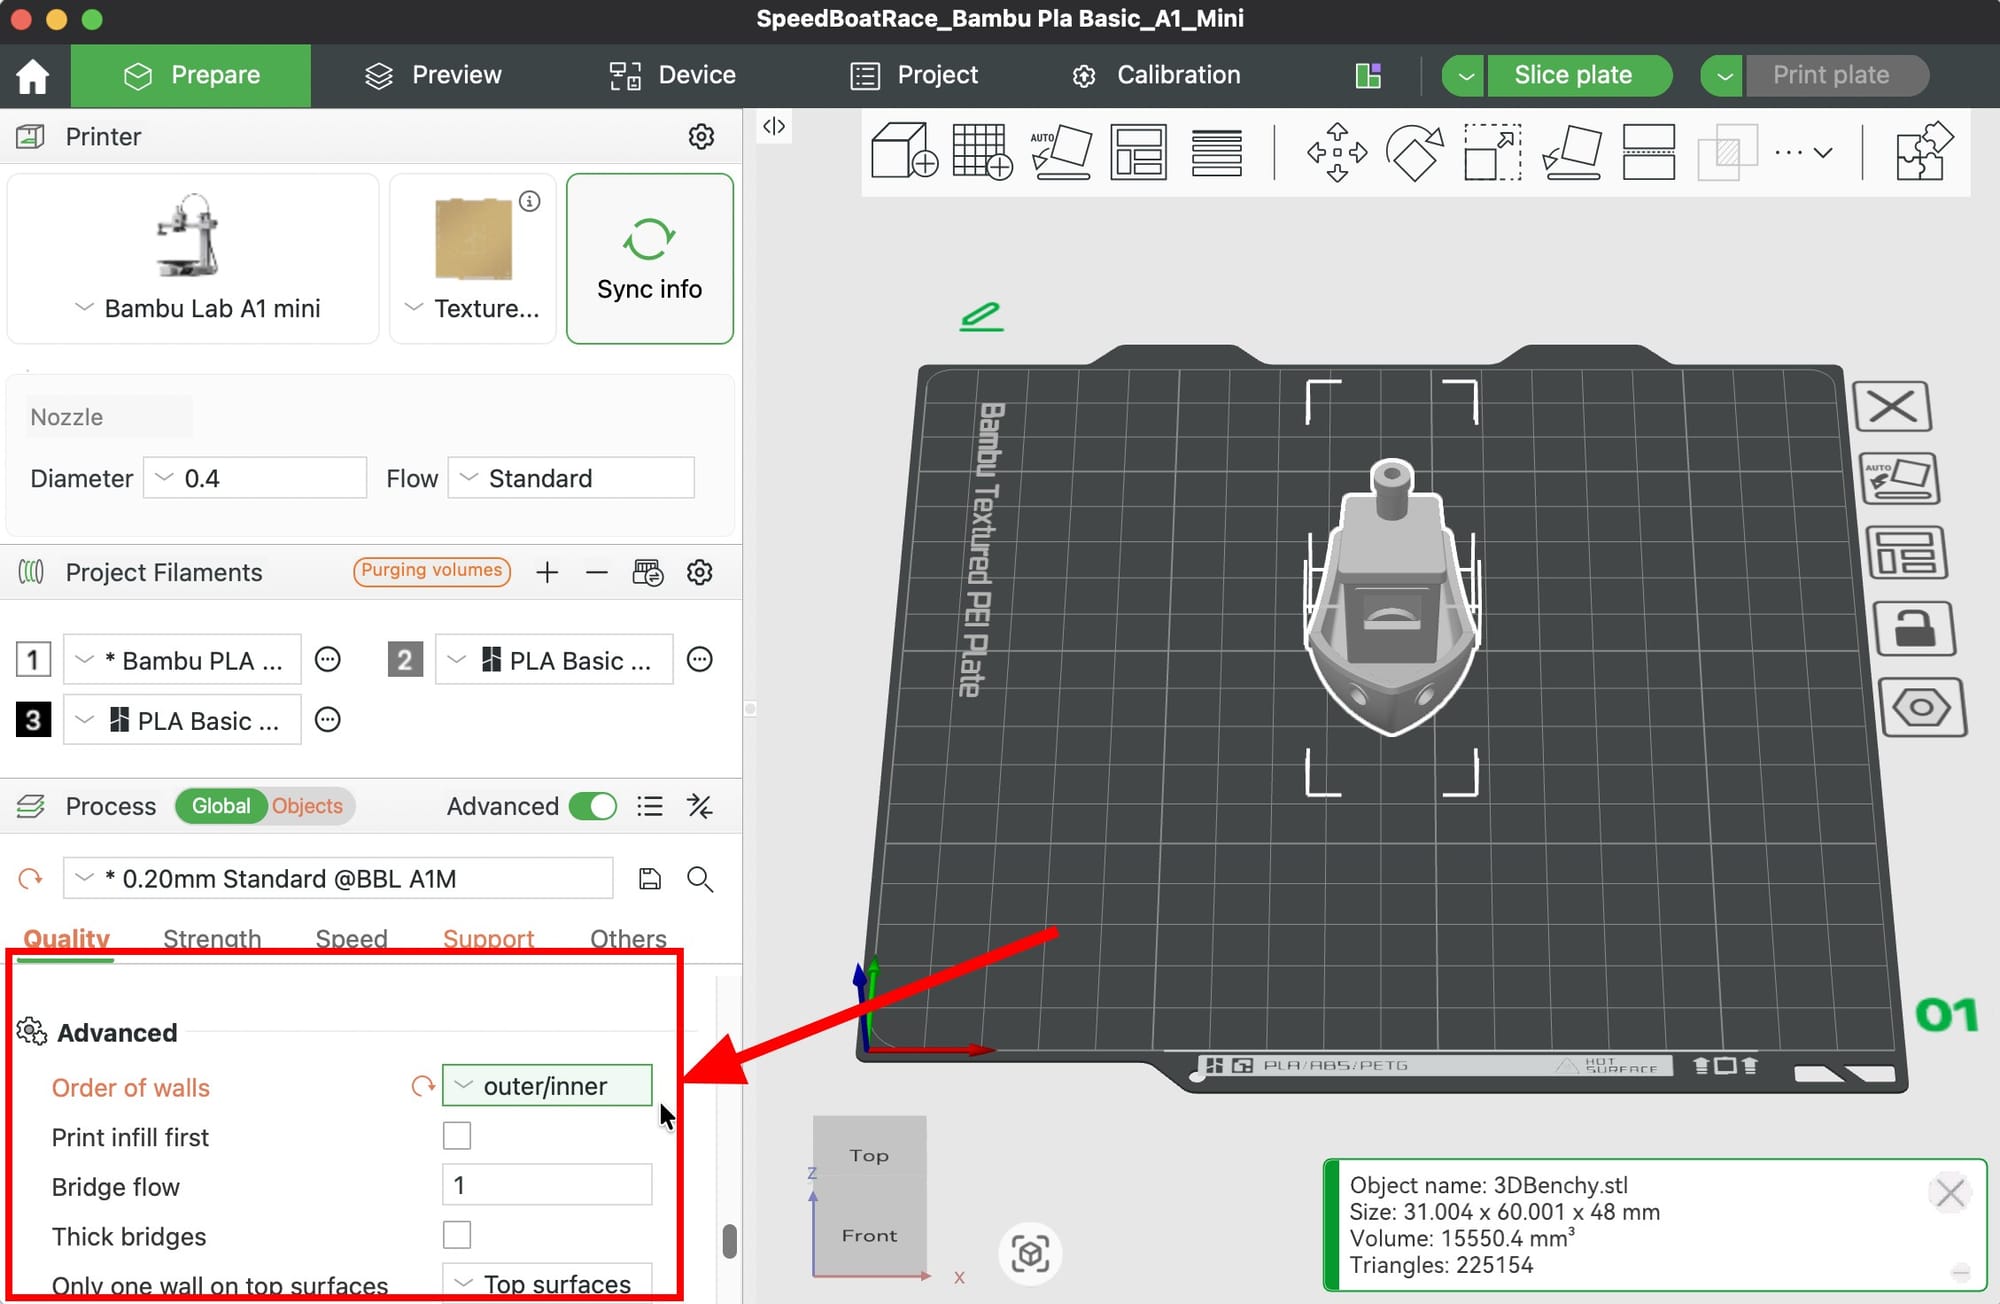
4. Change Wall Order to Outer First, Then Inner
Under Quality > Advanced > Order of walls, switch from the default to Outer/Inner. Printing the outer wall before the inner walls means the visible surface is not pushed around by extrusion pressure from the other perimeters. You get crisper features and smoother surfaces with no speed cost.
Use Inner/Outer only for parts with heavy overhangs, where the inner walls help anchor the outer. For everything else, Outer/Inner wins on looks.
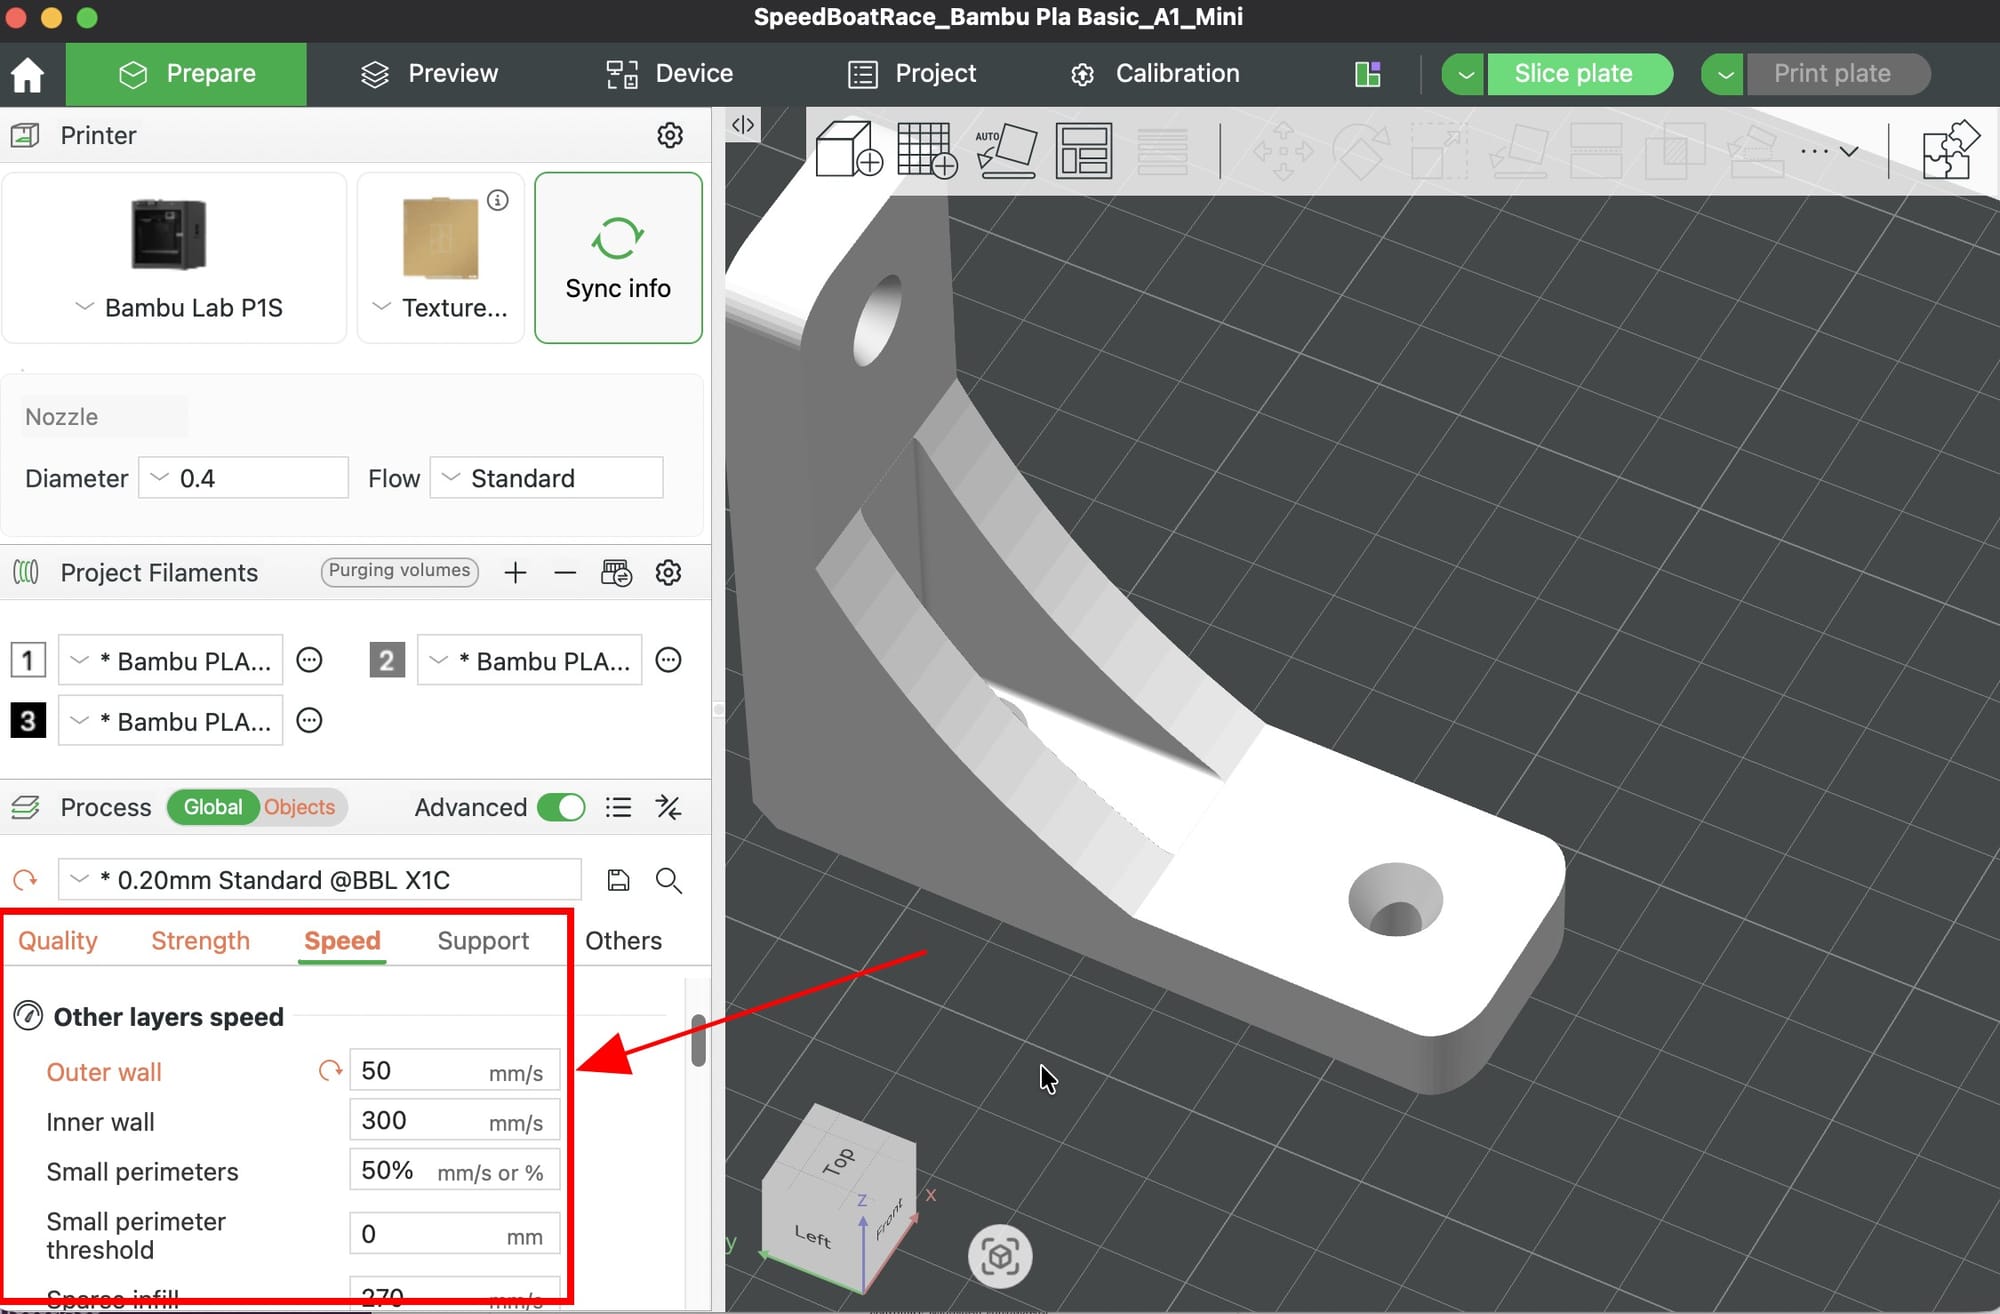
5. Slow Down the Outer Wall
In the Speed tab, drop Outer wall speed to 50 mm/s or lower, even if the rest of the print runs fast. Inner walls and infill can print at full speed because they are hidden. The outer wall is what you see, and slower extrusion means less vibration, sharper corners, and almost no ringing or ghosting.
This one change often makes the difference between a print that looks fast and a print that looks expensive. It adds maybe 10 to 20 percent total time.
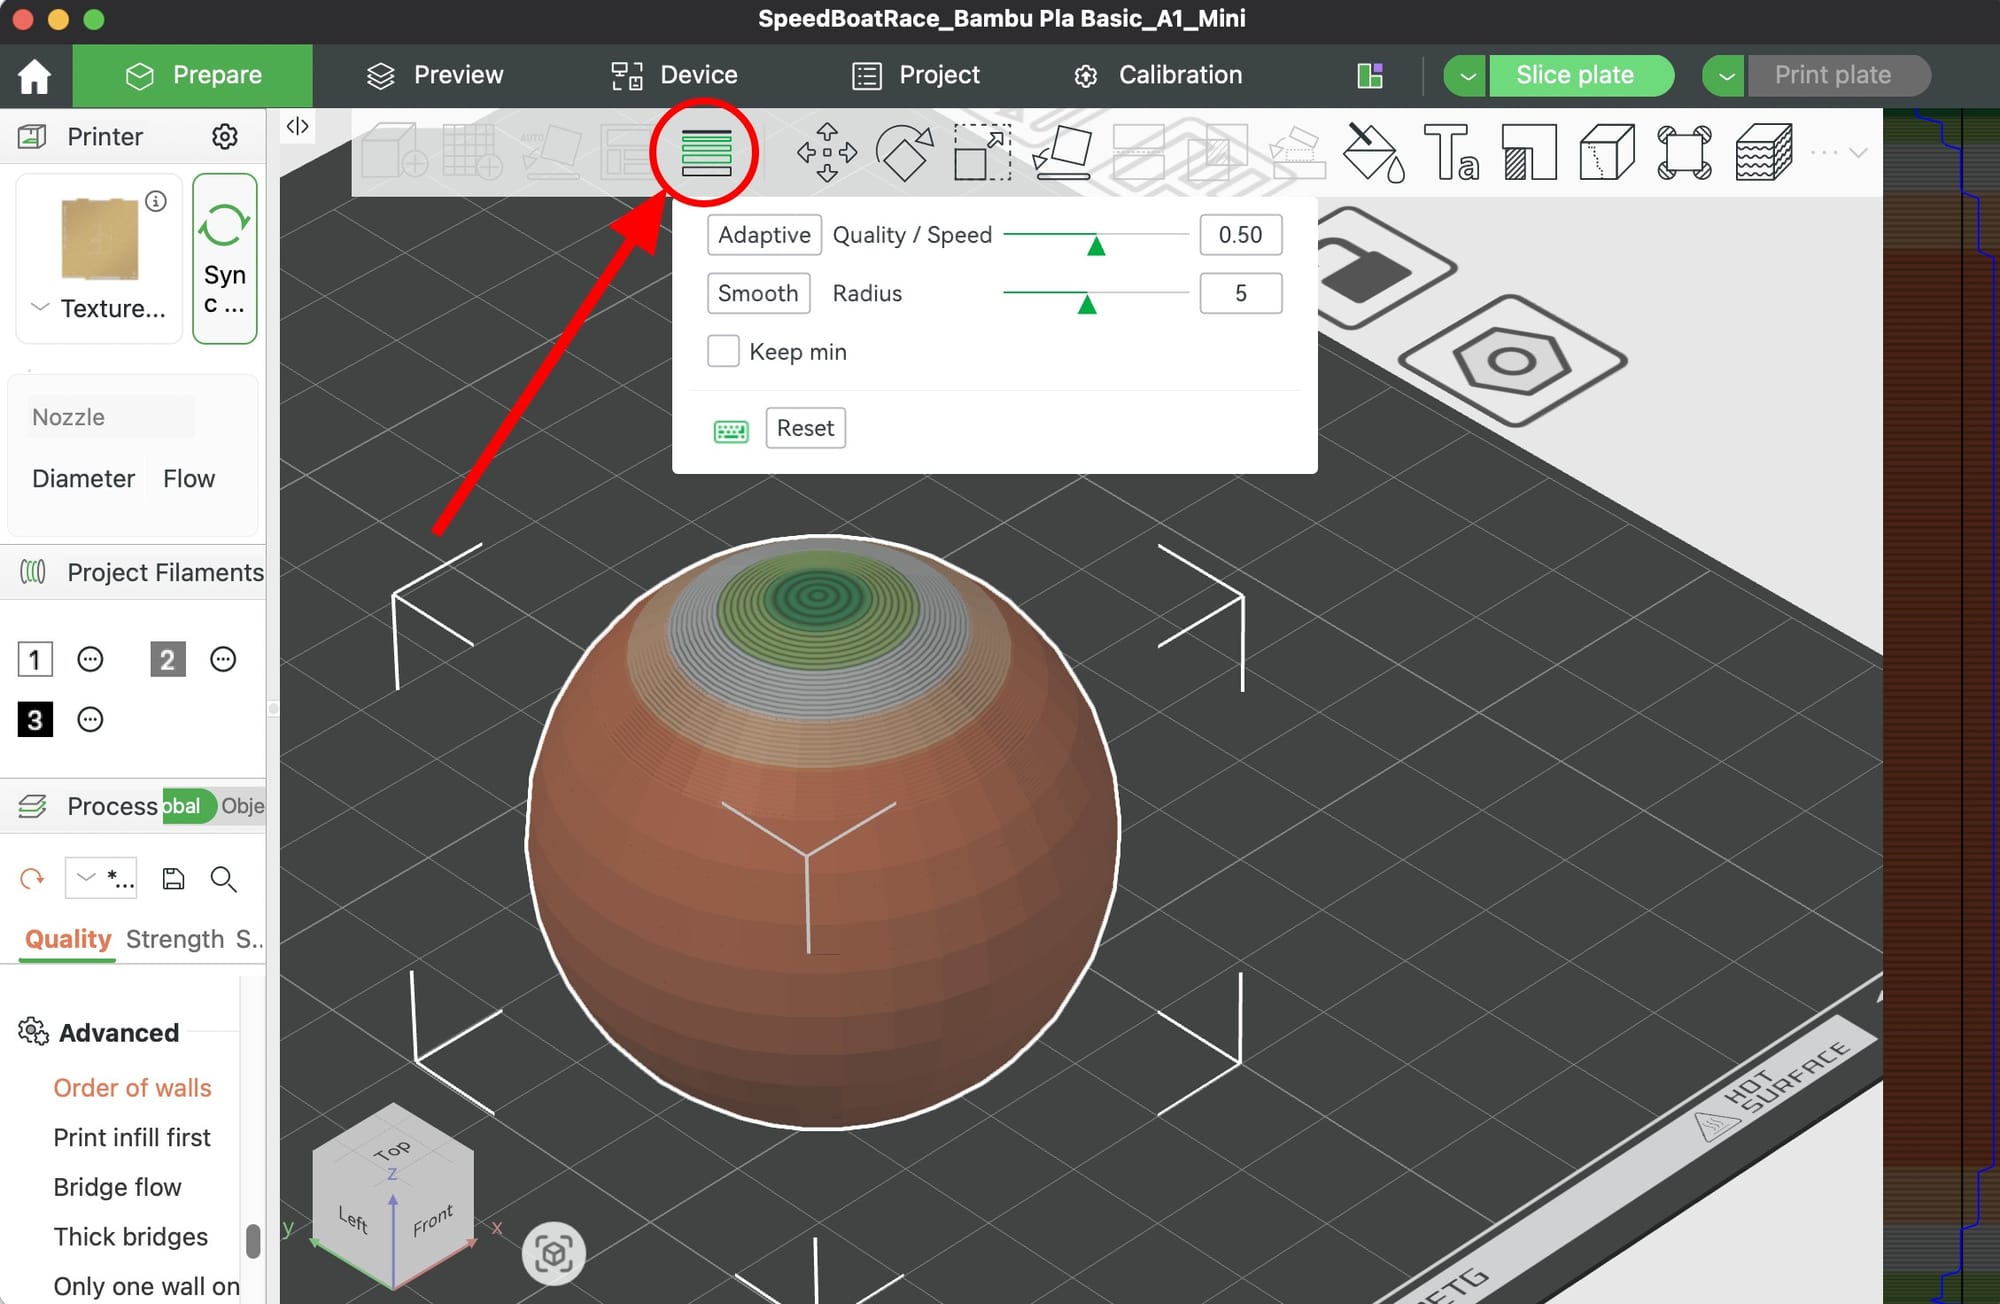
6. Enable Variable Layer Height for Curved Models
For busts, figurines, vases, or any organic shape, click the Variable Layer Height icon in the left toolbar and adjust the detail slider. Bambu Studio uses thin layers where the model has steep curves or fine detail and thick layers on flat areas that do not need them.
You get the smoothness of a 0.12mm print in the time budget of a 0.20mm print. This is one of the most underused features in the slicer.
7. Place Seams With the Seam Painting Tool
Every print has a Z-scar where each layer starts and stops. In the Quality tab, set Seam position to Aligned so the scar runs in a clean vertical line instead of scattering all over the model. Then, for display pieces, use the Seam Painting tool (left toolbar) to drag the seam onto a hidden edge like the back of a bust or the underside of a logo.
One minute of seam painting removes the single most obvious quality tell on a 3D print.
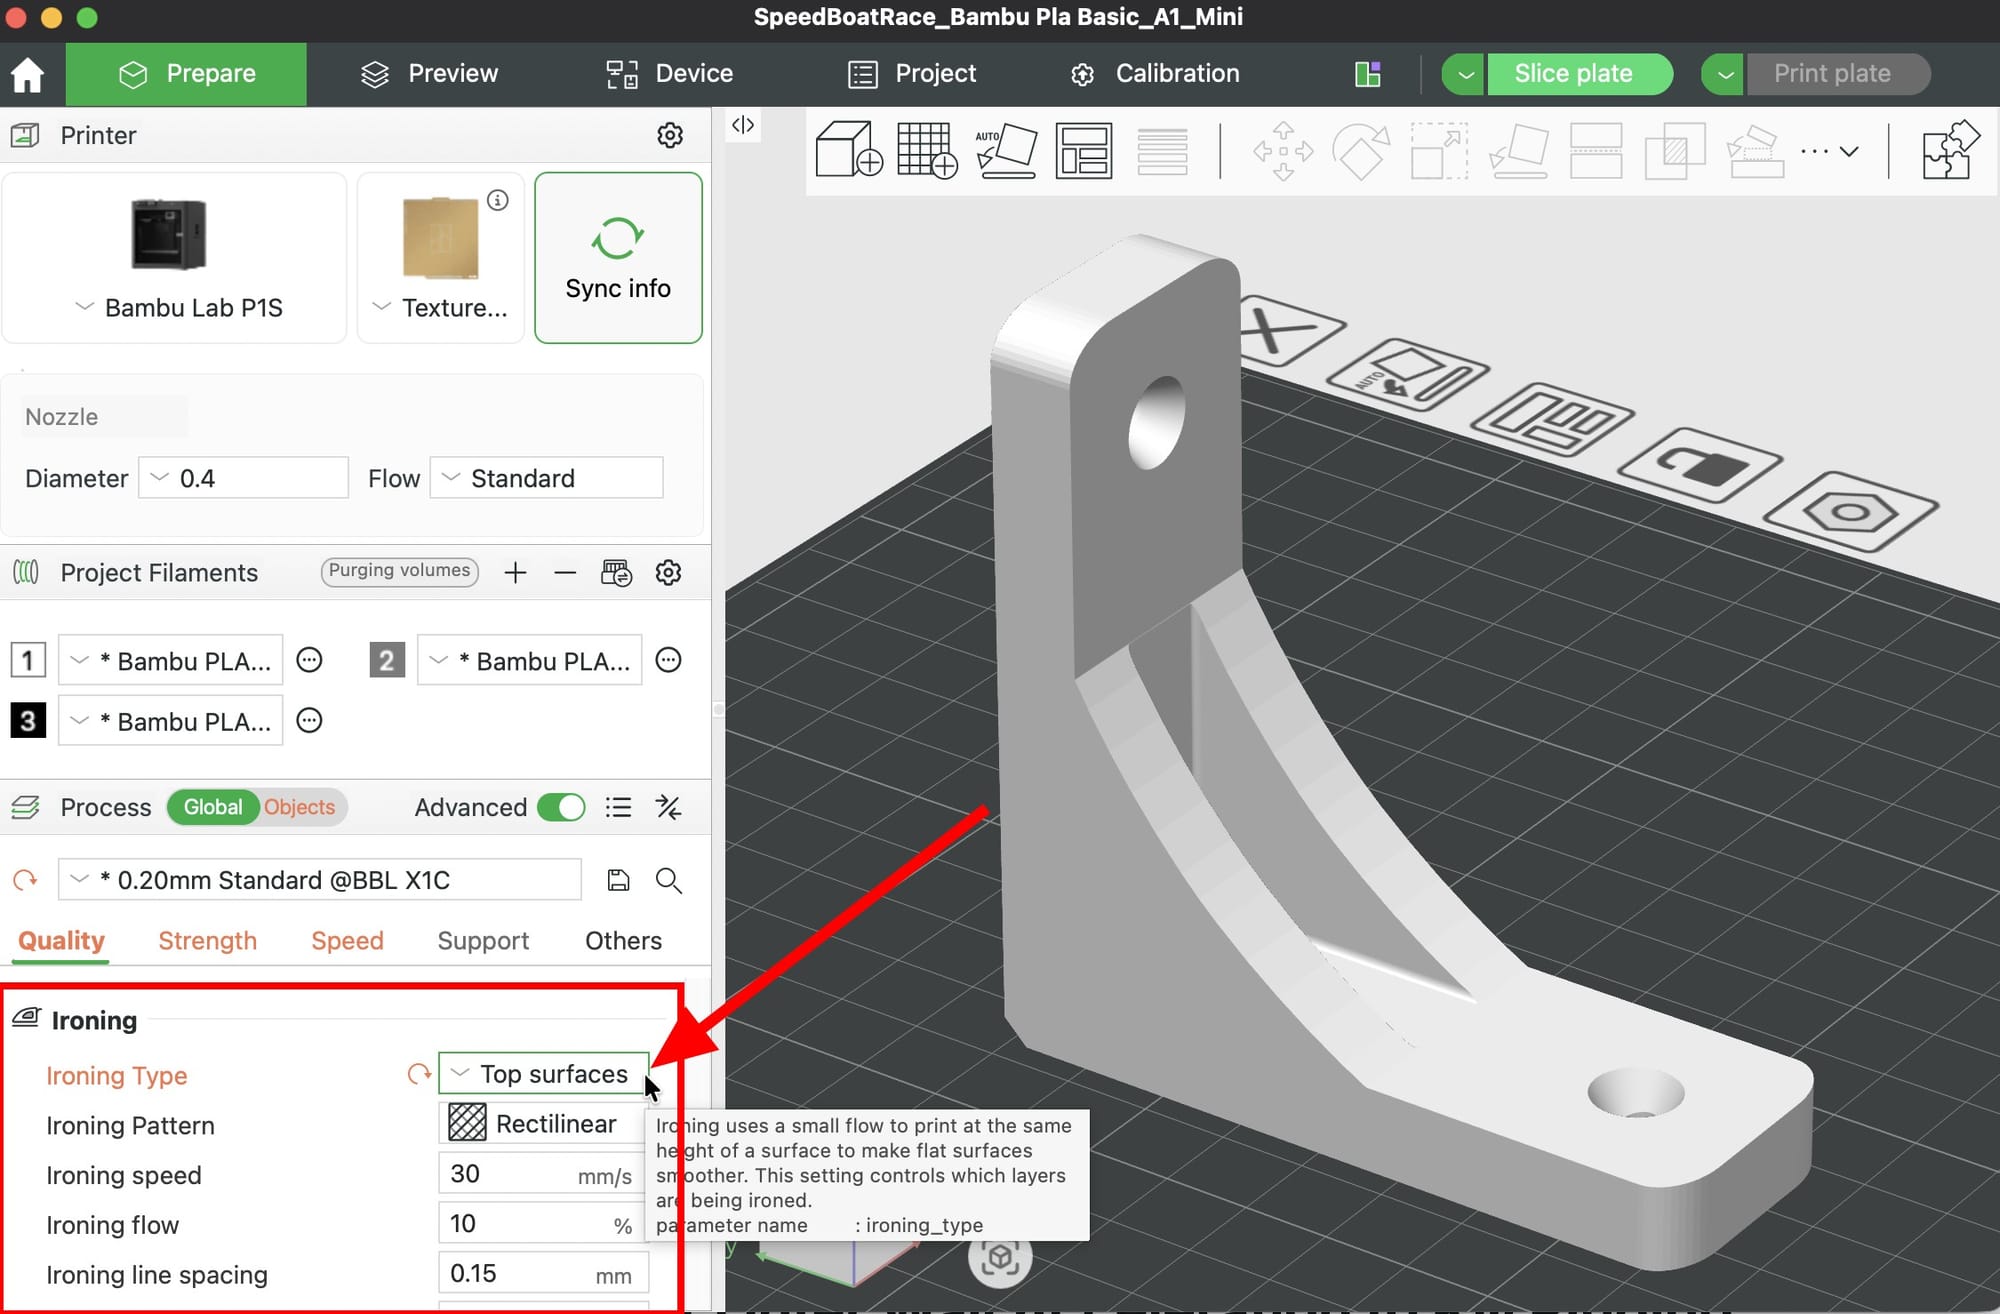
8. Turn On Ironing for Glass-Smooth Top Surfaces
If your model has flat top surfaces (logos, name plates, lids, trays), enable Ironing in the Quality tab. Set type to Topmost surface only to keep print time reasonable. The nozzle passes back over the top layer and melts down any remaining layer lines, leaving a near-mirror finish.
Skip ironing for curved tops or tall parts where the time cost is not worth it. It does not improve anything you cannot already see.
9. Lower Outer Wall Acceleration to Kill Ringing
Ringing (also called ghosting) is the faint echo pattern you see next to sharp corners and embossed text. It is caused by the printer moving too fast into direction changes. In the Speed tab under Advanced, reduce Outer wall acceleration to 3000 to 5000 mm/s squared for quality prints.
Combined with tip #5, this gets rid of almost all visual vibration artifacts on Bambu machines. Revert to defaults when you go back to speed prints.
10. Dry Your Filament and Dial In Temperature
Two hidden killers of surface quality:
- Wet filament causes stringing, popping, tiny blobs, and micro-voids in the extrusion. Dry PLA at 45C for 6 to 8 hours, PETG at 65C, and PA/Nylon at 80C for 12 plus hours.
- Wrong temperature causes stringing (too hot) or under-extrusion and rough layers (too cold). Run a Temperature Tower from the Calibration menu for each new filament brand and use the cleanest band.
These two fixes solve 80 percent of the "my print looks fuzzy or stringy" complaints beginners post online.
Bonus: Turn On Avoid Crossing Walls
In the Travel tab, enable Avoid crossing walls. The nozzle reroutes its travel moves to stay inside infill and avoid crossing over visible outer walls, which prevents scuff marks and tiny blobs on the surface. Small speed cost, big cosmetic win.
Final Thoughts
Quality prints are not about one magic setting. They come from stacking small, well-tuned choices: calibrate your filament, use Arachne with Precise Wall, slow down the outer wall, place your seams on purpose, and iron the surfaces you will actually see. Change one thing at a time so you can tell what helped.
Print a quick calibration cube or a detailed test piece after each change. Within a few prints, you will stop seeing layer lines and start seeing the part.
Happy printing.