How to 3D Print a QR Code That Actually Scans

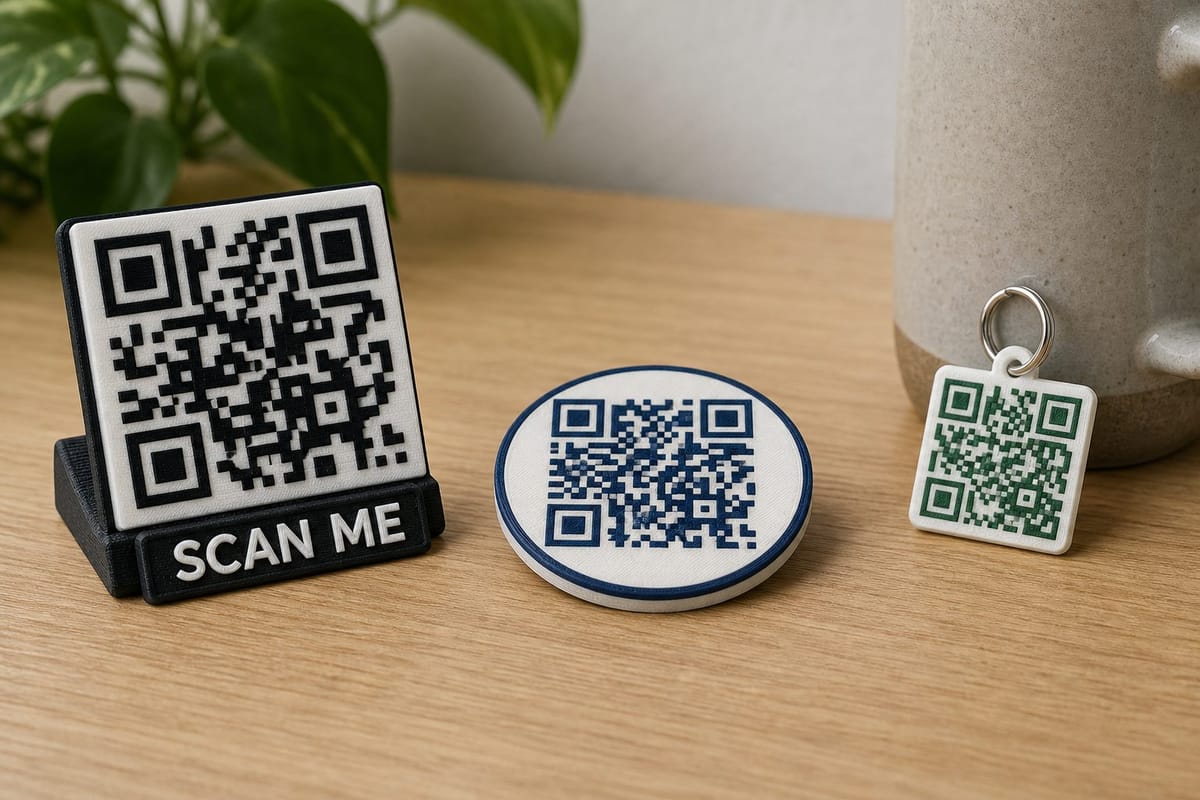
A printed QR code is one of those objects that's obviously useful the moment you own one. A guest Wi-Fi sign on the kitchen counter. A tag on a market stall that opens your shop. A keychain that pulls up your contact card.
It's also the project most likely to come off the plate looking perfect and scanning like a brick.
The PrintPal 3D QR Code Generator handles the geometry — paste a link, style it, export a 3MF, OBJ, or STL. This guide covers the short version of how to use it, plus the three settings that decide whether the thing works.
The five-step version
- Open the QR Code Generator and pick a content type: Link, Text, Wi-Fi, Email, or Phone. Wi-Fi takes an SSID, password, and security type, and produces a code that joins the network on scan — no typing a 20-character password out loud.
- Scan the 2D preview at the top of the sidebar with your phone. It's the exact code that gets printed. Do this now, not after a two-hour print.
- Pick a module style and your two colors.
- Choose Raised or Flat, then set the width and outline shape. Optionally add a stand, a hanging hole, or a SCAN ME frame.
- Pick 3MF, OBJ, or STL and download.
Free, no watermark, runs entirely in your browser. You'll need a PrintPal account to download.
The three settings that decide whether it scans
Everything else is styling. These three are the ones that break codes, and the tool warns you live in the Print Info panel when you cross a line.
1. Module size (aim for 1.2 mm or more)
A "module" is one square of the code. Your printer can only resolve so much detail, and a phone camera needs enough contrast area per module to lock on.
Module size is just overall width ÷ grid size, so it drops fast as your content gets longer. A short link on a 60 mm tile is comfortable. That same tile with a long URL packed into it produces a much denser grid and modules under a millimetre, which a 0.4 mm nozzle renders as mush.
Two fixes, in order of preference: shorten the content (use a link shortener — fewer characters means a smaller grid at the same size), or make it bigger. The tool flags anything under 1.2 mm with a warning.
2. Quiet zone (leave it at 2 or higher)
The blank margin around the code isn't decoration — scanners use it to find where the code begins. The Border (quiet zone) slider defaults to 2 modules, which is enough. Drop it to 0 to squeeze a bigger code onto a small tag and you'll get an object that looks tidy and scans unreliably.
3. Contrast
Dark code, light background. The tool calculates the actual luminance difference between your two colors and warns you if it's too low, which is more useful than eyeballing it — navy on black looks fine in the preview and fails in real light.
One thing you don't have to worry about: error correction is locked to level H, the most robust setting. Roughly 30% of the code can be damaged, scuffed, or badly printed and it'll still read.
Raised or flat?
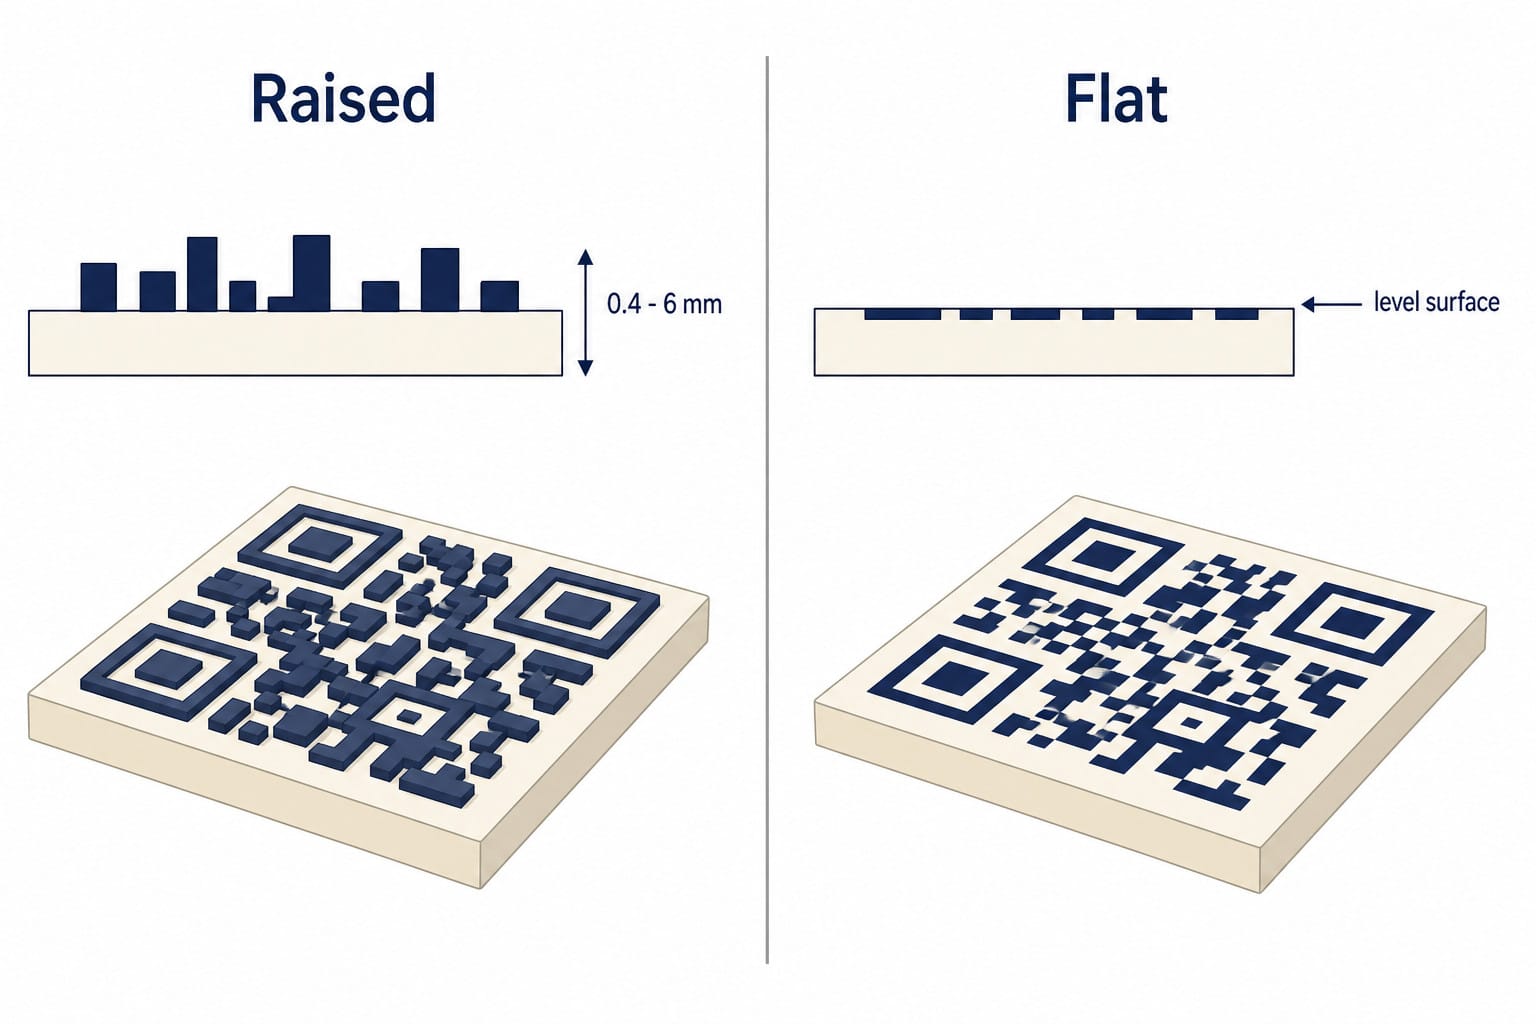
Raised stands the code off the base plate, 0.4 to 6 mm (default 1.6 mm). It prints base-down with no supports and works in a single color, because the relief itself creates enough shadow to scan. This is the one to pick if you have one extruder.
Flat insets the code level with the surface as a smooth two-color tile. It looks considerably better — like an injection-molded product rather than a 3D print — but it depends entirely on color contrast, so it needs two filaments. On a single nozzle you can still do it with a color change at the top layers in your slicer.
The extras worth using
Make it a stand adds an angled base so it stands upright on a counter or shelf. The preview shows it standing, but the export is automatically laid flat with the code face up for the fastest, cleanest print — and the 3MF opens with supports already enabled for the angled brace.
Add hanging hole puts a keyring tab above the code. This plus a 35–40 mm width is the whole keychain recipe.
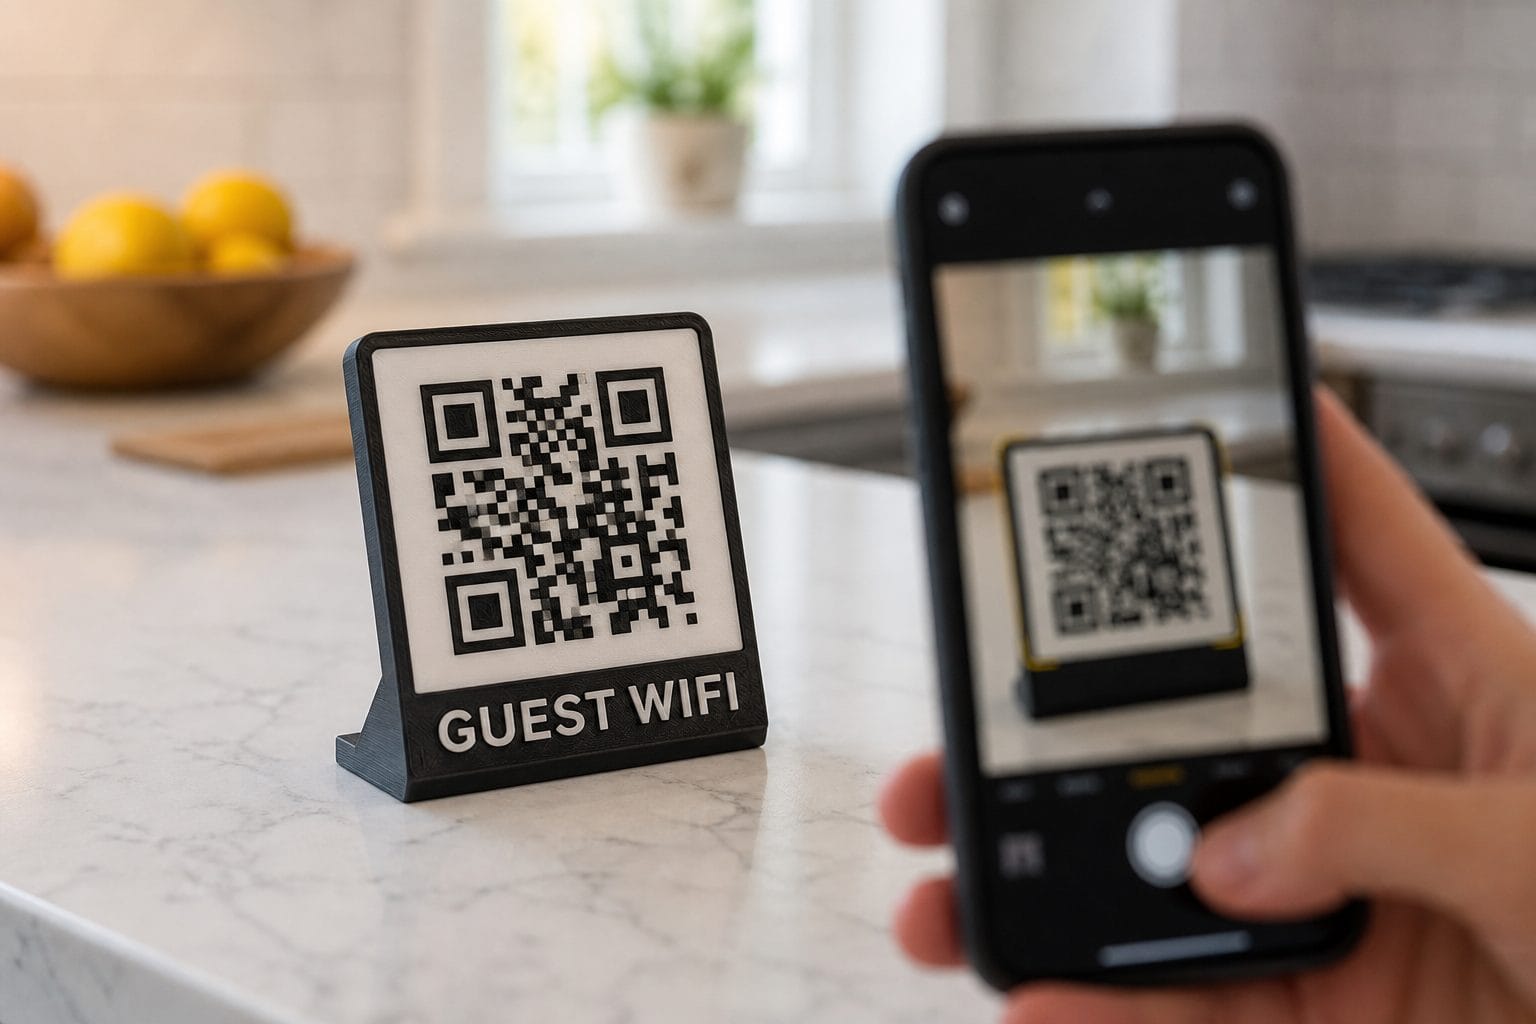
Add a "SCAN ME" frame wraps the code in a border with a labeled banner, top or bottom, and you can change the text to anything up to 24 characters — GUEST WIFI, MENU, TIP JAR, FOLLOW US. The label prints in your background color against the frame, so the code itself keeps its contrast.
Print settings
The Print Info panel gives you size in mm and inches, module size, grid dimensions, a filament estimate, and a print time estimate before you export — worth a glance, since it'll tell you if you've accidentally designed a 200 mm plaque.
| Setting | Value |
|---|---|
| Layer height | 0.16–0.20 mm |
| Orientation | Flat on the plate, code face up |
| Supports | None (except the stand's brace, pre-enabled in the 3MF) |
| Base thickness | 2 mm default; 3–4 mm for anything wall-mounted |
| Colors | 3MF assigns both to filament slots automatically |
Use the 3MF unless you have a reason not to. It keeps both colors in one file, ready to assign to AMS or MMU slots in Bambu Studio, OrcaSlicer, or PrusaSlicer. OBJ also carries color — it downloads as a zip with a .mtl material file alongside the model — and STL is geometry only, which is fine for single-color raised codes.
One finishing trick for flat tiles on a single-color print: print the whole thing in the background color, then hit the raised code with a brush of acrylic paint and wipe the surface flat before it dries. The paint stays in the recesses.
Good projects for this
Guest Wi-Fi signs · market stall and craft fair signs linking to your shop · business card tags · tip jar and Venmo/PayPal plaques · restaurant table menu stands · "review us" counter signs · contact keychains for a conference · gift tags with a video message link · equipment tags linking to manuals or maintenance logs · garden markers linking to plant care pages.
The Wi-Fi one is the killer app. Everyone who visits your home asks for the password, and nobody enjoys reciting it.
Summary
| Goal | Action |
|---|---|
| Make a printable QR code | 3D QR Code Generator |
| Guest Wi-Fi sign | Wi-Fi tab, add a stand, add a SCAN ME frame |
| Keychain tag | 35–40 mm width, hanging hole on |
| Single-extruder printer | Raised profile |
| Best-looking result | Flat profile, two filaments, 3MF export |
| Make sure it scans | Module size ≥ 1.2 mm, quiet zone ≥ 2, high contrast |
| Test before printing | Scan the 2D preview with your phone |
Paste the link, scan the preview, print it flat.