3D Printing for Beginners in 2026

Five years ago, getting into 3D printing meant building a kit, leveling a bed with a folded piece of paper, and then discovering that the actually hard part wasn't the printer at all — it was that you couldn't design anything. You were limited to whatever strangers had already uploaded.
Both of those problems are basically solved now. Printers arrive assembled and self-calibrating, and you can describe an object in a sentence and get a printable file back. What's left is a short list of things worth understanding before you spend money.
This guide is that list.
Step 1: Buy the right printer
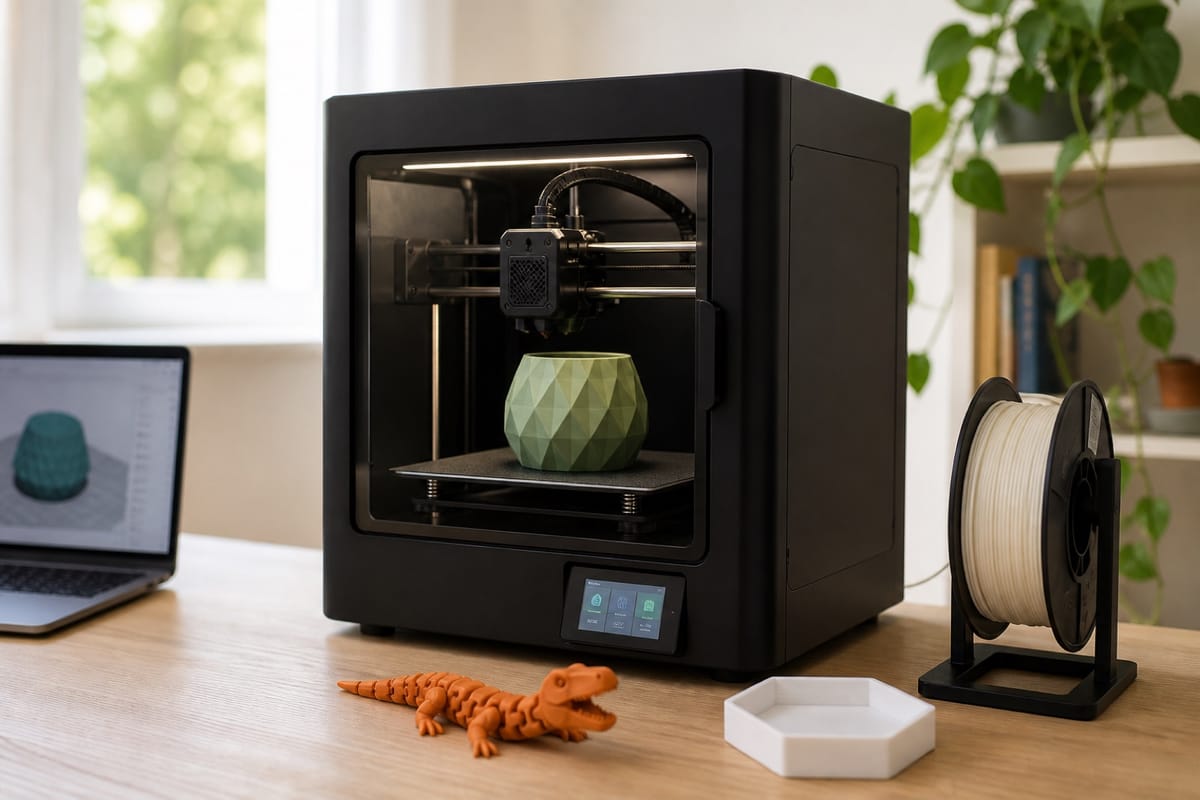
The single best decision a beginner can make is to buy a printer that removes variables. In 2026 that means three features, and you should treat them as requirements rather than upgrades:
- Automatic bed leveling. Manual leveling is the number one reason people quit. Don't volunteer for it.
- A flexible spring-steel build plate. You bend it and the print pops off. The alternative is prying at your prints with a scraper.
- A pre-tuned profile in the slicer. If the manufacturer ships a profile for their own machine and materials, your first print works. If not, you're doing calibration homework.
Beyond that, the real fork is open-frame vs enclosed. An open printer is cheaper and completely fine for PLA and PETG, which is 90% of what most people print. An enclosure keeps the chamber warm, which you need for ABS and ASA, and it cuts noise and smell noticeably — worth it if the printer lives in your office or bedroom.
Two mistakes to avoid. Don't buy a huge build volume "just in case" — big printers are slower, pricier, and most people print small things. And don't buy a resin printer as your first machine. The detail is stunning, but it involves toxic liquid, gloves, isopropyl alcohol, a wash-and-cure station, and disposal rules. Start with filament.
Step 2: Start with PLA. Only PLA.
Use PLA for your first month. It prints cool, doesn't warp, doesn't smell, and sticks to everything. Every problem you hit will be a you problem you can actually learn from, rather than a materials problem.
| Filament | Good for | Watch out for |
|---|---|---|
| PLA | Everything you'll print at first — toys, decor, organizers, prototypes | Softens in a hot car; not for anything structural outdoors |
| PETG | Functional parts, outdoor items, anything that needs a little toughness | Stringy; prints slower; can fuse to smooth plates |
| TPU | Flexible things — phone cases, grips, gaskets | Needs slow speeds; direct-drive extruders handle it far better |
| ABS / ASA | Heat and UV resistance, car parts | Warps badly without an enclosure; needs ventilation |
One thing nobody warns beginners about: filament absorbs moisture from the air, and wet filament prints badly — popping sounds, rough surfaces, weak parts. PLA is fairly forgiving, but if a spool has been sitting open for months and suddenly prints terribly, that's usually why. Store spools in a sealed bin with desiccant, and when you do need to dry one, the Filament Drying Calculator has the right temperature and time for each material — guessing here can turn a spool into a fused brick.
Step 3: Get something to print
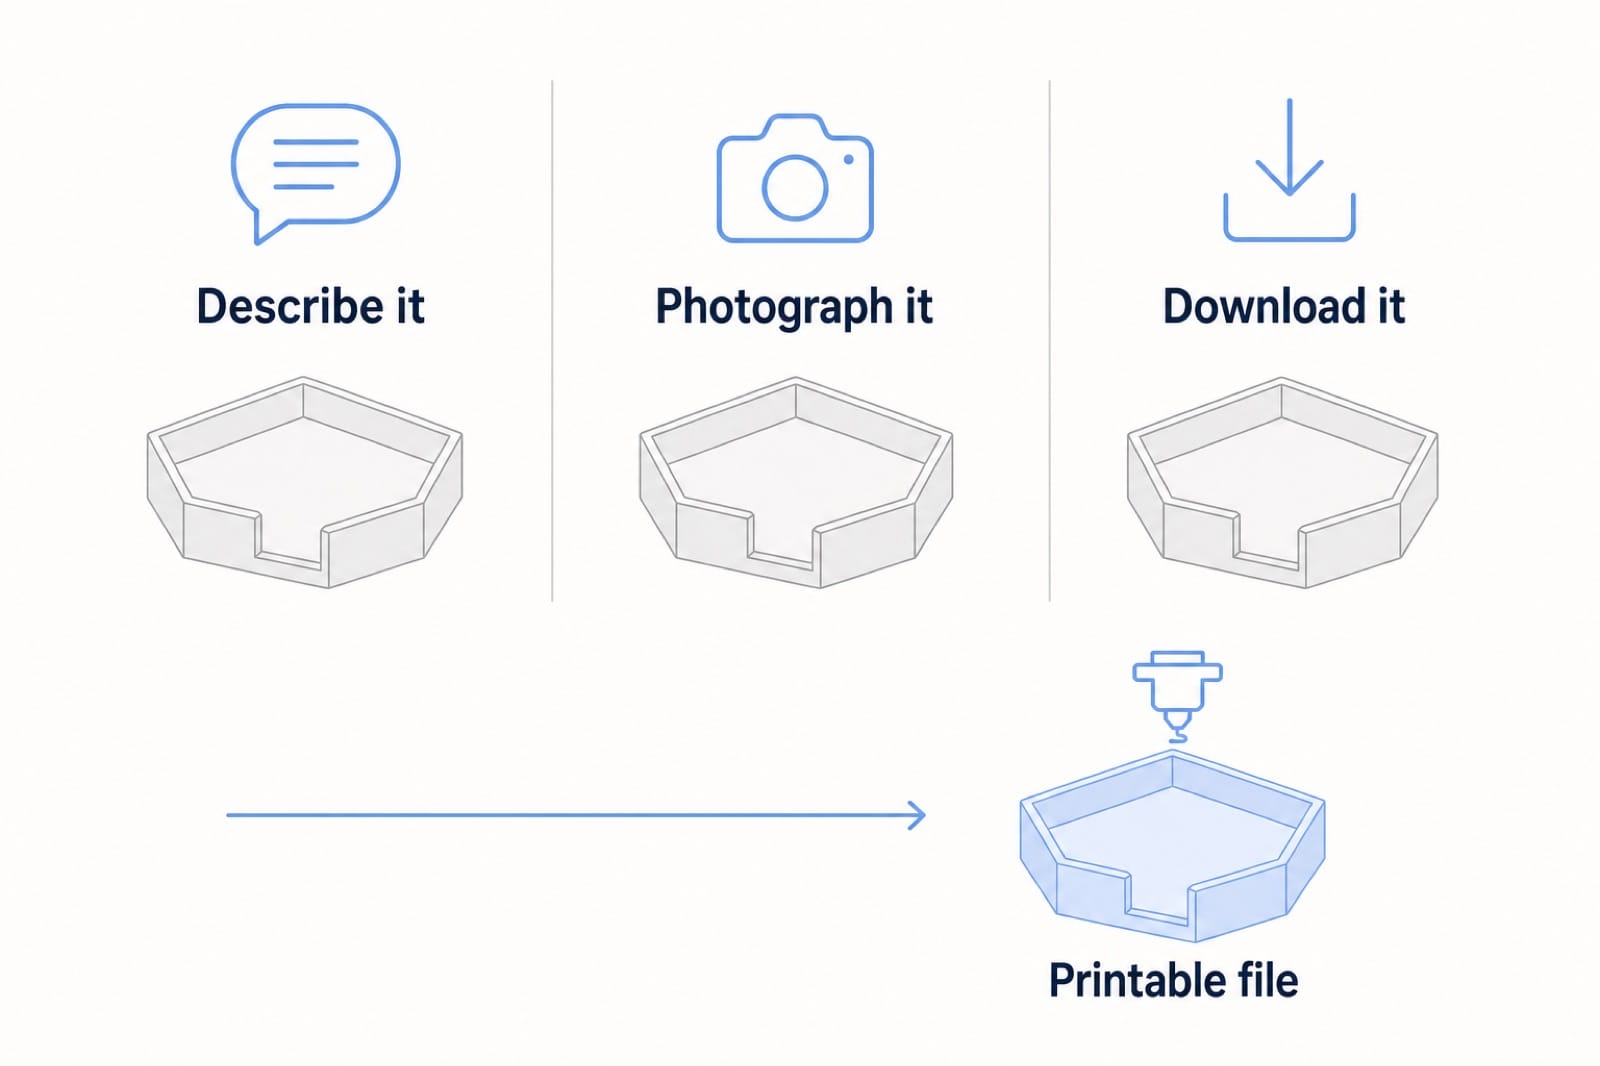
This is where 2026 differs most from every previous beginner guide. You have three routes, and picking the right one for the job matters more than being good at any of them.
Route 1: Download it
Free model libraries have millions of files. Perfect for your first week — print other people's designs and learn how your machine behaves. The limitation shows up fast, though: you can find a phone stand, but not one sized for your phone and your desk.
Route 2: Describe it or photograph it
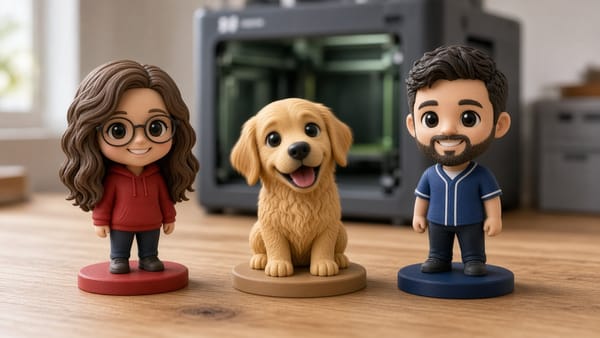
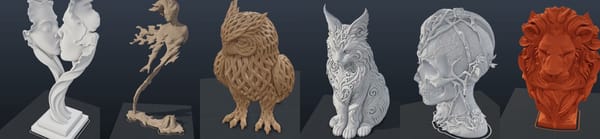
The AI 3D Model Generator takes either a text prompt ("a chunky owl planter") or an uploaded photo and returns a 3D model. You can generate in full color, apply style presets like low-poly, voxel, or cartoon before it builds, and export as STL, OBJ, GLB, or PLY. Start on Draft quality while you're iterating — it's fast — then re-run the version you like at a higher quality setting.
This is the right tool for organic and decorative things: creatures, figurines, characters, planters, ornaments, anything sculptural. Photo mode is genuinely fun — snap your pet, get a printable version of your pet.
Route 3: Describe it with real dimensions
Here's the distinction that saves beginners weeks of frustration: a generated mesh is a shape, not a measured part. It looks right, but it doesn't know that the hole needs to be exactly 8.2 mm to clear an M8 bolt. If the thing you're making has to fit something, you need the other tool.
The CAD Agent is built for that. You describe the part in plain English — "a coat hook I can screw to the wall" — and it builds real parametric CAD. Three things make it beginner-friendly in a way that traditional CAD isn't:
- It asks instead of guessing. Give it something vague like "a wall mount for my router" and it comes back with a few quick questions about size and mounting style before it builds anything.
- You get sliders, not a rebuild. Every model comes with adjustable dimensions. Hole 0.5 mm too tight? Drag a slider and re-export. No CAD skills, no starting over.
- You can attach a photo or a napkin sketch instead of describing geometry in words.
There's a Simple mode that hides all the toolbars and just gives you the chat and the 3D view, and an Advanced mode with visual building, an OpenSCAD code editor, and STEP export once you outgrow it. Export STL or 3MF and you're done.
Rule of thumb: sculptural and decorative → the model generator. Functional and dimensional → the CAD agent.
Route 4 (sort of): skip designing entirely
For common projects there are purpose-built generators that need no design skill at all — a Name Plate Generator for tags and door signs, a Lithophane Generator that turns a photo into a glowing panel, a 3D QR Code Generator for scannable printed codes, and a Flexi Model Creator for print-in-place articulated toys. Fill in a form, download an STL. The full set is at printpal.io/tools.
Step 4: Slicing, in five settings
The slicer converts your model into printer instructions. It has hundreds of settings and you need five.
| Setting | Start here | What it does |
|---|---|---|
| Layer height | 0.2 mm | Lower = smoother and much slower. 0.2 mm is the sweet spot. |
| Wall loops | 3 | The biggest lever on strength — far more than infill. |
| Infill | 15% gyroid | The internal lattice. Going above 25% mostly wastes plastic and time. |
| Supports | Off, unless needed | Only for overhangs past ~45°. Use tree supports when you do. |
| Brim | On, for tall or small-footprint prints | A skirt of material that stops parts peeling up mid-print. |
Change one thing at a time. Beginners who tweak six settings at once never learn which one mattered.
Two habits worth building immediately: preview every print before you run it (the slicer shows you layer by layer what it's about to do, and obvious disasters are visible in about three seconds), and check what a job will actually cost you in plastic and time. The 3D Print Cost Calculator and Print Time Estimator do that, and the G-code Viewer will open a sliced file layer by layer if you want a closer look.
Step 5: The first layer is the whole game
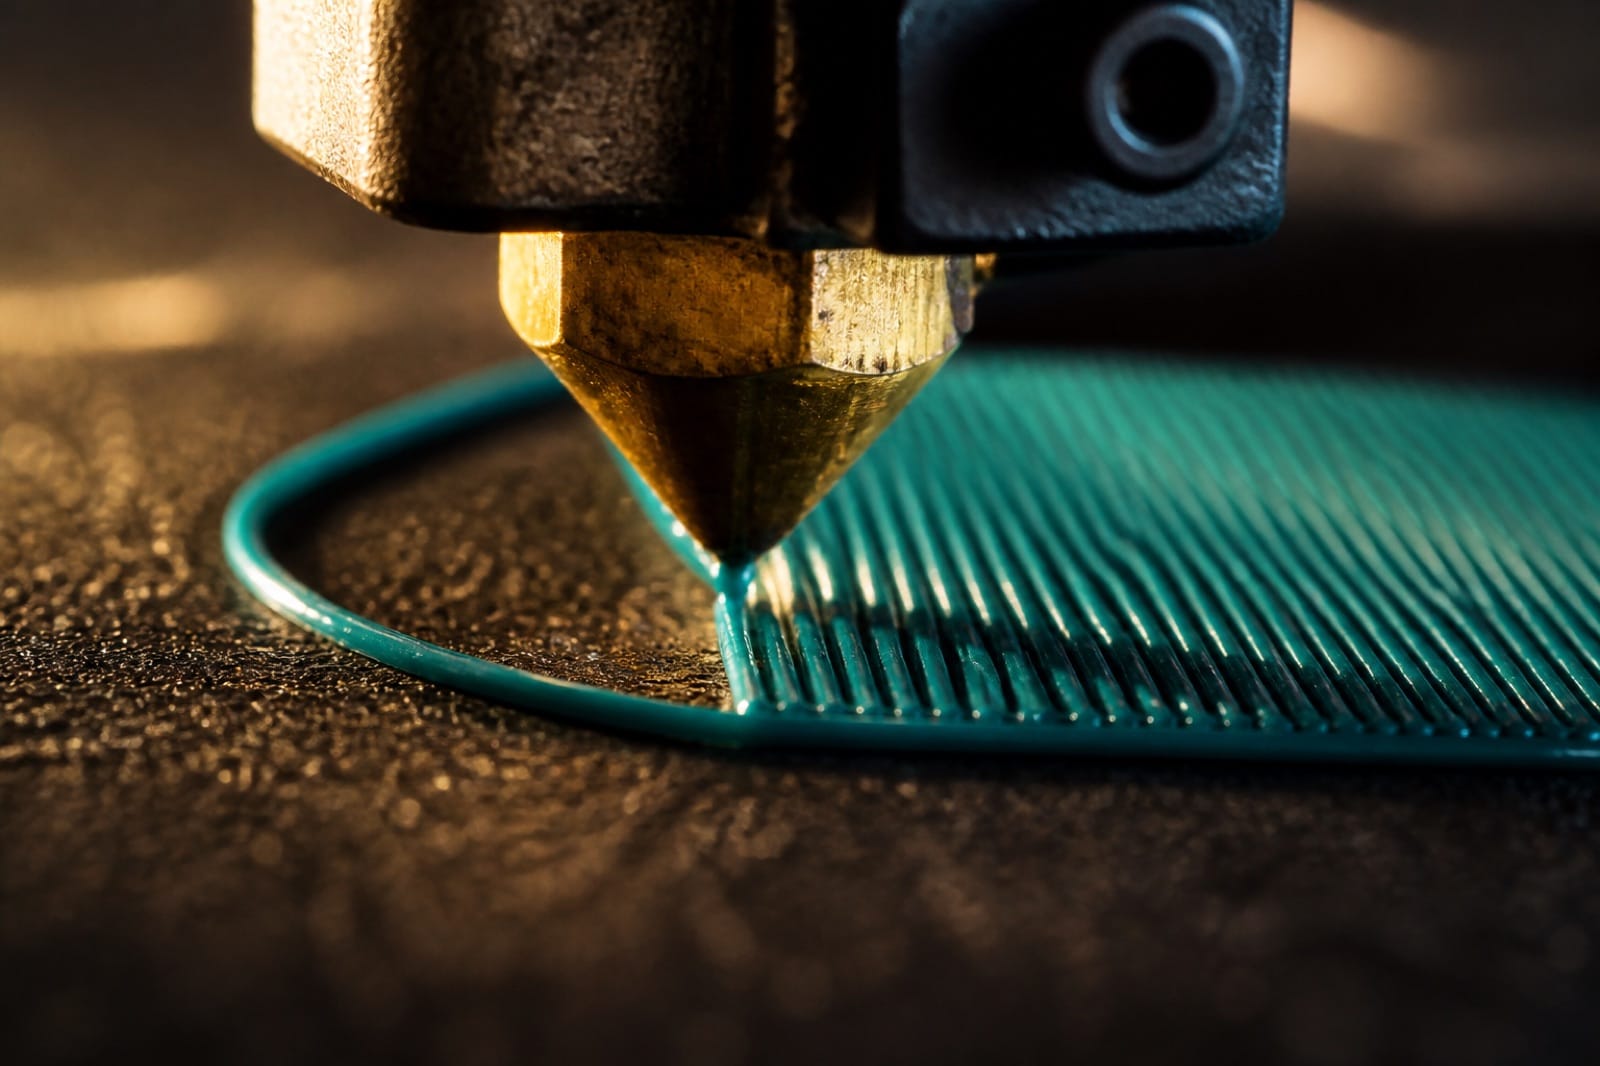
Most failed prints failed in the first two minutes. Watch that first layer every single time — it costs you 90 seconds and saves you eight hours.
A good first layer is uniform, slightly squished, with lines fused into a solid sheet and no gaps between them, like the photo above. A bad one is either thin, round, translucent strands that don't touch each other (nozzle too far from the bed), or a rough, ridged, over-squished mess with the nozzle plowing through it (too close).
Fixing it is almost always one of three things:
- Wash the plate with dish soap and warm water. Not alcohol — soap. Fingerprint oil is the most common adhesion failure, and IPA smears it around rather than removing it.
- Nudge the Z-offset in small steps, 0.02–0.05 mm at a time, while the first layer is printing. Most printers let you do this live.
- Add a brim if a tall part is lifting at the corners.
If it goes wrong, cancel it. There is no recovering a bad first layer, and watching a doomed print continue for six hours is a rite of passage you can skip.
Quick troubleshooting
| Symptom | Usual cause | Fix |
|---|---|---|
| Print won't stick | Dirty plate or Z-offset too high | Soap and water; lower the nozzle slightly |
| Corners curling up | Cooling too fast / draft | Add a brim, close windows, raise bed temp 5°C |
| Fine strings between parts | Wet filament or too little retraction | Dry the spool first — it's usually moisture |
| Layers splitting apart | Nozzle too cool or fan too high | Raise temp 5–10°C, reduce cooling |
| Blobs and zits on the surface | Retraction settings | Enable "wipe on retract" in the slicer |
| Print stops partway up | Filament tangle or clog | Check the spool for a crossed-over strand |
Your first two weeks
- Day 1: Print the test model that shipped with the printer. Don't change anything. You're verifying the machine, not your skills.
- Day 2–3: Download and print three things — something small, something tall, something with an overhang. Learn how your printer fails.
- Week 1: Make something that solves a real annoyance in your house. A drawer divider, a cable clip, a hook. Use the CAD Agent and describe it in a sentence. This is the moment 3D printing stops being a gadget and becomes a tool.
- Week 2: Make something ridiculous. Generate a model from a photo of your dog with the AI 3D Model Generator and print it. Then start a second spool color.
FAQ
Do I need to learn CAD to 3D print? No. In 2026 you can describe an object in plain English and get a printable, dimensionally adjustable model back. Learning CAD is still worth it eventually, but it's no longer the price of entry.
What's the best 3D printer for beginners in 2026? Rather than a specific model, buy for the feature set: automatic bed leveling, a flexible spring-steel plate, and a manufacturer-supplied slicer profile. Choose enclosed if the printer will live in a shared room or you want to print ABS or ASA later.
Is 3D printing expensive to run? Less than most people expect. A 1 kg spool of PLA runs roughly $18–25 and yields dozens of small prints; electricity is pennies per hour. The 3D Print Cost Calculator will give you a real number for a specific print.
Why did my print fail halfway through? Most mid-print failures are adhesion (a corner lifted and the nozzle knocked the part loose) or filament supply (a tangle on the spool). Both are visible in the first layer or in a quick look at how the spool is wound.
How long does a print take? A keychain is 15–30 minutes, a phone stand 2–4 hours, a large vase 8–15 hours. Layer height and wall count affect this more than the object's size does.
The short version
Buy a printer that levels itself. Print PLA until you're bored of it. Get models by downloading them, generating them from words or photos, or describing functional parts to a CAD agent that hands you dimension sliders. Change one slicer setting at a time. And watch the first layer, every time.
The barrier to entry now isn't skill or money — it's just deciding what you want to make. Try describing something to the CAD agent or generating a model from a photo and see what comes out.