How to 3D Print Architecture Models Using Nano Banana AI

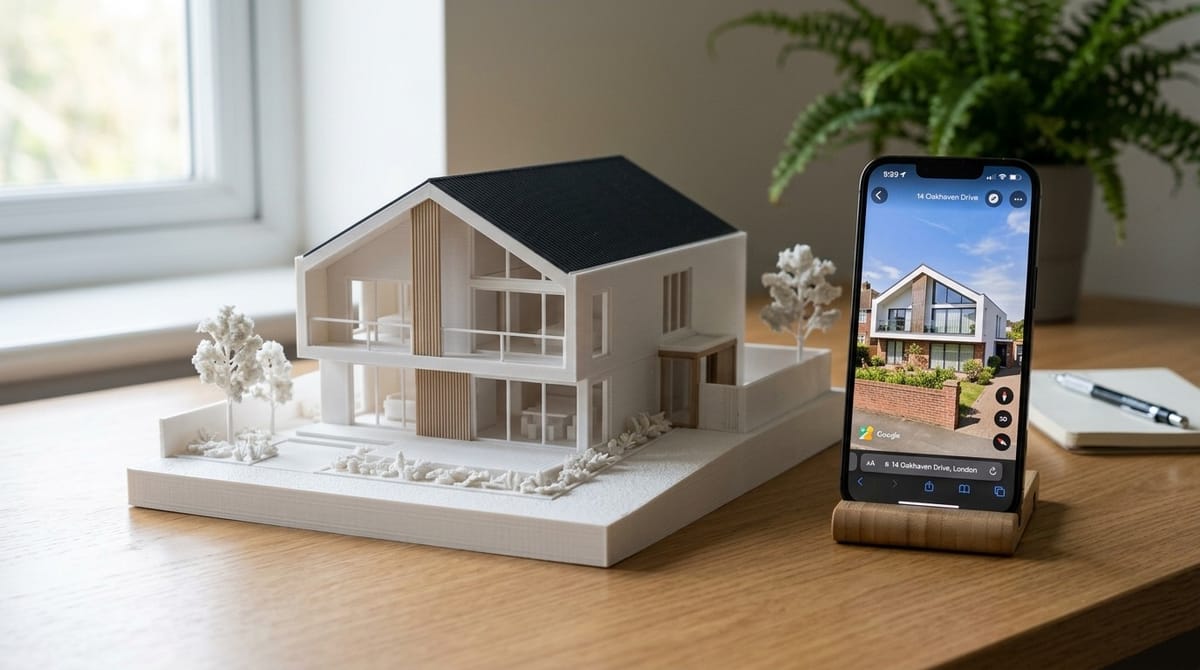
Architectural scale models used to take hours of careful CAD work or days of hand-cutting foam board. Now you can go from a photo of any building to a 3D printed scale model in minutes. The key is combining Google's Nano Banana AI (Gemini 3 Pro Image) with a 3D generation tool like PrintPal's Architecture 3D Generator.
This guide walks through the full workflow: capturing the right image, using Nano Banana to refine it, generating a 3D model, and printing it.
What Is Nano Banana?
Nano Banana is Google's image generation and editing AI model, part of the Gemini family. It can generate photorealistic images from text prompts and edit existing photos using natural language instructions. For architecture specifically, it excels at:
- Transforming a messy street photo into a clean, isolated building image
- Generating isometric or 3/4 angle views from flat front-facing photos
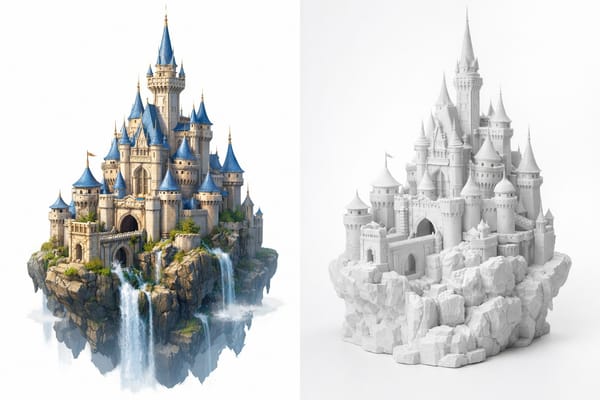
- Restyling buildings to look like physical scale models or 3D printed maquettes
- Processing in roughly 10 to 15 seconds per image
The model is available for free through Google AI Studio, through the Gemini mobile app, or programmatically through APIs. PrintPal also uses Nano Banana under the hood in its architecture and image-to-3D tools, so you can skip the manual step entirely if you prefer.
The Full Workflow: Photo to 3D Print
Step 1: Capture Your Building Photo
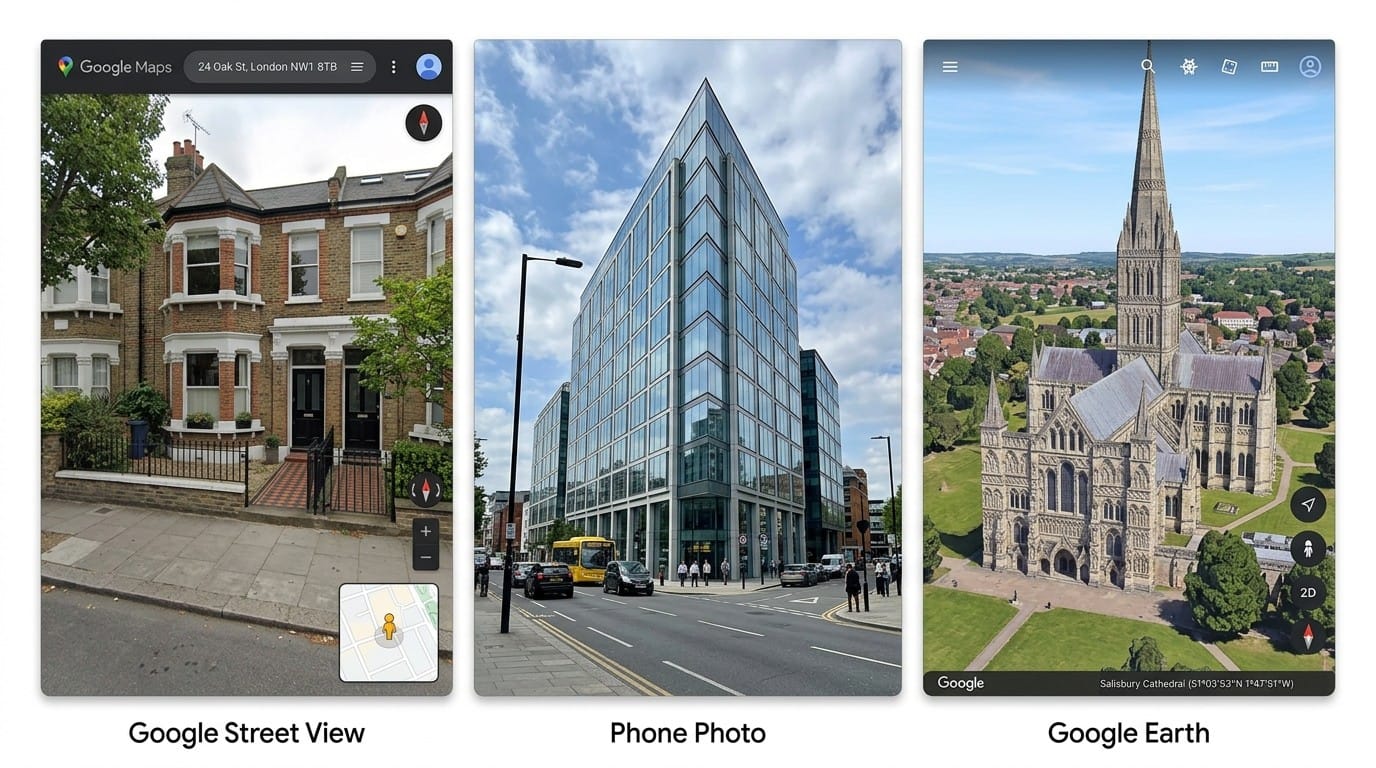
The best source images show the full building with minimal obstructions. You have several options:
- Google Street View: Navigate to any address, rotate the view to get a clean angle, and screenshot. This works for almost any building in the world.
- Your own photos: Walk across the street from the building and shoot from a slight angle so you can see the front facade and one side. This gives the 3D generator more depth information.
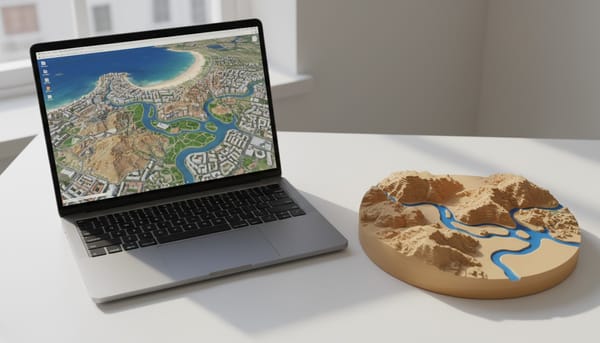
- Google Earth: For aerial or angled overhead views that show roof geometry and surrounding context.
- Architectural renderings: If you have a concept render, that works too.
What makes a good photo:
- Full building visible, not cropped
- 3/4 angle preferred over straight-on (shows more geometry)
- Minimal obstructions from trees, cars, or other buildings
- Decent lighting with visible surface detail
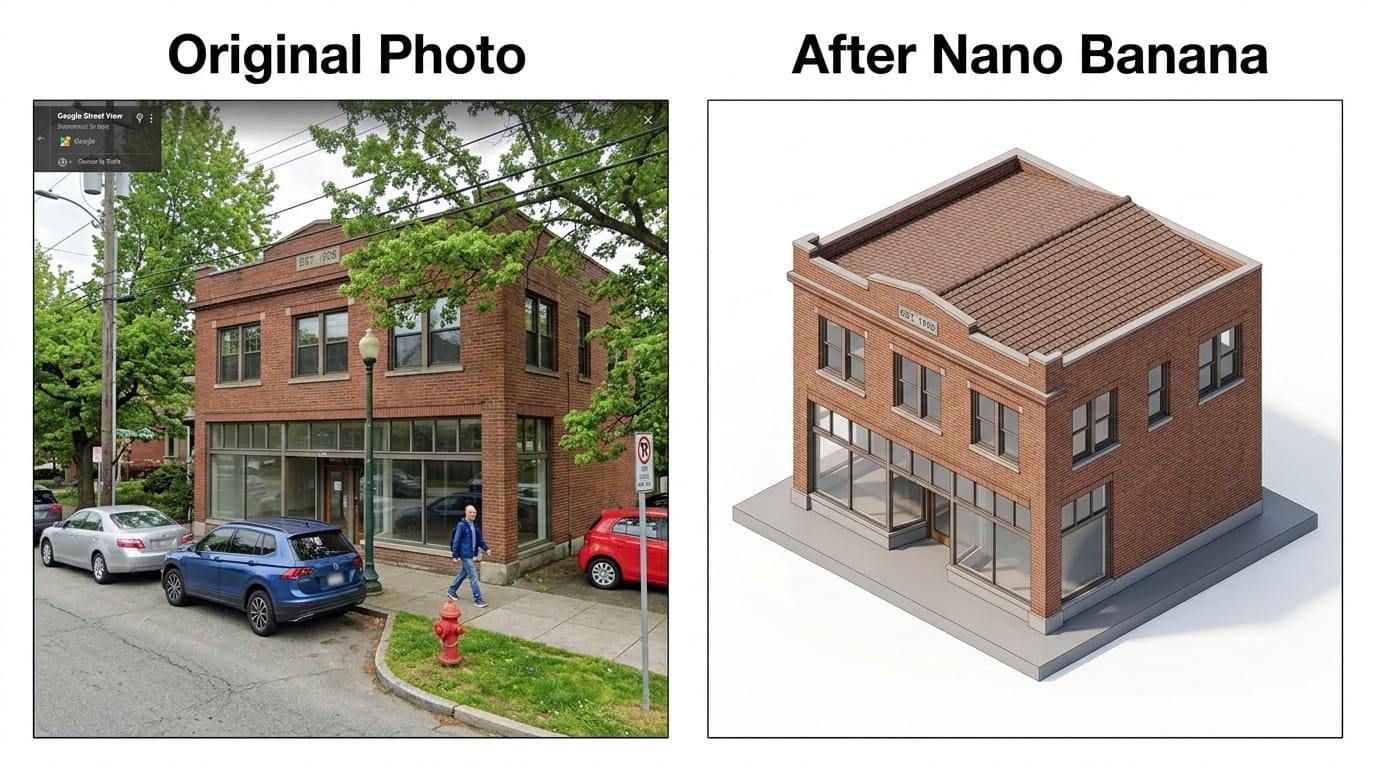
Step 2: Enhance the Image with Nano Banana (Optional)
If your photo has distractions like parked cars, pedestrians, or heavy shadows, you can clean it up with Nano Banana before generating the 3D model. Open Google AI Studio, upload your photo, and try prompts like:
Remove distractions: "Remove all cars, people, and street clutter from this building photo. Keep the building and sky only."
Convert to a clean scale model look: "Use the provided architectural photo as reference. Generate a high-fidelity 3D building model in the look of a 3D-printed architecture model. Show a 45-degree isometric view. Pure white background."
Generate from two reference angles: "Use two reference images: 1) street-view photo of the facade and 2) aerial photo showing the roof. Generate a high-fidelity 3D building model preserving massing, proportions, and key texture details. Isometric view, white background."
This step is optional because PrintPal runs Nano Banana automatically when you upload to the Architecture 3D Generator. But doing it yourself first gives you more control over the look before 3D conversion.
Step 3: Generate the 3D Model
Now take your image (original or Nano Banana-enhanced) and generate a printable 3D model. You have two options:
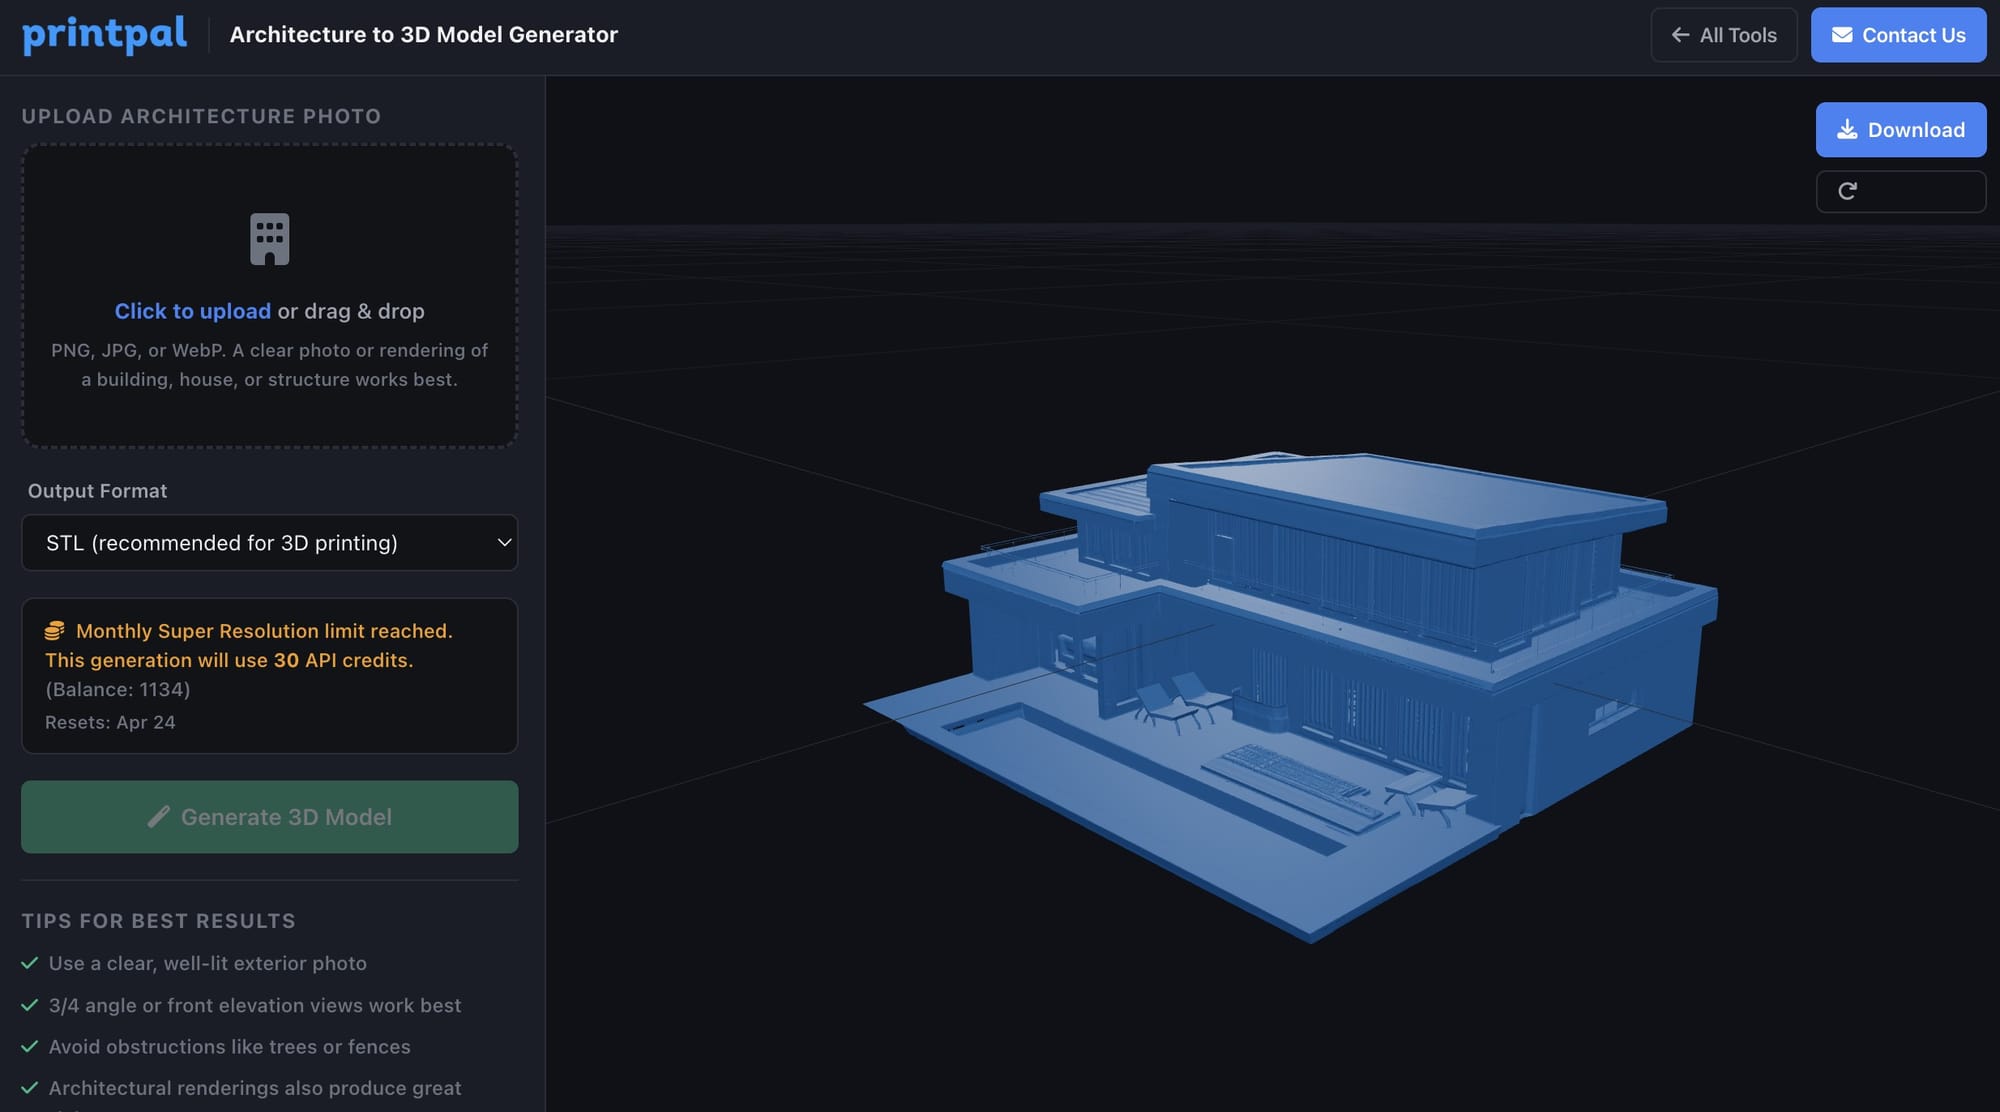
Option A: PrintPal Architecture 3D Generator (Easiest)
- Go to PrintPal's Architecture 3D Generator
- Upload your building photo
- The tool runs Nano Banana enhancement and 3D generation automatically
- Download the result as STL, OBJ, or GLB
Option B: PrintPal AI 3D Generator with Text Prompt
If you do not have a photo, describe the building:
- Go to PrintPal's AI 3D Generator
- Type a description like: "a three-story Art Deco apartment building with geometric facade details, symmetrical windows, and a flat decorative roofline, isometric view on a square base"
- Choose your quality tier (ultra or super recommended for architecture)
- Download the STL
Option C: PrintPal API (For Automation)
import printpal

client = printpal.Client(api_key="your_api_key")

result = client.generate(
    image="building_photo.jpg",
    quality="super",
    format="stl"
)

result.save("building_model.stl")
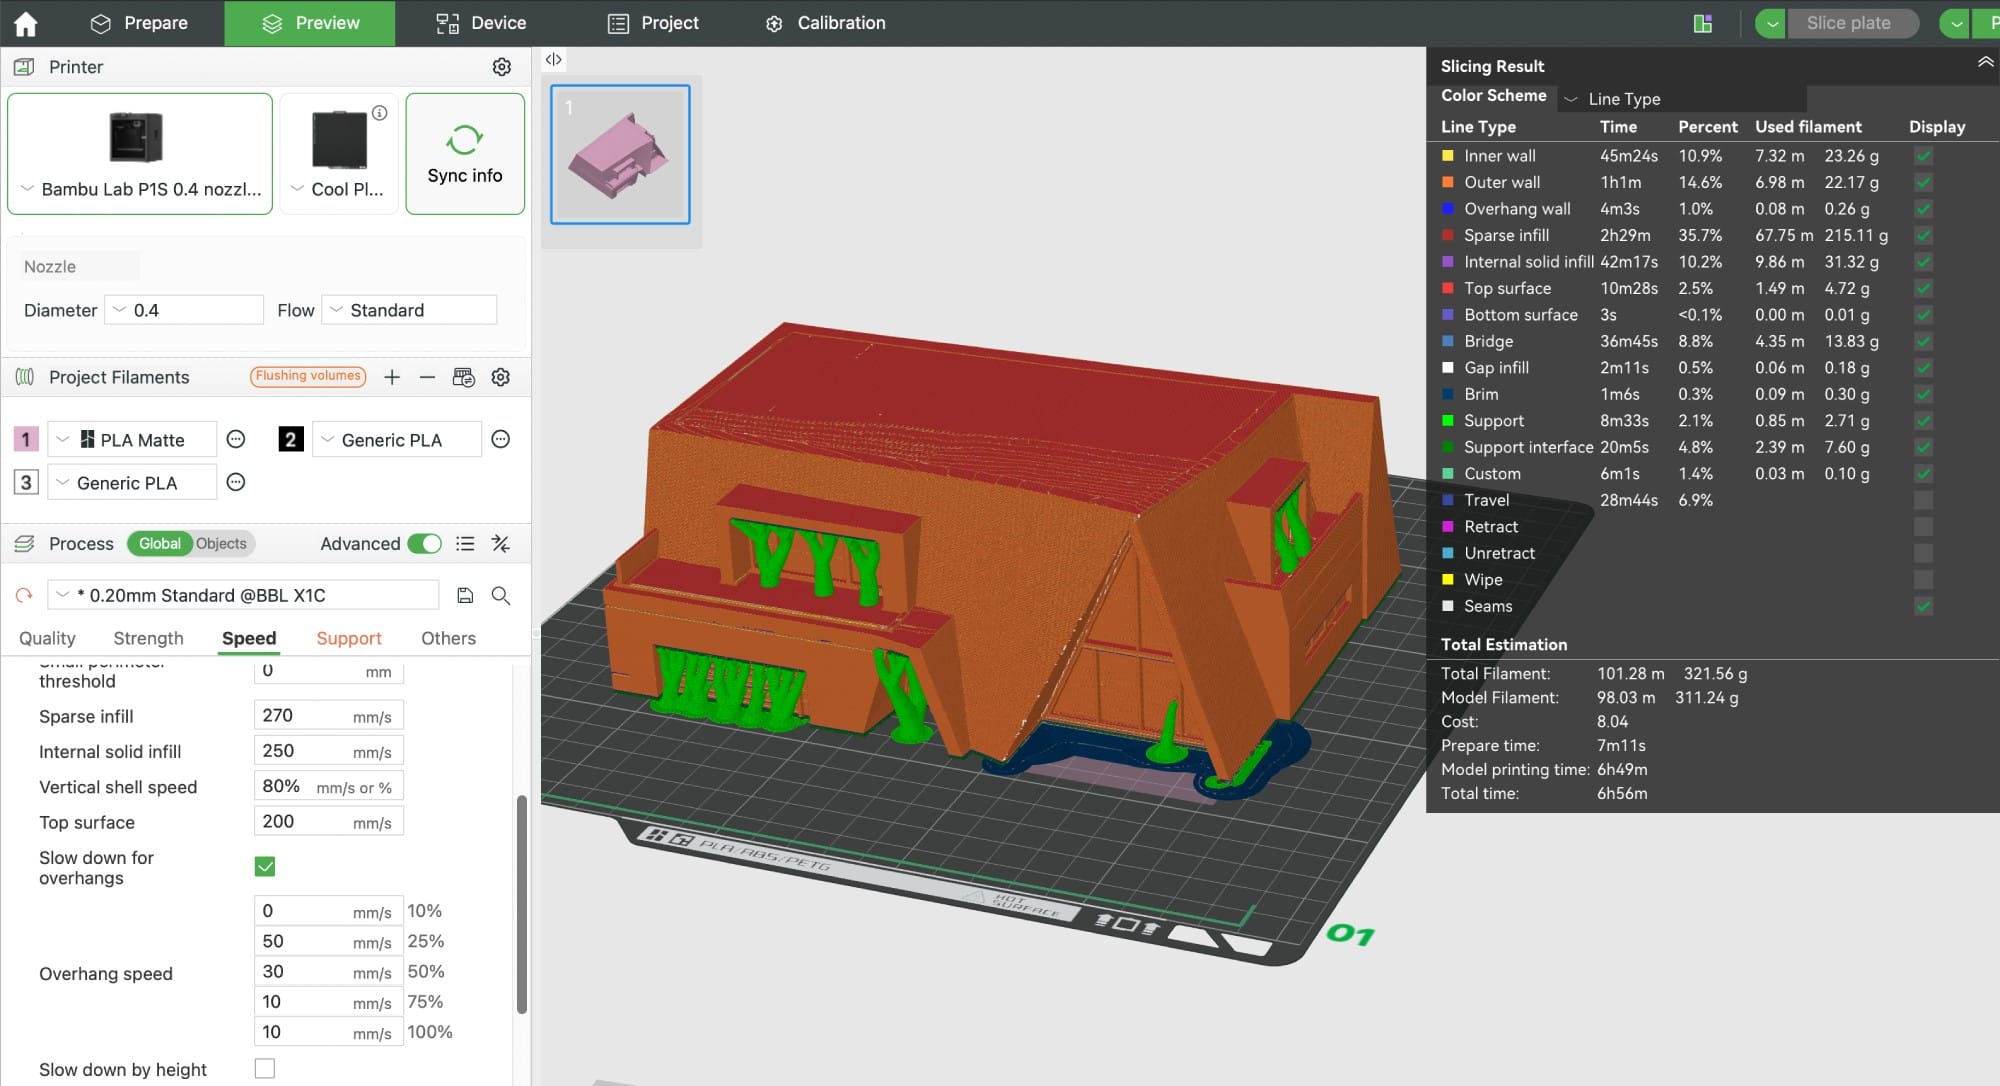
Step 4: Slice and Print
Import the STL file into your slicer (Bambu Studio, PrusaSlicer, Cura, or OrcaSlicer) and prepare it for printing.
Recommended print settings for architectural models:
| Setting | Recommended Value |
|---|---|
| Layer height | 0.12mm for fine detail, 0.16mm for faster prints |
| Infill | 15-20% (models are mostly decorative) |
| Walls | 3 perimeters minimum for structural strength |
| Supports | Yes, for overhangs like porches, balconies, and roof eaves |
| Material | PLA or PETG in white or light gray for a classic model look |
| Scale | Adjust in slicer to your desired size |
Tip: Print in white PLA for a clean architectural maquette look. If you want to highlight details, a light gray or sandstone-colored filament adds subtle contrast without painting.
Best Prompts for Architecture 3D Models
Whether you use Nano Banana directly or type into PrintPal's text-to-3D tool, these prompt patterns produce the best architectural results:
Residential: "a two-story colonial house with a symmetrical facade, shuttered windows, front porch with columns, and a gabled roof, 3/4 view, on a rectangular base"
Commercial: "a modern glass office tower, 30 stories, curved facade with horizontal floor plates visible, ground-level retail with an awning, isometric view, white background"
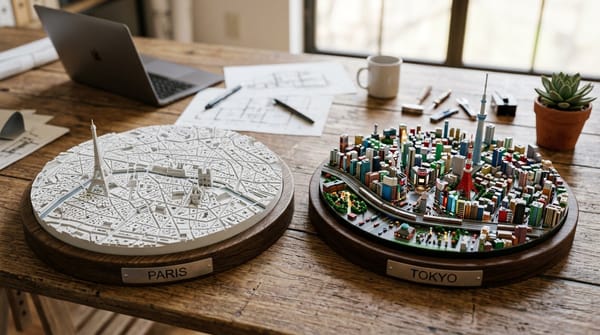
Historical: "the Parthenon in Athens, showing the front colonnade and pediment, slight angle to show column depth, on a flat rectangular base, architectural model style"
Residential complex: "a row of four brownstone townhouses with stoops, bay windows, and decorative cornices, viewed from across the street at a slight angle, on a rectangular base"
The key phrases that consistently improve results: "on a base," "isometric view" or "3/4 view," "architectural model style," and "white background."
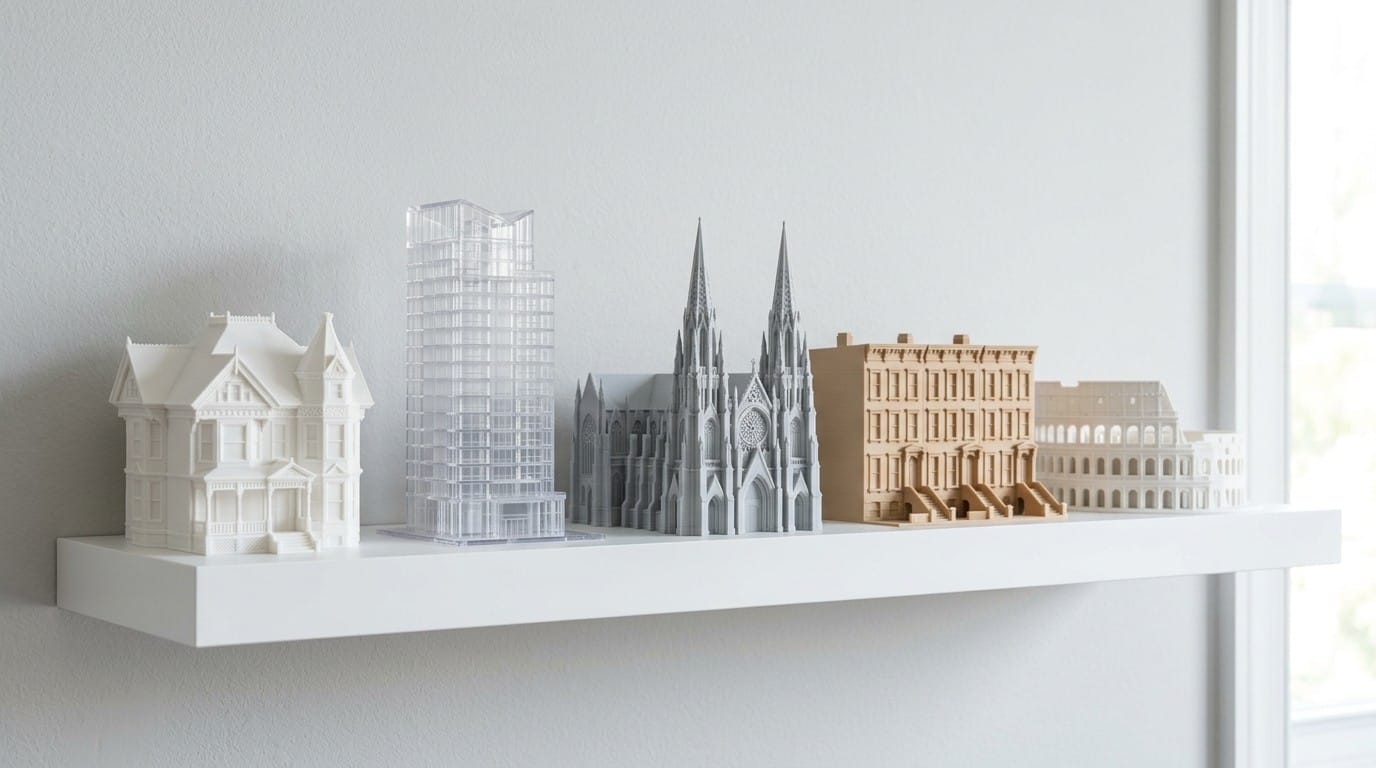
What You Can Build With This
This workflow opens up practical applications that used to require significant time or specialized skills:
- Client presentations: Print a scale model of a proposed design from your rendering in a few hours instead of days
- Site context models: Print surrounding buildings from Google Street View to show how your design fits into the neighborhood
- Real estate displays: Create physical models of listings from exterior photos
- Education: Students can print models of famous buildings for study or presentation
- Personal keepsakes: Print a model of your house, your childhood home, or a building you love from your travels
Get Started
The fastest path from building photo to 3D print:
- Screenshot a building on Google Street View or snap a photo with your phone
- Upload it to PrintPal's Architecture 3D Generator
- Download the STL
- Slice and print