🐾 How to Turn Your Pet into a 3D Printed Model (No 3D Skills Required)

Ever wanted to 3D print a model of your pet - but didn’t know where to start?
With today’s AI tools, it’s easier than ever to go from a photo of your dog, cat, or bird to a full-color 3D print. Even if you’ve never touched CAD software, this step-by-step guide will walk you through the entire process - from taking the perfect photo, turning it into a 3D model using PrintPal’s Image-to-CAD AI, and finally printing it in multicolor.
Whether it’s a tribute, a gift, or just a fun project, let’s turn your furry (or feathery) friend into a custom keepsake.
📸 Step 1: Take a Clear Photo of Your Pet
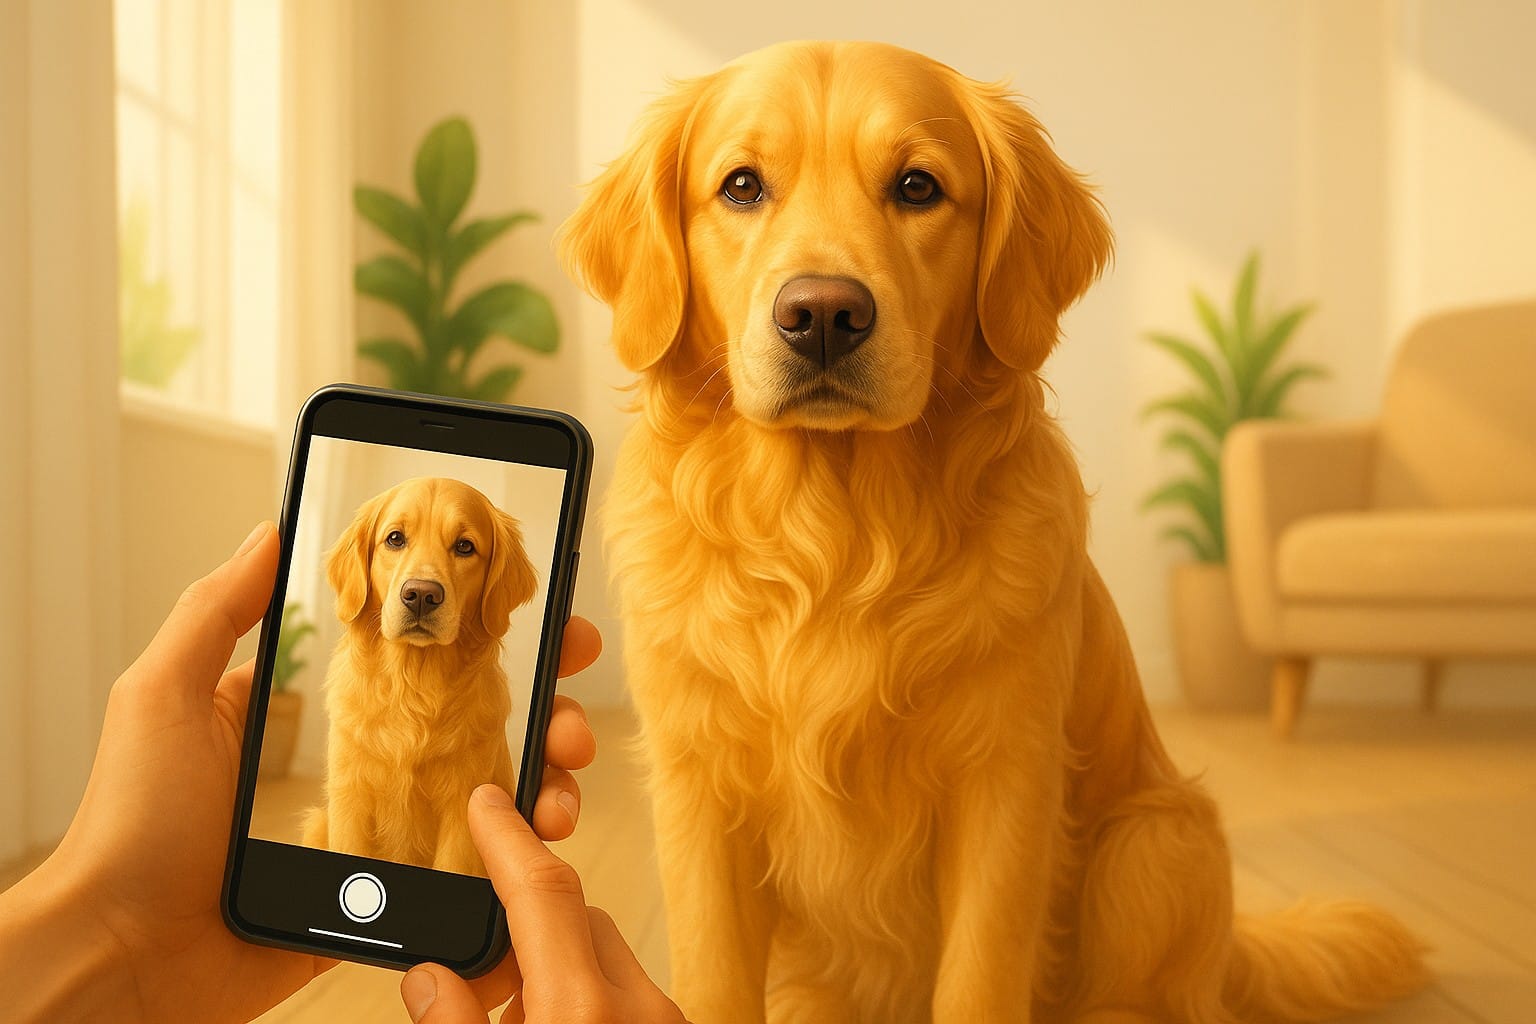
The key to a great 3D model is a clear and simple image. The AI works best when it can understand the full shape and pose of the subject - so follow these tips:
✅ Photo Guidelines:
- Pose: Front-facing or slightly angled, with clear view of body shape
- Lighting: Bright, even lighting without shadows
- Background: Use a plain background (solid color or simple floor/wall)
- Posture: Try to capture your pet sitting, standing, or lying down in a way that shows their silhouette
💡 Pro Tip: Take the photo at your pet’s eye level for a more natural and model-friendly shot.
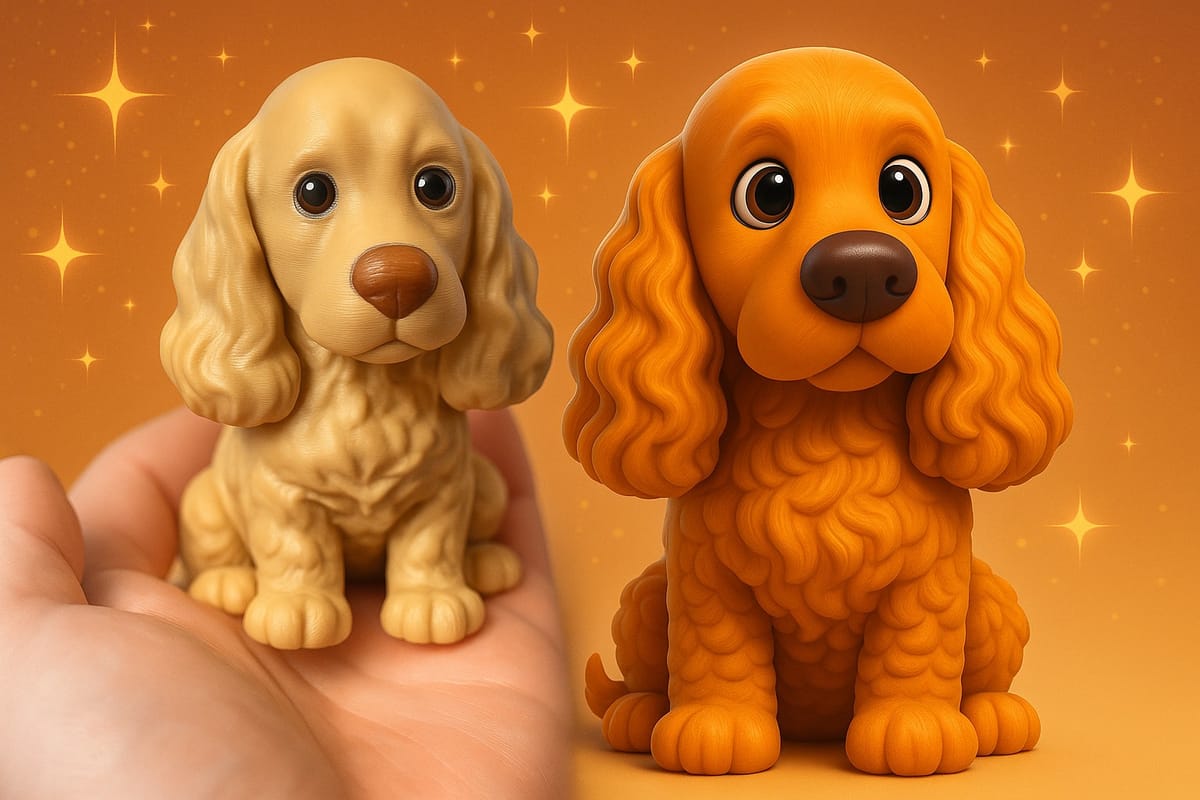
🎨 Step 2: Use ChatGPT to Generate a Cartoon Version
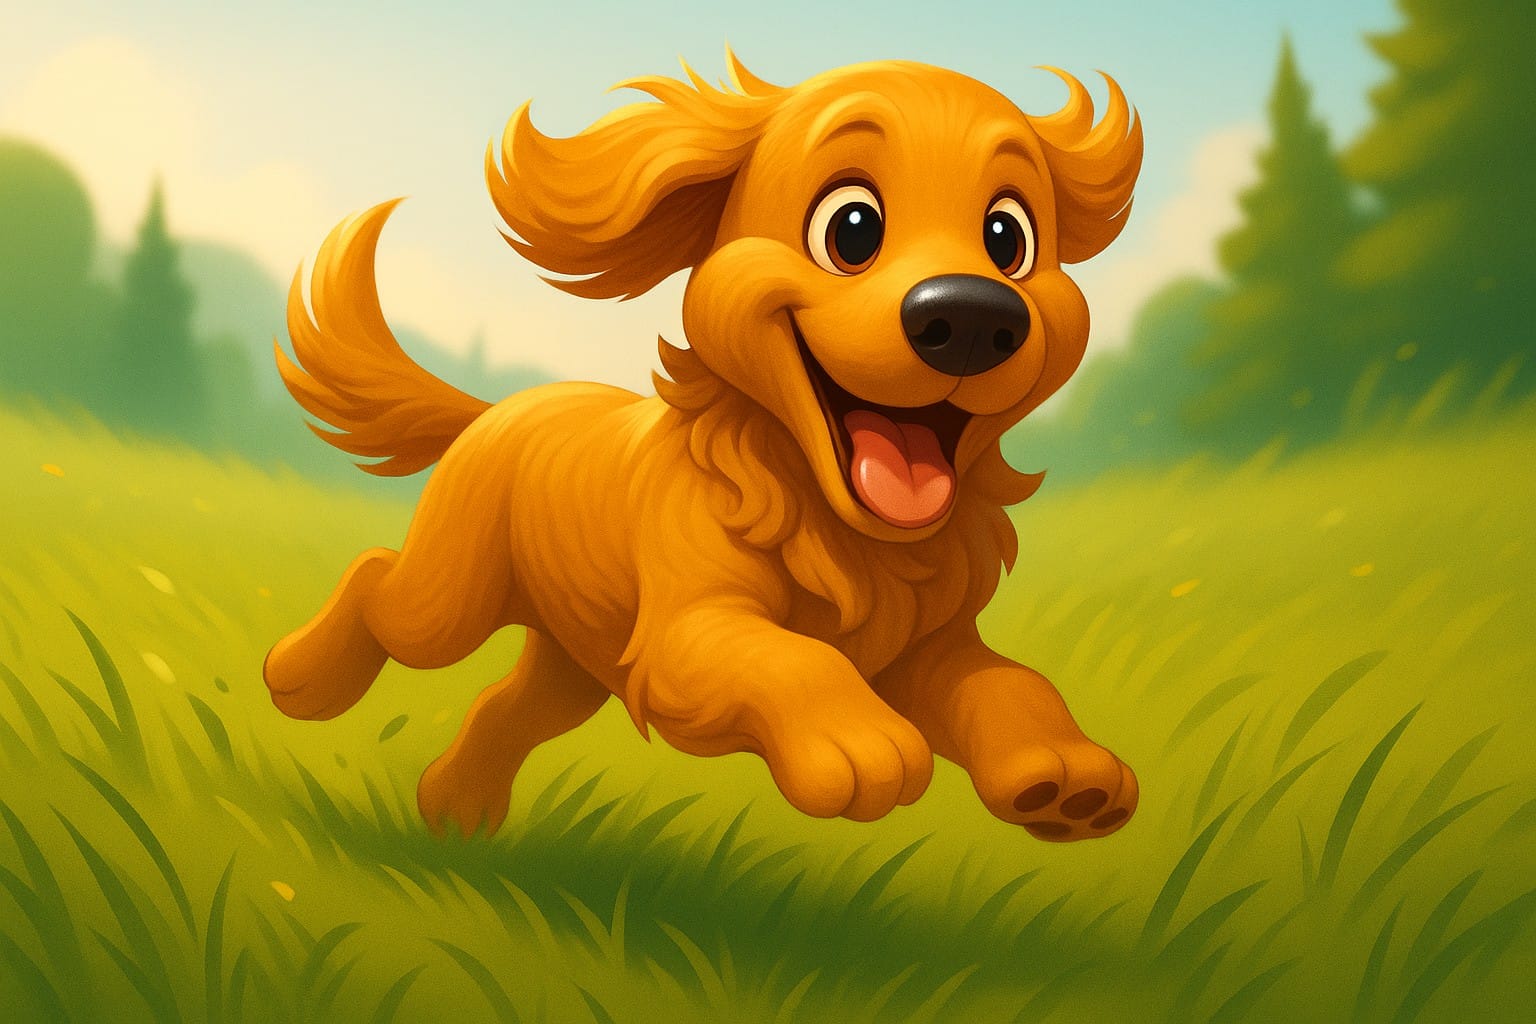
To create a clean, stylized version of your pet that works well for Image-to-CAD, you’ll want to convert your photo into a “cute cartoon version”.
You can do this with a prompt in ChatGPT with image generation, or any image AI tool you prefer.
Prompt Example:
“Create a cute cartoon version of the dog from this photo, on a plain white background. The style should be clean and friendly, like a 3D printable toy.”
🖼 Use your actual photo as a reference if your AI tool supports image conditioning or style transfers (like DALL·E in ChatGPT, Midjourney, or similar).
🤖 Step 3: Convert the Cartoon Image to 3D Using PrintPal
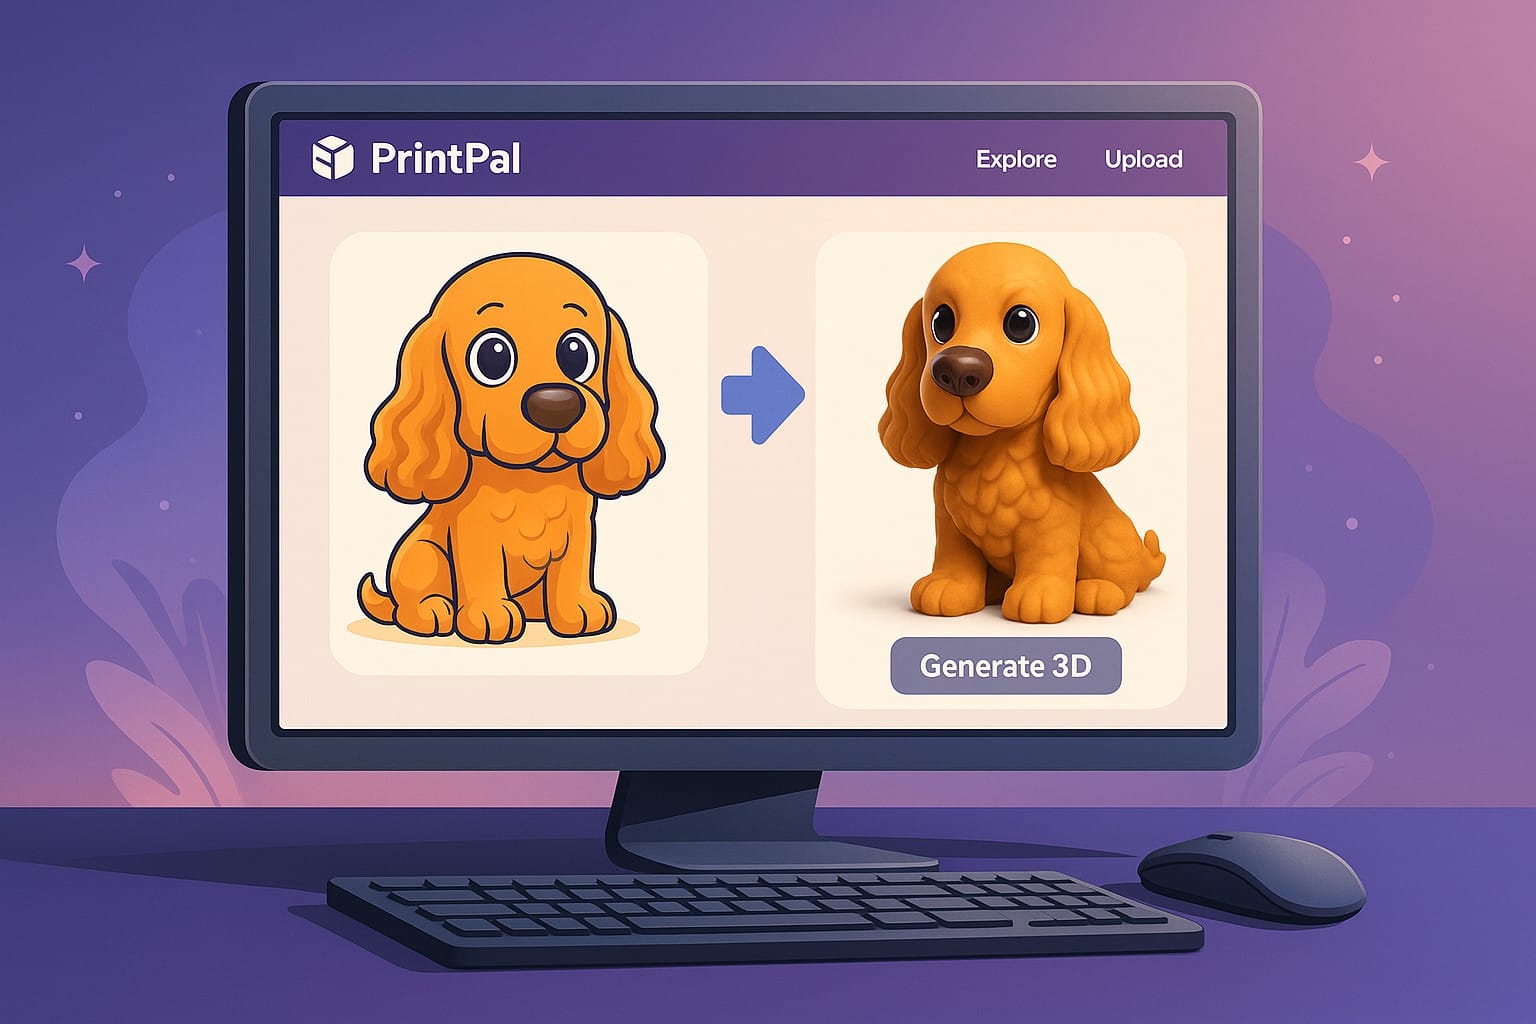
Now that you have a pet-inspired cartoon image, it’s time to turn it into a real 3D model.
How to Use PrintPal’s Image-to-CAD Tool:
- Go to: PrintPal Image-to-CAD Generator
- Upload your cartoon pet image
- Wait a few moments for processing
- Download the 3D CAD file (usually in STL or OBJ format)
PrintPal uses AI to automatically remove the background, interpret the shape, and generate a solid model that’s ready for printing.
🖌 Step 4: Add Color Using Slicer Software (Optional for Multicolor Prints)

If you have a multi-material printer like Bambu Lab or Prusa MMU, or you're using a filament color swap, you can add color zones to your model in the slicer.
In Bambu Studio or PrusaSlicer:
- Open your model
- Use the Painting or Color Tool to assign colors to regions (fur, eyes, collar, etc.)
- Preview the print in color mode
- Slice and export for your printer
💡 No multicolor printer? You can still paint your model after printing using acrylic paints or filament markers!
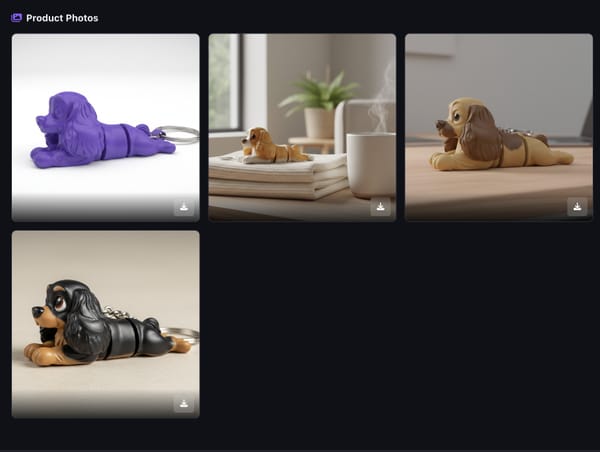
🖨 Step 5: Print Your Pet!
You're ready to bring your creation to life. Choose your printing method:
Option A: Print at Home
- Load the sliced file into your 3D printer
- Use PLA, ASA, or PETG depending on whether the model is decorative or durable
- Watch your pet take shape layer by layer!
Option B: Order Through PrintPal
- Click “Order Print” on your model page in PrintPal
- Choose materials, colors, and delivery options
- Get it shipped to your door - even same day in many cities
🎁 Bonus Ideas
- Gift for a pet lover
- Memorial for a lost pet
- Keychain or desk figurine
- Pet-themed Etsy products
- Educational modeling project for kids
🐕 Final Thoughts
With tools like ChatGPT and PrintPal, you don’t need any design experience to make highly personal 3D models.
This project blends creativity, AI, and physical making - turning your beloved pet into a tangible keepsake.
So grab a photo, sketch or prompt your cartoon version, and let the AI do the rest.