How to Make Branded Stamps, Tags, and Embossers for Handmade Goods

When you're a maker, your brand is your signature. Whether you're creating soaps, pottery, candles, jewelry, or resin art, adding your name, logo, or unique design to your packaging or product builds recognition and value. With AI and 3D printing, it's easier than ever to make your own custom stamps, tags, and embossers — without outsourcing or using complex design software.
Using PrintPal’s Image-to-CAD tool, you can generate a design using text or an image, upload it, and print it into a ready-to-use branding tool. It only takes minutes to create and just a few hours to print.
Why You Need Custom Stamps and Embossers
Branded touches do more than look good. They:
- Reinforce your brand identity
- Make your products feel more professional
- Encourage repeat customers
- Help your work stand out in a crowded market
And the best part? These tools are reusable, low-cost, and completely custom.
What You Can Make
Here are a few ideas to get started:
| Tool | Use Case |
|---|---|
| Clay stamp | Mark pottery, soap, or clay jewelry before baking or drying |
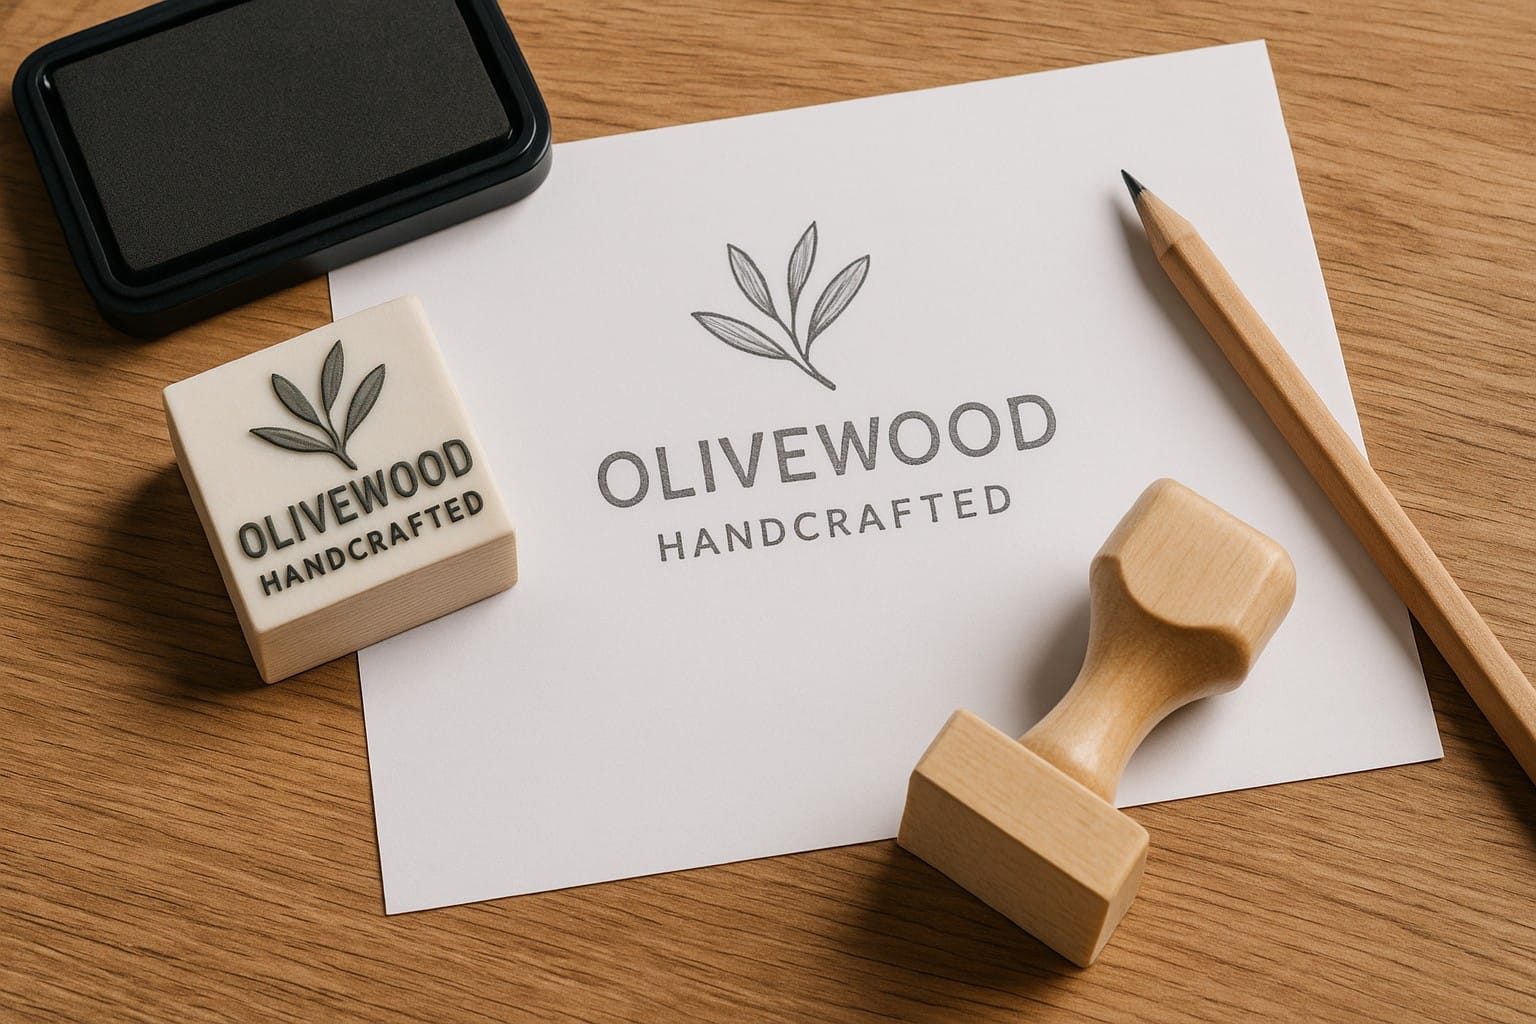
| Embosser | Add a logo to paper packaging, labels, or cards |
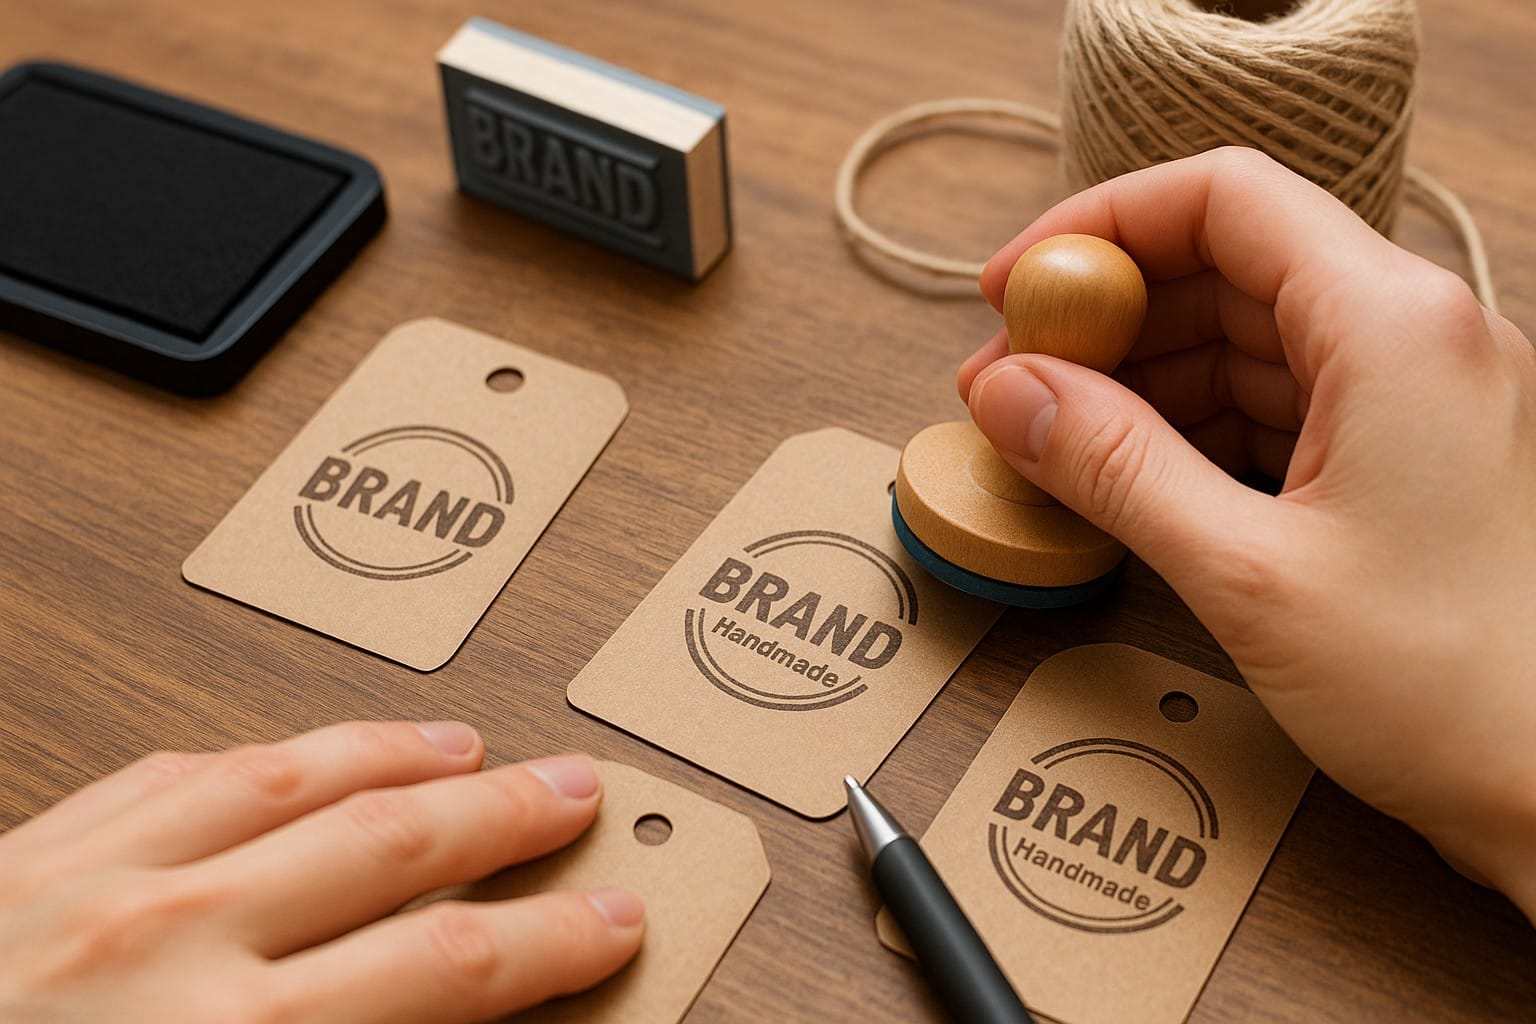
| Ink stamp | Apply your brand to envelopes, tissue paper, or boxes |
| Gift tag mold | Pressed into resin or soap as a raised design |
| Hang tag | A flat 3D-printed piece with a hole for string or ribbon |
Each item gives you a chance to repeat your brand and elevate your product experience.
Step-by-Step: Make Your First Custom Stamp
Step 1: Write a Prompt for Image Generation
Use ChatGPT or another AI image tool to describe what you want your stamp to look like.
Prompt example:
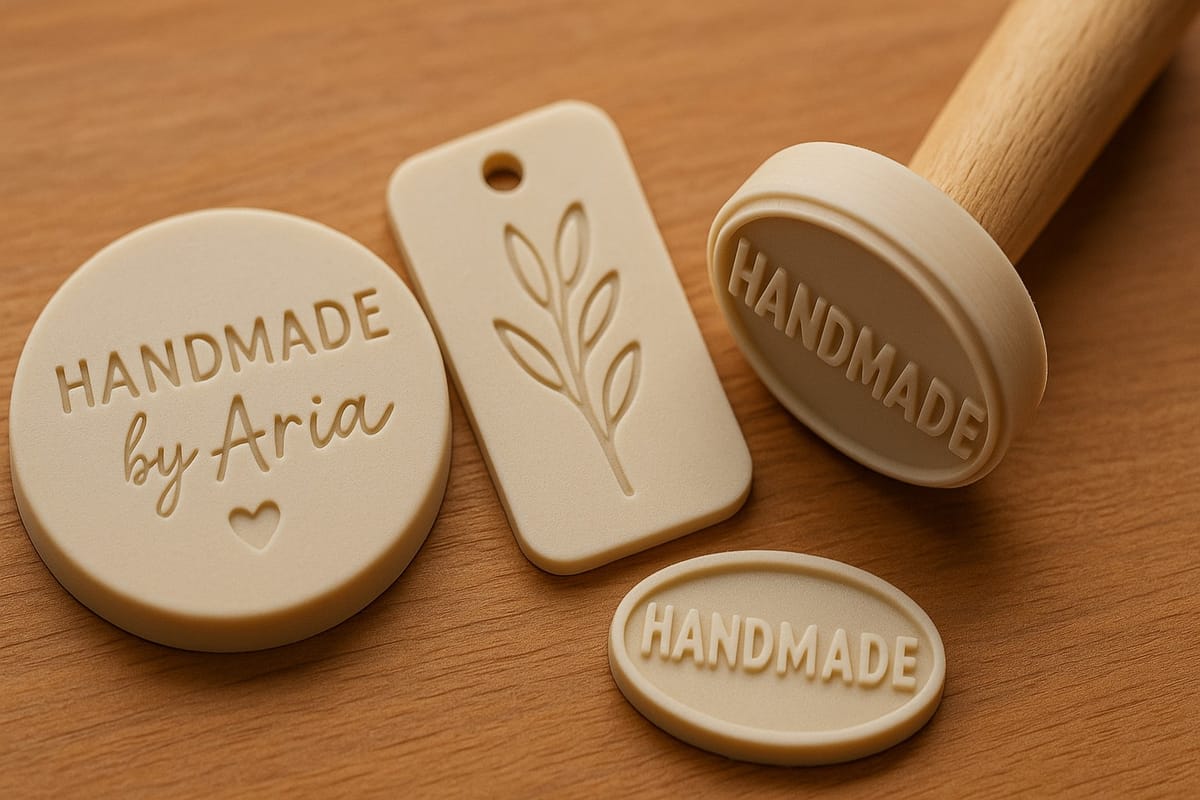
“A round stamp with the words ‘Handmade by Aria’ in a script font, centered, with a small heart below, viewed from the top, white background”
You can use any wording, logo, or symbol that fits your brand identity.
Step 2: Upload the Image to PrintPal
PrintPal will convert your image into a 3D-printable STL file. Be sure to:
- Use a white background
- Keep the image simple and front-facing
- Avoid gradients or soft shadows
This ensures the best output for embossing or stamping.
Step 3: Print the Model
Use a standard PLA filament and fine layer height for better detail. For stamps, mount the finished piece to a wooden dowel or acrylic block. For embossers, leave a small handle at the back or use a clamp tool for pressing.
Most stamps and tags print in under one hour.
Tips for Better Results
- Reverse the text in your image before uploading, so it appears correctly when stamped
- Seal your stamp with a clear coat if using with ink or clay
- Use flexible filament like TPU for better results on curved surfaces
- Print test versions on paper or scrap clay before using with finished products
- Add holes to tags directly in the prompt or using a slicer tool
Real-World Examples
| Business Type | Custom Tool |
|---|---|
| Soap Maker | Raised acrylic soap mold insert with a brand logo |
| Ceramic Artist | Clay press with signature initials and texture pattern |
| Candle Seller | Tag tied to jar with scent name and shop URL |
| Jewelry Maker | Stamp with icon on earring backing cards |
Final Thoughts
You no longer need to order custom branding tools from overseas or settle for generic designs. With PrintPal’s Image-to-CAD tool, your logo or name can become a stamp, tag, or embosser that adds professionalism and personality to everything you make.
These small touches leave a lasting impression on customers and make your work feel as intentional as it truly is.
Ready to make your first branded tool?
Try PrintPal’s free generator and bring your name, logo, or signature to life in just a few clicks.