How to Generate Stunning Exploded-View Blueprint Images From Any Product Photo (Free Prompt Included)

Want to turn any product photo into a professional exploded-view blueprint illustration? This guide walks you through the exact prompt, settings, and workflow to generate 3D-printable technical schematics using AI image generators like ChatGPT, Nano-Banana, and Grok.
What Are AI-Generated Blueprint Images?
AI-generated blueprint images are stylized technical illustrations created from a single product photo using a text prompt. They mimic the look of professional exploded-view assembly diagrams, the kind you would see in industrial design portfolios, patent filings, or premium product teardowns.
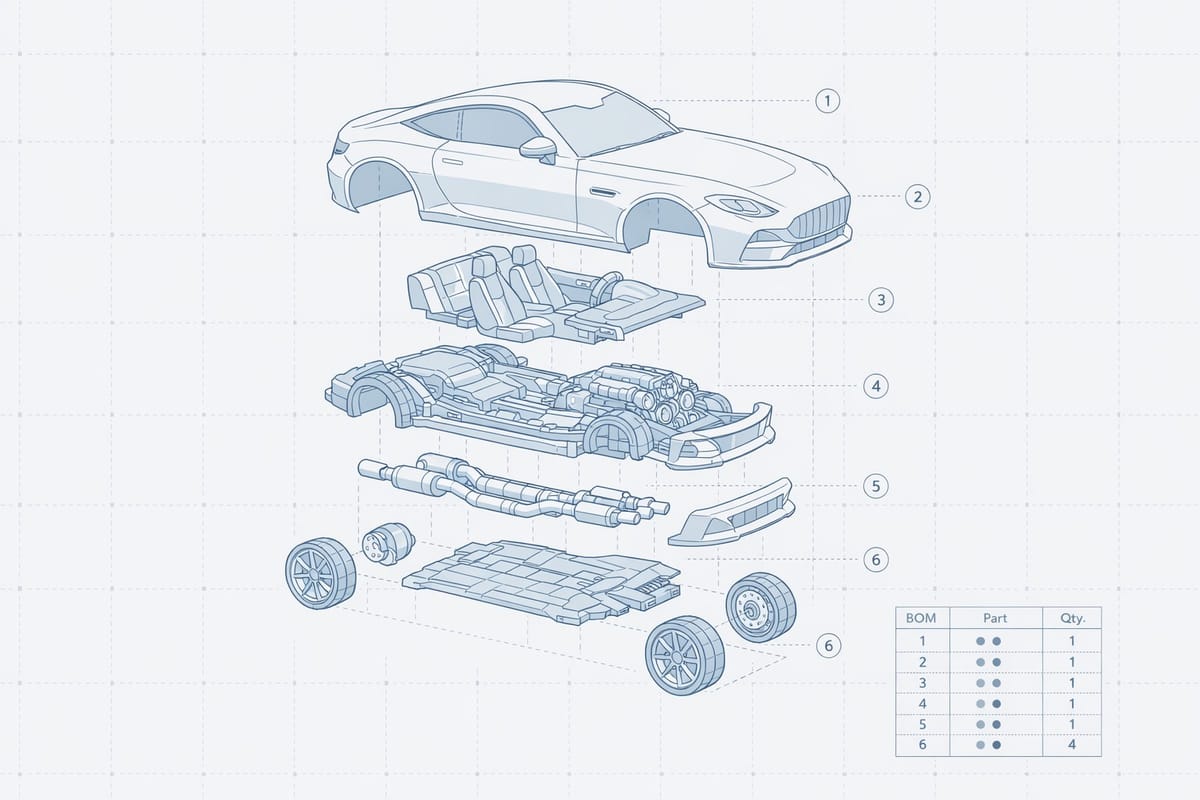
The style features isometric perspective, thin monoline outlines, soft blue-gray tones, numbered callout lines, and a bill of materials table. The result looks like something from a high-end design studio, but takes about 30 seconds to generate.
These images are especially useful in the 3D printing community. Once you have a clean exploded-view render, you can use it as a reference for modeling printable parts, creating assembly instructions, or marketing your 3D printed products.
The Exploded-View Blueprint Prompt
Here is the full prompt. Copy it, paste it into your AI image generator of choice alongside a reference photo, and generate.
Transform this product photo into a clean exploded-view technical blueprint illustration. Show the object disassembled into its major components in a precise isometric view, with each part spaced clearly along its assembly axis. Style it as a modern minimal industrial design schematic rather than a traditional engineering drawing. Use very thin monoline vector outlines, soft pale blue-gray accent fills, and a very light cool gray background with a subtle dotted or faint square grid. Add delicate callout leader lines and small circled part numbers, but keep them minimal and elegant. Include a small simplified bill of materials table in the corner. Preserve the proportions and geometry of the original object, but simplify tiny details for clarity. Make it feel like a premium Apple-like product design blueprint mixed with an exploded mechanical assembly diagram. No photorealism, no textures, no heavy shadows, no dark navy background, no clutter, no dense dimension lines, no realistic materials, no text labels beyond tiny part numbers and a minimal table.
This prompt works with ChatGPT (GPT image generation), Nano-Banana, Grok, and most other AI image tools that accept reference images.
How the Prompt Works (Key Elements Explained)
Understanding what each part of the prompt does helps you customize it for different results.
Exploded isometric view tells the model to separate the object into its component parts and display them along a vertical or horizontal axis. This is the core of the blueprint look.
Monoline vector outlines pushes the style away from photorealism toward clean technical illustration. Without this, most models default to rendered 3D or painterly styles.
Pale blue-gray fills create that classic engineering schematic color palette. You can swap this for other colors, but blue-gray reads as "technical" to most viewers.
Bill of materials table adds authenticity. It makes the image feel like a real assembly document rather than just an illustration.
The negative prompts at the end are critical. Without them, models tend to add heavy shadows, dark backgrounds, photorealistic textures, and cluttered dimension lines that ruin the clean blueprint aesthetic.
Best Practices for Input Photos
The quality of your output depends heavily on your input photo. Here is what works best.
Use a clean photo with a simple background. White or solid color backgrounds produce the best results. Busy backgrounds confuse the model about where the object ends and the scene begins.
Shoot from a slight angle rather than straight on. A 3/4 view gives the model more geometric information to work with when constructing the isometric exploded view.
Make sure the full object is visible. Cropped or partially hidden objects lead to incomplete or inaccurate disassembly in the generated blueprint.
Higher resolution helps. The more detail the model can see in the original photo, the more accurately it can separate and reconstruct the components.
Customizing the Prompt for Different Use Cases
For 3D Printing Assembly Guides
Add this to the end of the prompt:
Emphasize mechanical joints, snap-fit connections, and screw holes. Show how parts physically connect to each other with subtle alignment indicators.
This version highlights the functional connections between parts, making it useful as a visual assembly reference for multi-part 3D prints.
For Product Marketing and Packaging
Add this to the end of the prompt:
Make the illustration feel aspirational and premium. Slightly increase the spacing between parts for a more dramatic floating effect. Add a subtle drop shadow under the lowest component.
This version creates a more polished, marketing-ready image suitable for product packaging, crowdfunding pages, or social media.
For Patent and Technical Documentation
Add this to the end of the prompt:
Use a plain white background with no grid. Add more detailed part numbering. Keep the style strictly technical with no decorative elements.
This strips the illustration down to something closer to a patent drawing while maintaining the clean modern aesthetic.
What Products Work Best?
This prompt works on almost anything with distinct parts, but some subjects produce especially impressive results.
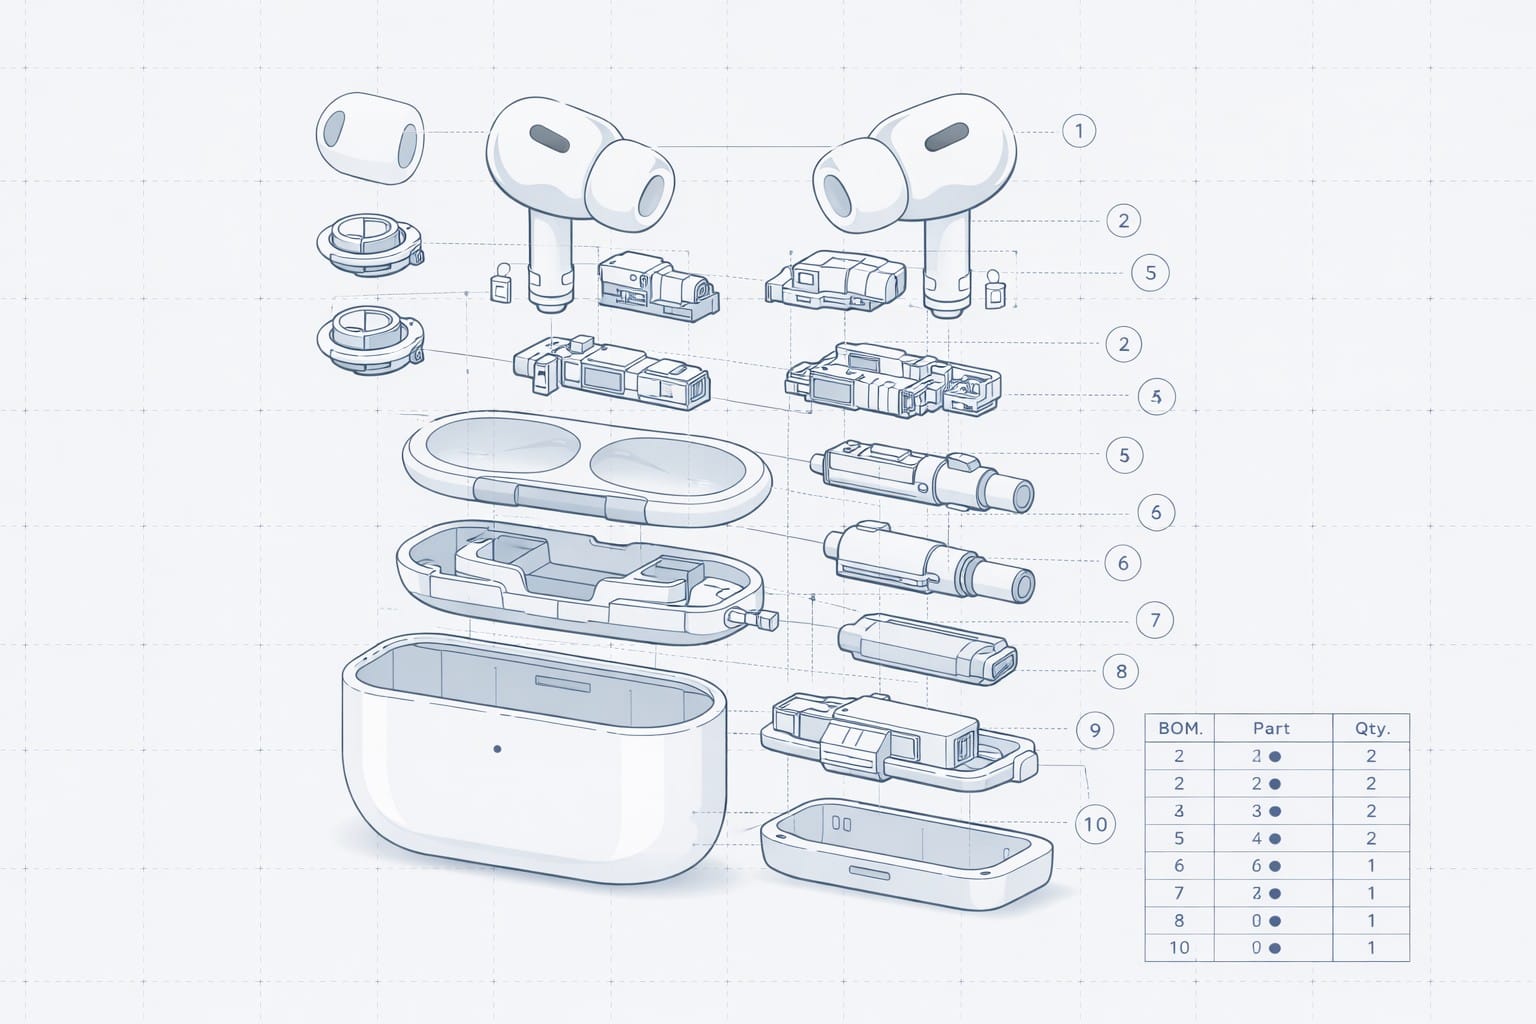
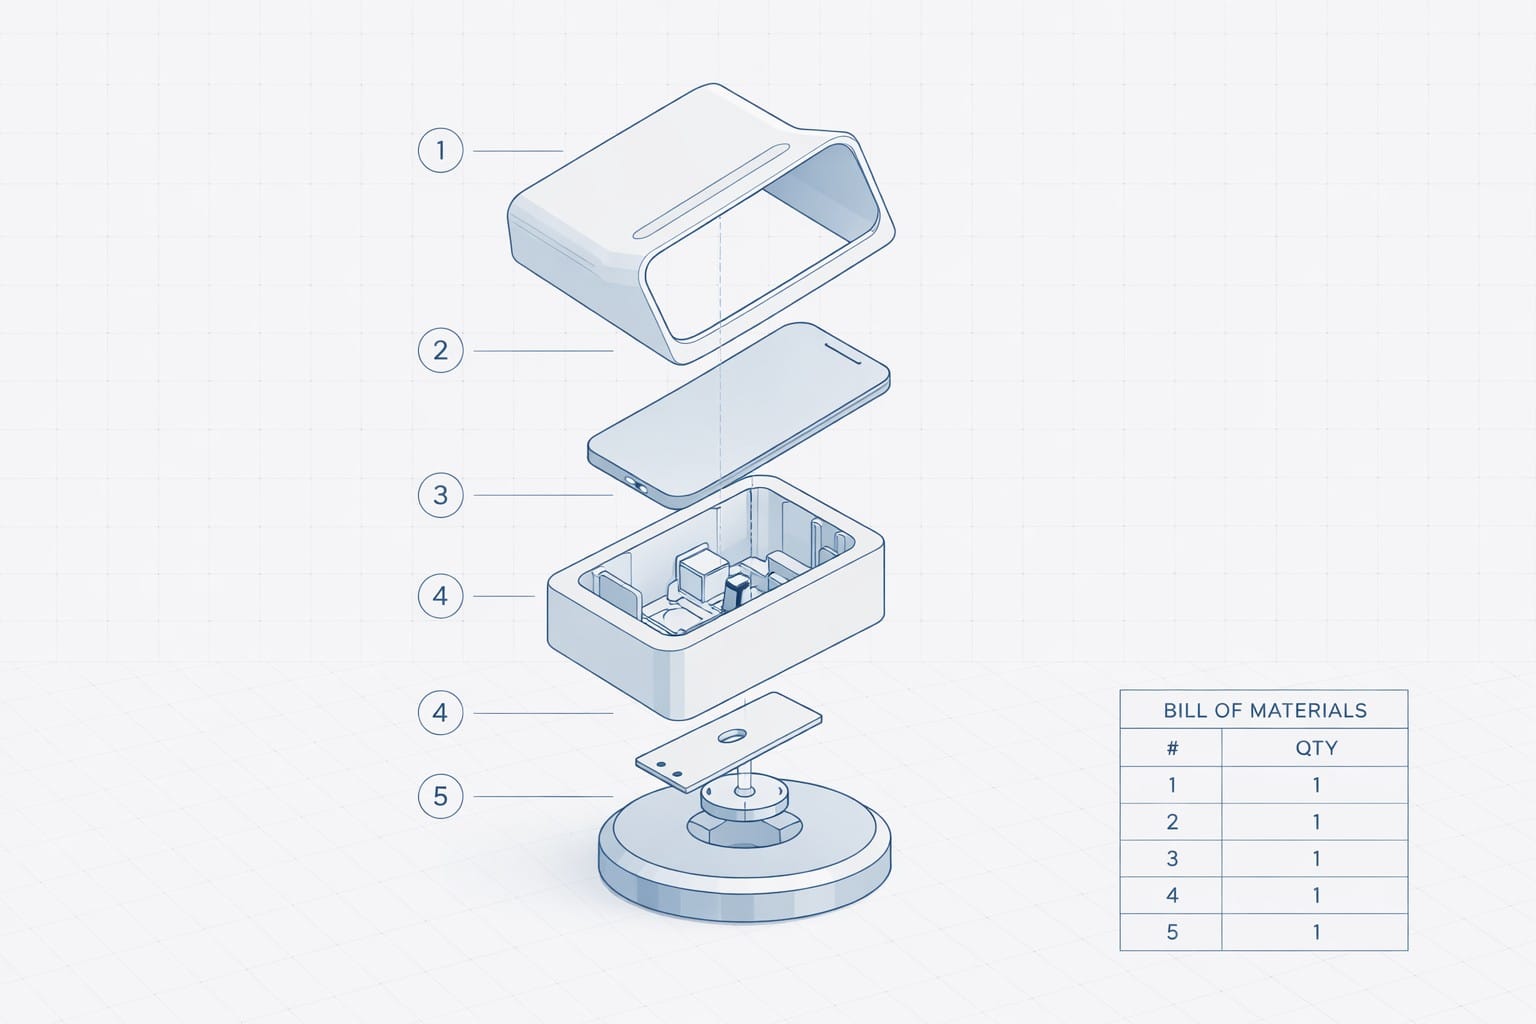
Mechanical products like tools, engines, cameras, and electronics produce the most convincing blueprints because they have obvious internal components the model can separate.
Vehicles work surprisingly well. Cars, motorcycles, and drones all generate dramatic exploded views with clearly defined subsystems.
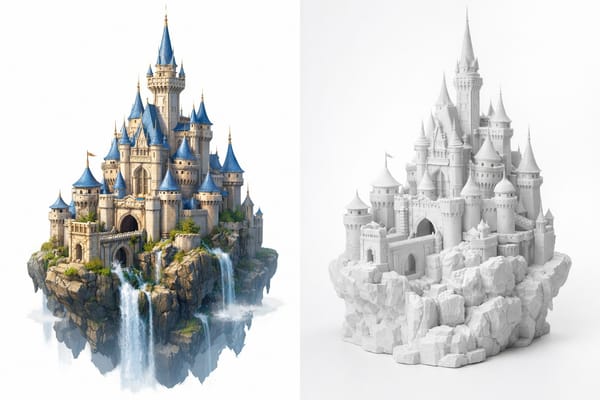
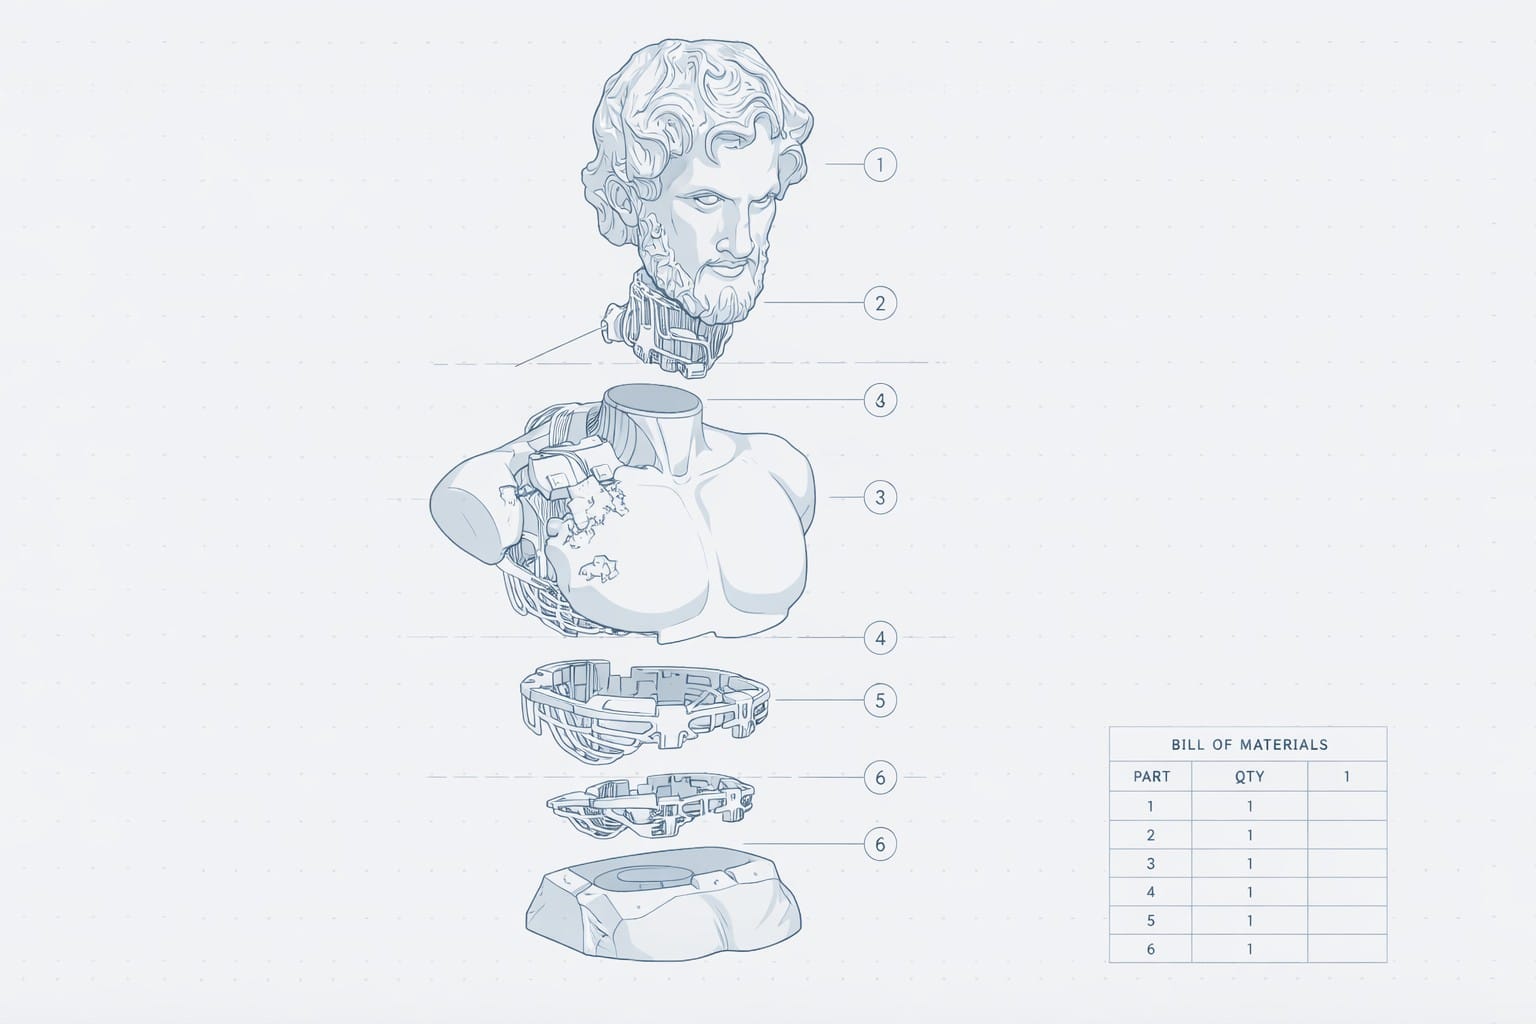
Sculptures and art pieces create an unexpected and visually striking result. The model interprets artistic forms as assembleable components, which produces a unique hybrid of art and engineering.
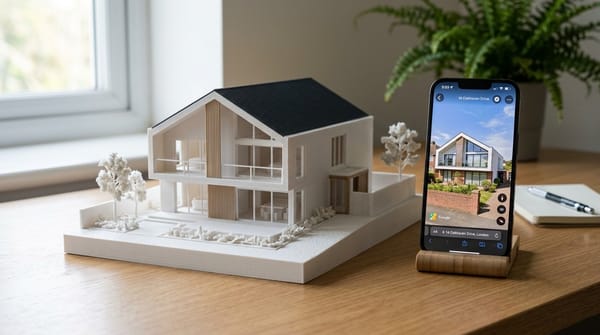
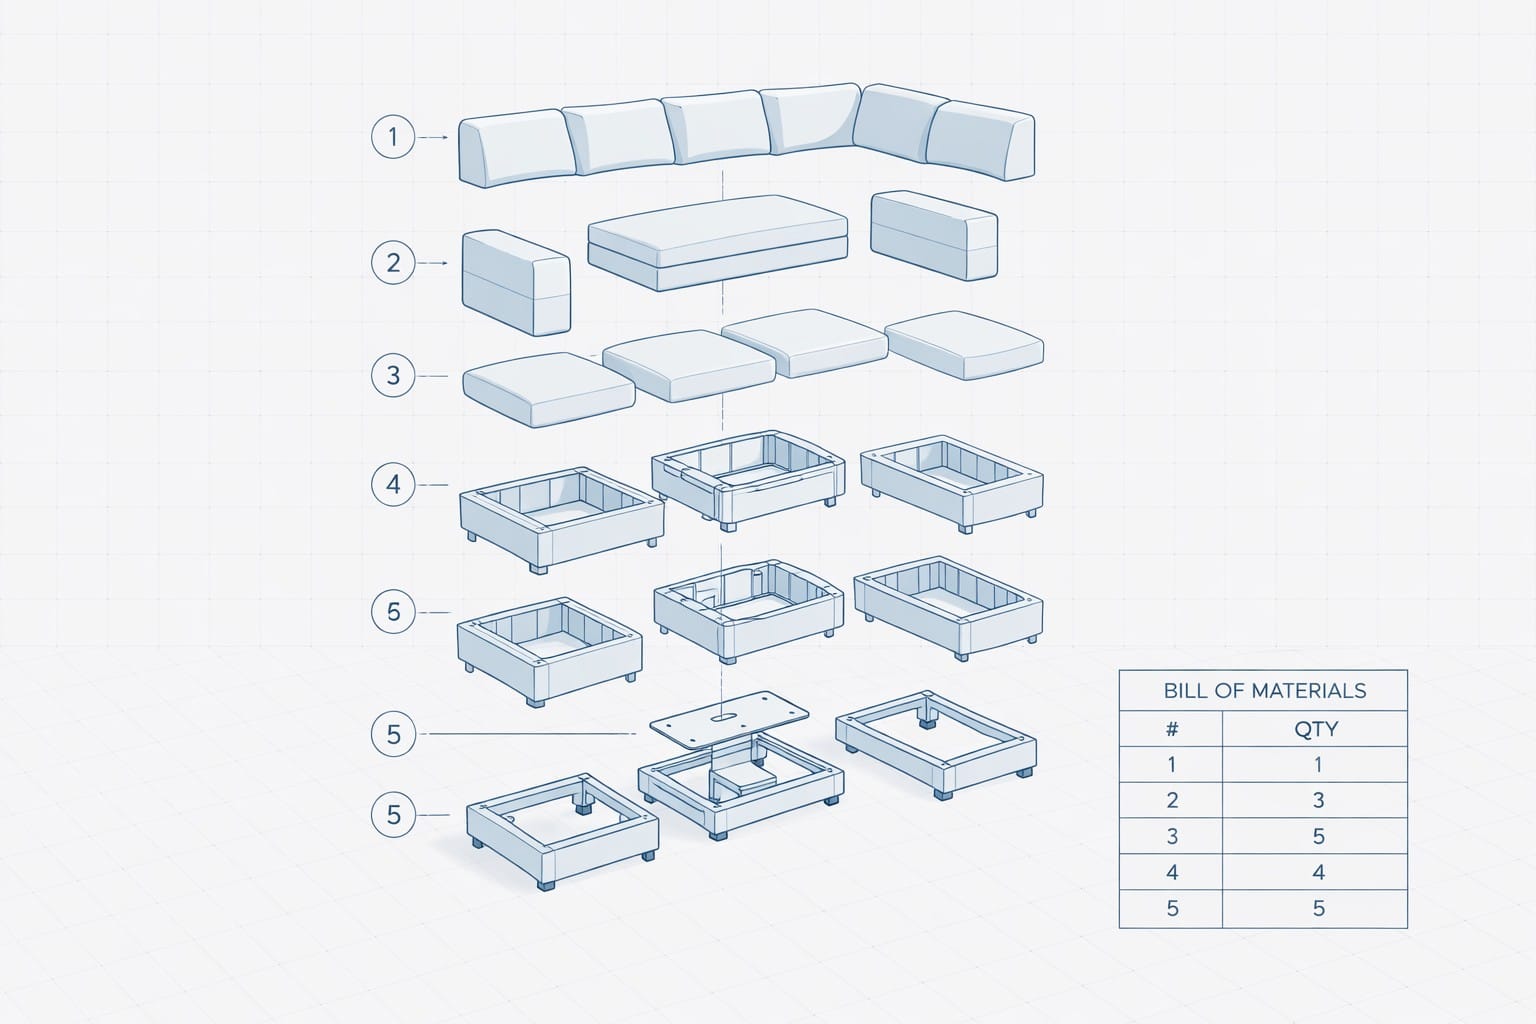
Furniture and architectural models also work well, especially pieces with modular construction.
Simple objects with fewer than three or four components (like a mug or a ball) tend to produce less interesting results since there is not much to explode.
Common Issues and How to Fix Them
Output looks too photorealistic. Add "no photorealism, no realistic materials, no rendered lighting" to reinforce the schematic style. Regenerate until the model commits to the illustration look.
Parts are not clearly separated. Add "increase vertical spacing between exploded components" or "space each part further apart along the assembly axis" to the prompt.
Background is too dark or busy. Make sure you include "very light cool gray background" and the negative prompts about no dark navy background and no clutter.
Bill of materials table is missing or unreadable. Try adding "place the bill of materials table in the bottom right corner with clear borders and legible text" for more explicit placement.
Too many tiny parts. Add "simplify into major subassemblies only, no individual screws or fasteners" to reduce visual noise.
From Blueprint to 3D Print
These generated blueprints are not just for looks. They serve as excellent reference material for 3D modeling and printing workflows.
Use the exploded view as a visual guide when modeling individual parts in CAD software like Fusion 360, Blender, or TinkerCAD. The easiest and fastest way to generate a 3D model with texture is to use PrintPal's 3D model generator tool. The clear separation of components makes it easy to identify each part that needs to be modeled.
For multi-part 3D prints, the blueprint serves as a natural assembly instruction sheet. Print the image and include it with your model files when sharing on platforms like Printables or Thingiverse.
If you are selling 3D printed products, these blueprint images make compelling product photos and marketing materials that stand out from standard render screenshots.
Try It Yourself
Copy the prompt from above, open your preferred AI image generator, upload a product photo, and paste the prompt. That is all it takes.
If you want us to turn your blueprint into an actual 3D printed model, check out PrintPal. We handle the full pipeline from photo to print.
Tag us on LinkedIn or social media when you generate yours. We love seeing what people create with this workflow.