How to Create Custom Packaging Inserts with AI and 3D Printing

In a world of e-commerce and handmade goods, unboxing is part of the product experience. Etsy sellers, artists, and boutique brands often rely on presentation to make a lasting impression, and packaging inserts are a great way to elevate your brand without spending a fortune.
With the help of AI tools and 3D printing, you can now design and produce branded inserts like thank-you trays, business card holders, loyalty card cases, and more - all from home. Using PrintPal’s Image-to-CAD tool, these ideas are easier than ever to create.
Why Custom Inserts Matter
Packaging inserts do more than fill space. They:
- Reinforce brand identity
- Add perceived value
- Encourage repeat business
- Create photo-worthy moments
A small thank-you tray or reusable loyalty card holder can be the difference between a one-time buyer and a lifelong fan.
Examples of What You Can Print
Here are some insert ideas you can design, print, and include with your orders:
| Insert Type | Purpose |
|---|---|
| Thank-you tray | A personal message holder or keepsake dish |
| Business card holder | A gift and organizer in one |
| Loyalty card case | Adds utility and invites repeat visits |
| Mini logo plaque | Decorative, branded token to remember you by |
| Coupon code frame | Makes your discount more noticeable and sharable |
| Custom envelope seal | A unique clip-on detail for cards or notes |
Step-by-Step: Create Your Own Insert
Step 1: Write Your Prompt
Use ChatGPT or an AI image tool to describe what you want. Be clear about the object’s shape, purpose, and angle.
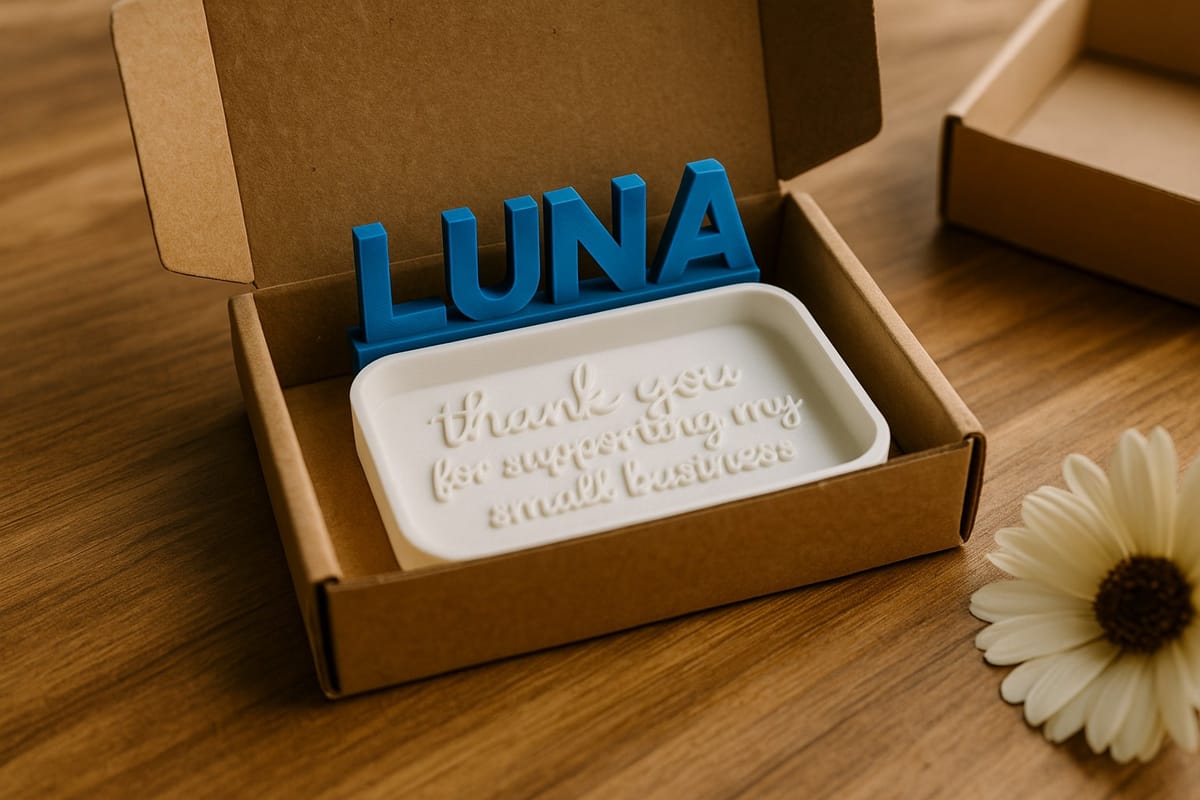
Prompt example:
“A small rectangular tray with the words ‘thank you for supporting my small business’ embossed in script font, viewed from top-down, white background”
You can refine this by changing the shape (circle, heart, hexagon) or text style.
Step 2: Upload to PrintPal’s AI Generator
Once you have your image, upload it to PrintPal. The Image-to-CAD tool will convert your 2D image into a 3D printable STL file. It works best when:
- The image has no background or a clean white background
- The object is viewed from the front or top-down
- You use clear, simple designs with visible edges
Step 3: 3D Print and Test
Send the STL to your printer. Most packaging inserts can be printed in under two hours using standard PLA filament. Choose a color that fits your branding or use natural tones for a minimalist look.
After the first print, test:
- Fit (Does it sit nicely in the box?)
- Feel (Does it feel sturdy and professional?)
- Finish (Would it benefit from paint or a clear coat?)
Tips for Professional Results
- Use your logo or shop name in the design for maximum impact
- Print in batches to save time and filament
- Keep dimensions small to reduce print time and shipping weight
- Use reusable designs - customers love inserts they can keep
Add-ons to Consider
You can take it further by designing:
- A reusable ring holder tray for jewelry orders
- A clip-on magnetic message with your shop’s Instagram handle
- A coupon frame that sits upright in the box and promotes a future order
All of these can be designed with a single prompt, generated with PrintPal, and printed in one day.
Final Thoughts
Your packaging tells your customer how much you care. With PrintPal’s AI tools, you can create thoughtful, beautiful packaging inserts that reflect your personality and brand without outsourcing or overspending.
By printing your own inserts, you create moments that your buyers will remember, share, and come back for: one small detail at a time.
Ready to add your personal touch?
Start designing your first insert at PrintPal’s Image-to-CAD tool.
Your next order could arrive with a piece of your creativity tucked inside.