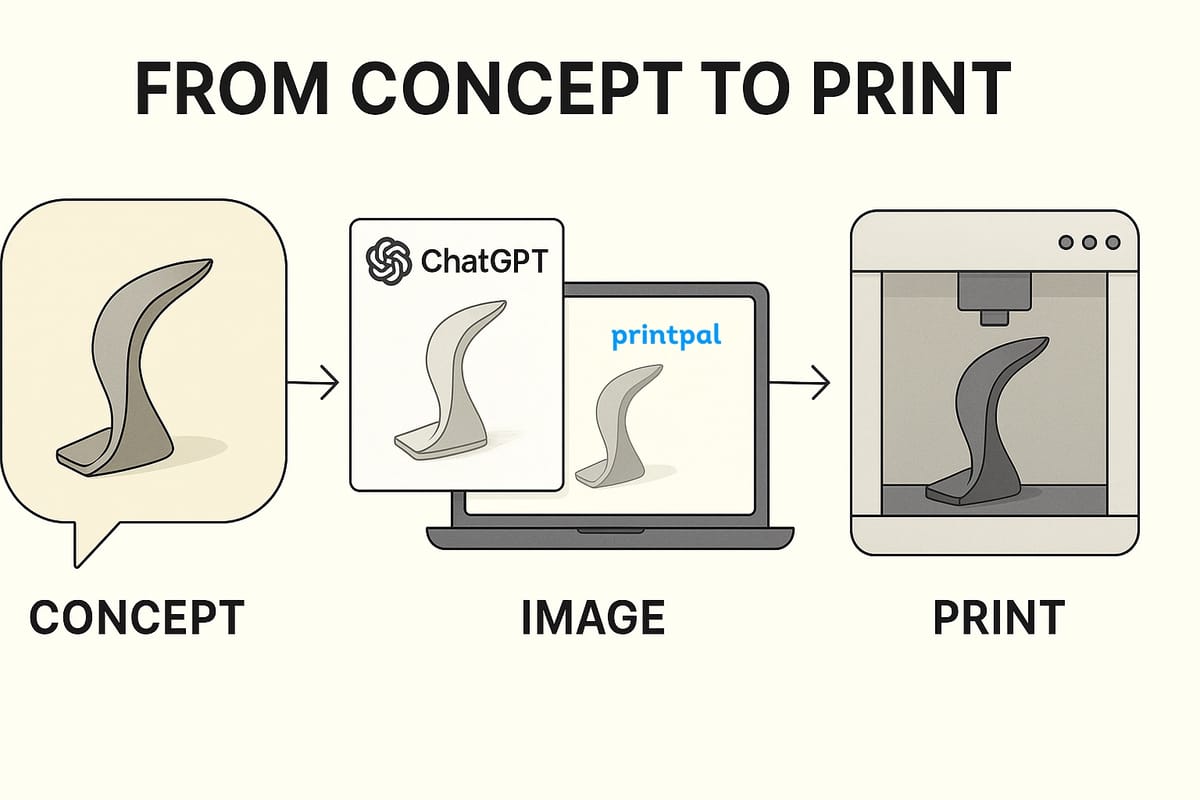
🧠 From Concept to Print: A Beginner’s Guide to Using AI for Product Design

Have a great idea for a gadget, accessory, or product—but no idea how to make it real?
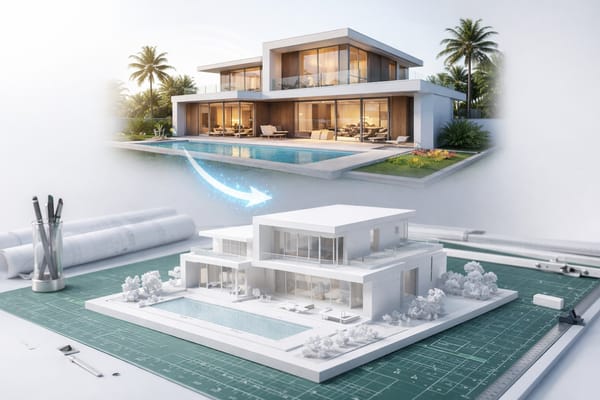
In the past, turning an idea into a physical product meant learning 3D software, hiring a designer, or investing in prototyping tools. Today, AI has changed the game.
With tools like ChatGPT’s image generator and PrintPal’s Image-to-CAD system, you can now go from concept ➝ 3D model ➝ printed prototype in a matter of minutes—no design experience required.
This guide walks you through the process from start to finish.
🚀 Step 1: Start with an Idea or Prompt
You don’t need to be an artist or engineer. Just describe the product you want to create.
Examples:
- “A modern desk phone stand shaped like a curved leaf”
- “A geometric planter with a built-in water tray”
- “A wall hook shaped like a fox’s head”
If you can imagine it, you can prompt it.
💡 Tip: Think about functionality and form. Include details like materials (“matte black”), style (“minimalist”), and perspective (“angled view”).
🎨 Step 2: Use ChatGPT to Generate an Image
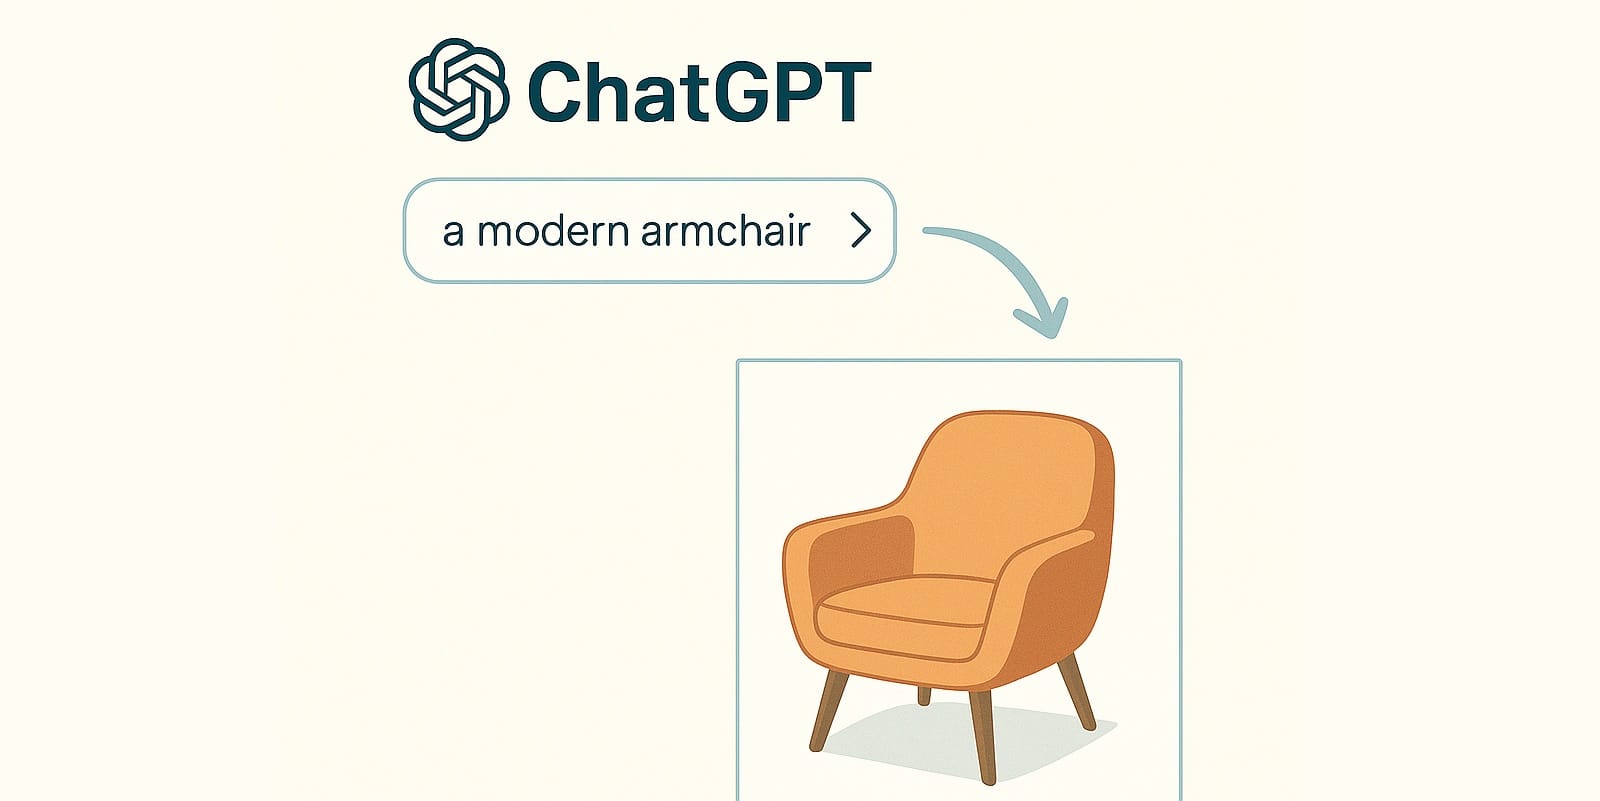
Use ChatGPT’s image generation feature (or another AI tool like Midjourney or DALL·E) to generate a visual of your product idea.
Key image features for best results:
- Plain background (white or light neutral)
- Angled perspective (3/4 view preferred)
- Full object in frame
- No text, logos, or hands
If the result isn’t quite right, tweak your prompt and try again.
🧼 Step 3: Prep Your Image for 3D Modeling
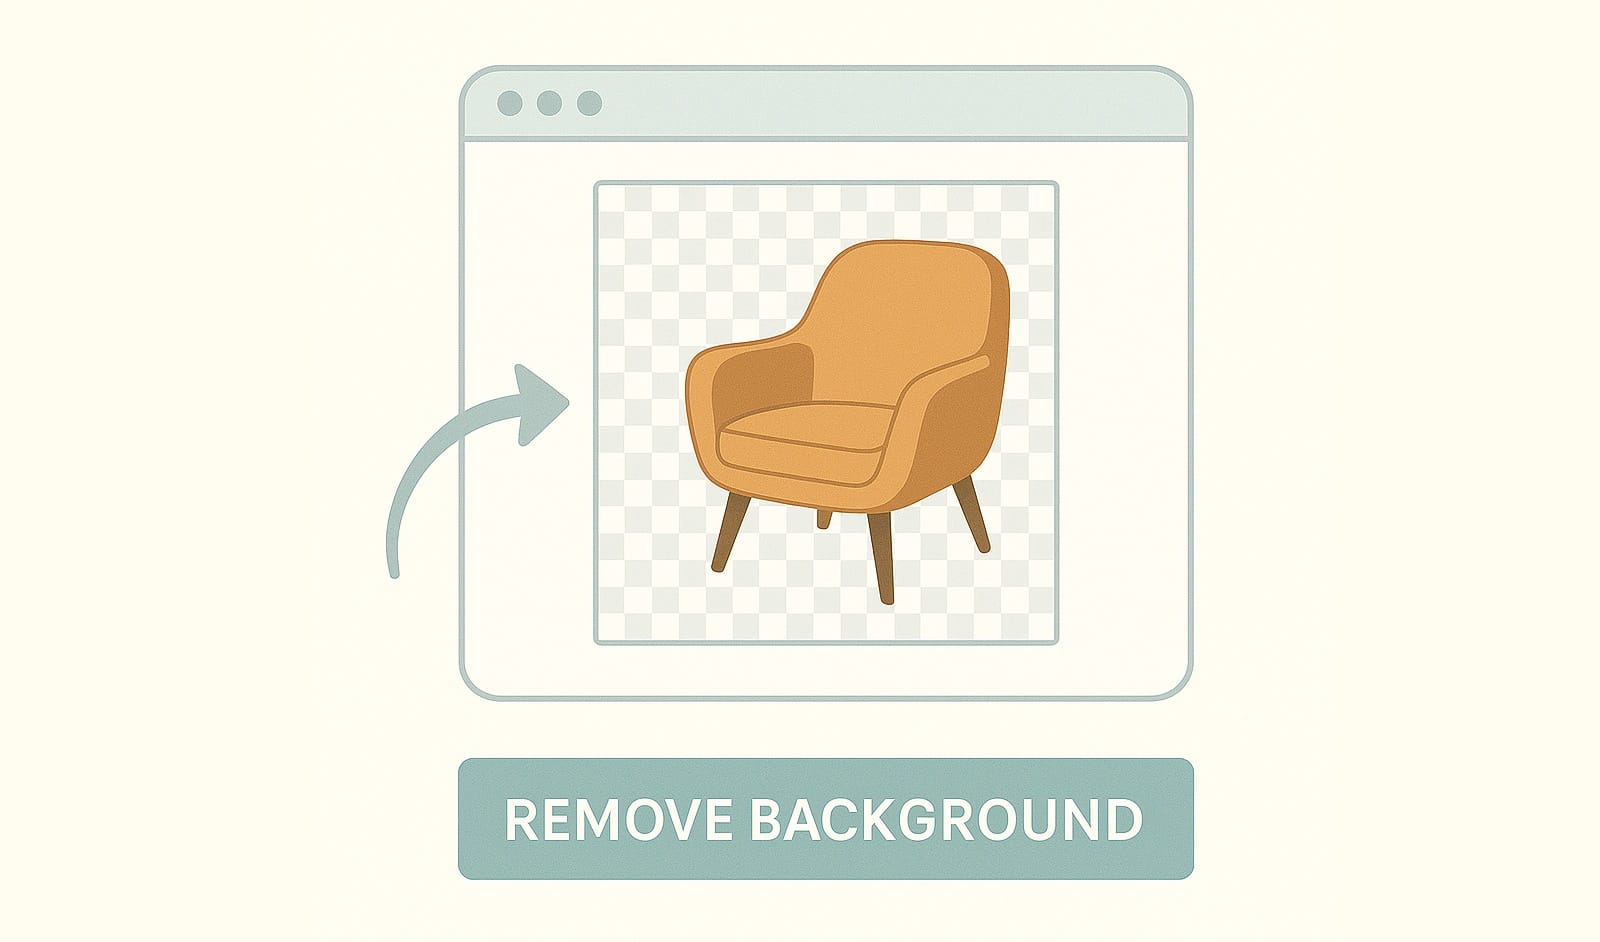
Before converting it to a CAD model, make sure your image is:
- Clean and high-resolution
- Free of background clutter
- Showing the object clearly from a useful angle
🧽 Optional: Use rembg or Photoshop to remove the background. (Don’t worry—PrintPal’s AI does this too!)
🛠️ Step 4: Upload to PrintPal’s Image-to-CAD Tool
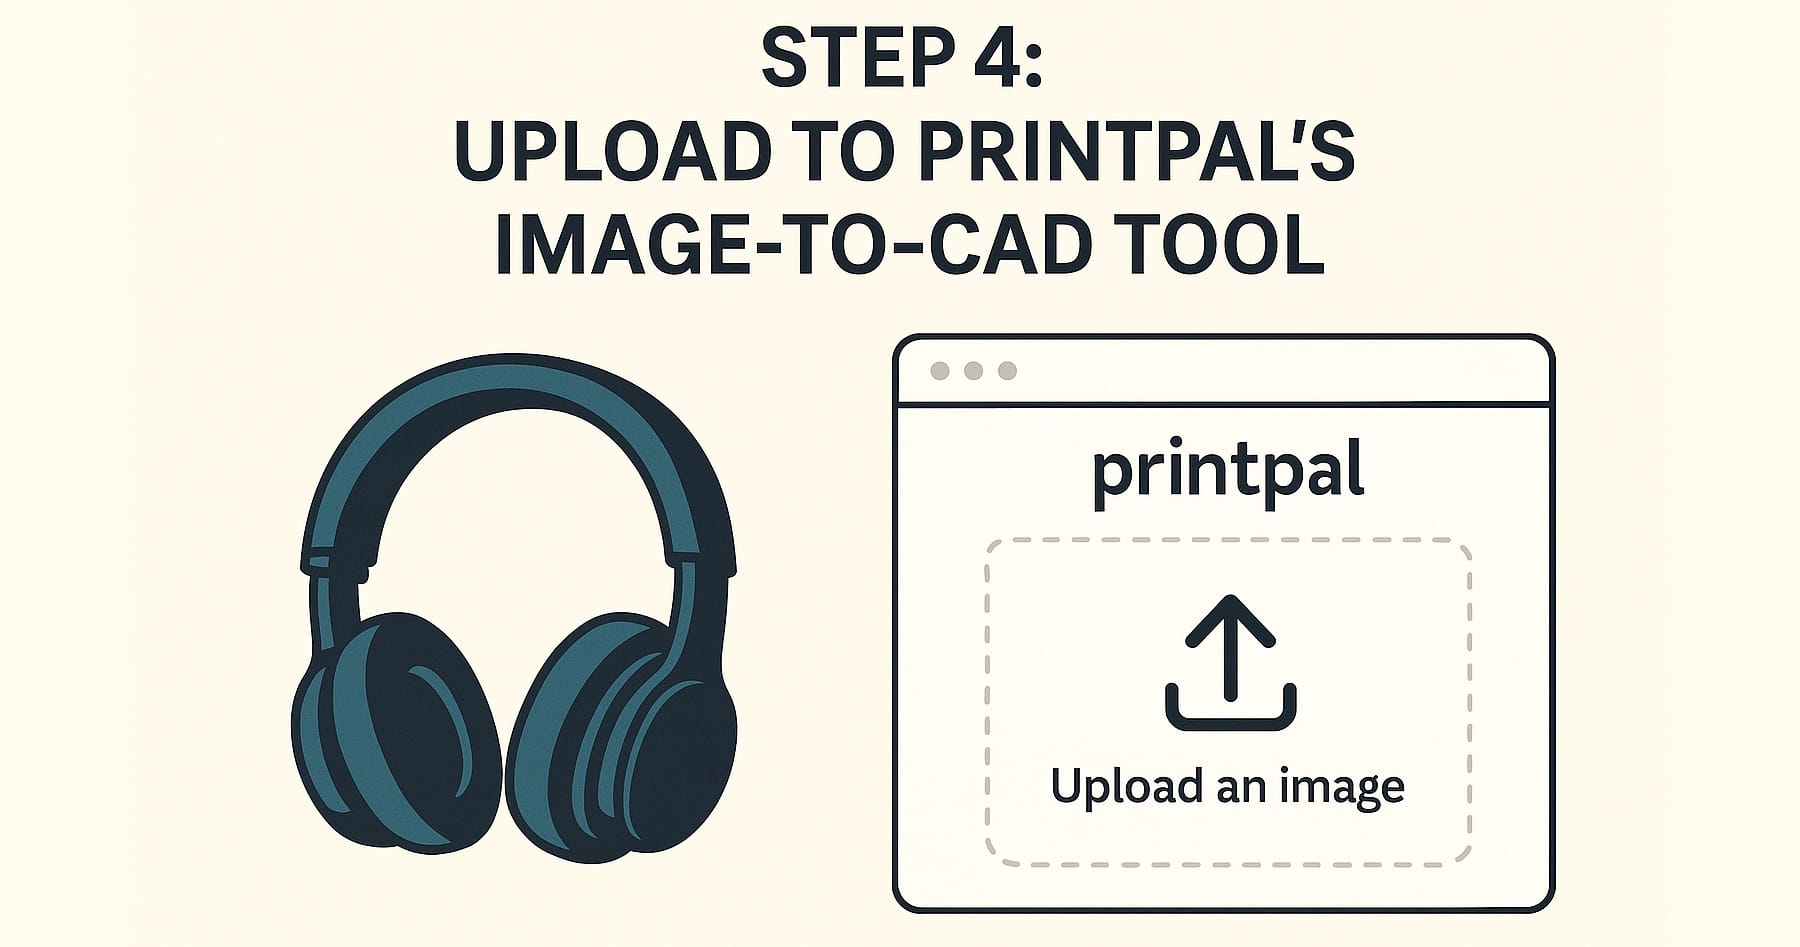
Now it’s time to bring your image to life.
- Go to PrintPal’s Image-to-CAD Tool
- Upload your image
- Wait a few seconds as the AI extracts the shape and geometry
- Preview your 3D model in the browser
⚙️ The AI uses background removal, silhouette detection, and shape interpretation to create an accurate 3D mesh—no modeling needed.
📦 Step 5: Export, Print, or Manufacture
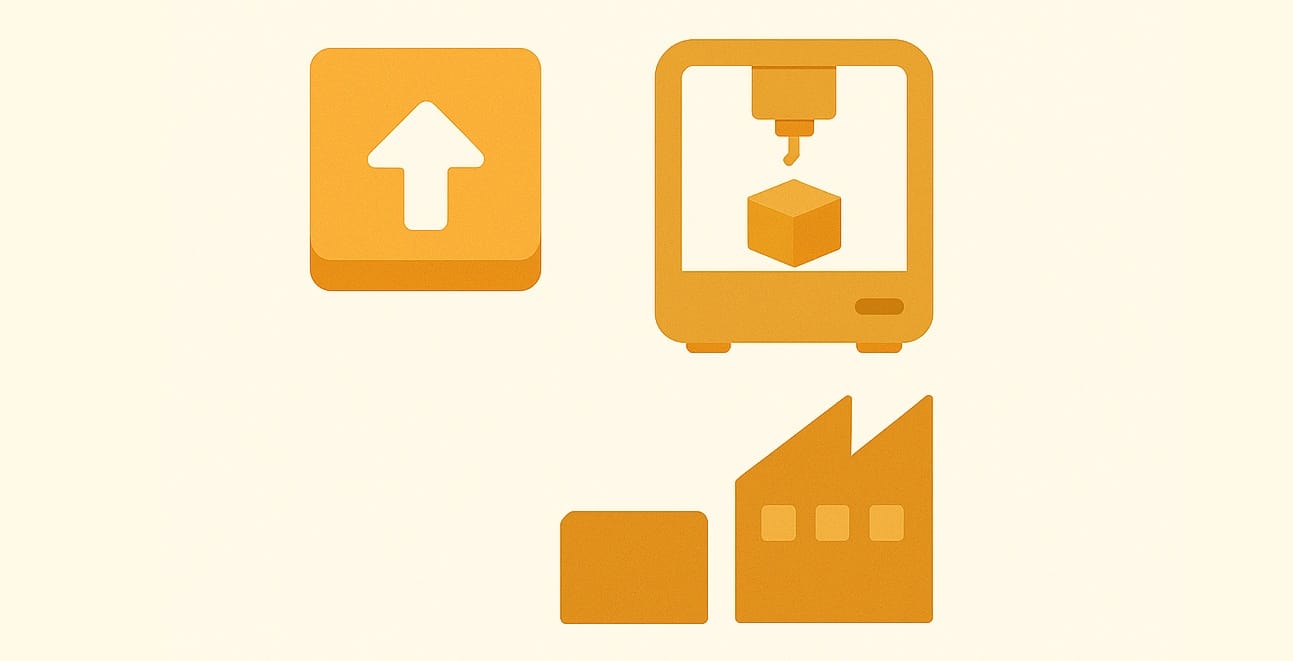
Once your model is generated, you can:
- Download it as an STL or OBJ file
- Edit it in a 3D program like Fusion 360, Blender, or Tinkercad
- Send it straight to a 3D printer
- Share it with manufacturers or clients
From there, you can print a prototype, iterate on your design, or go straight to production.
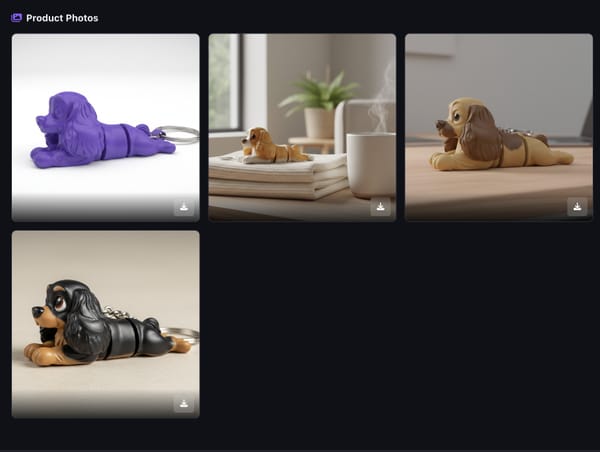
💡 What Can You Create?
Here are just a few ideas people are making with this workflow:
| Category | Ideas |
|---|---|
| Office Accessories | Phone stands, pen holders, monitor risers |
| Home Decor | Planters, wall hooks, candle trays |
| Kitchen Tools | Soap dishes, spoon rests, organizers |
| Gaming Accessories | Dice trays, controller mounts |
| DIY Products | Custom brackets, tool hangers, containers |
🧠 Why This Workflow is a Game Changer
✅ No CAD skills needed
✅ Rapid iteration
✅ Perfect for prototyping and small runs
✅ Creative freedom with zero 3D modeling barriers
It opens the door for:
- 🧑🎓 Students
- 🧑🎨 Creators
- 🛍️ Small business owners
- 🧰 Makers and tinkerers
You don’t need to be technical—you just need a vision.
🎯 Try It Yourself
Got a product idea in your head right now? Try this:
- Open ChatGPT and describe your concept.
- Generate the image.
- Upload the image to PrintPal.
- View your 3D model in seconds.
The future of product design is here—and it’s faster, smarter, and more accessible than ever.